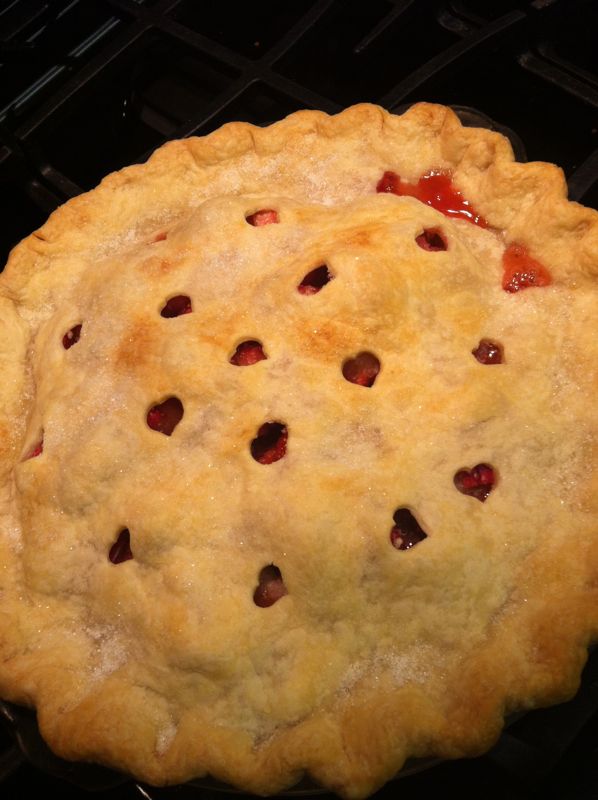
Based on the old-fashioned taste test, this is a winner pie crust recipe, and it’s easy, too. And it tastes WAAAAAY better than those things you buy in the store, although if you have broken your hand or something, you’ll just have to buy those instead. This recipe makes a one-crust pie shell. For a two-crust pie, please double.
In a medium bowl, place:
1 1/2 cups flour
1/2 teaspoon salt
Blend together, then cut in 1/2 cup shortening until the pieces look like little peas. Here’s a video, with an annoying beep, with the cook using a pastry blender, OR, here’s a video, with narration, of the cook using two knives.
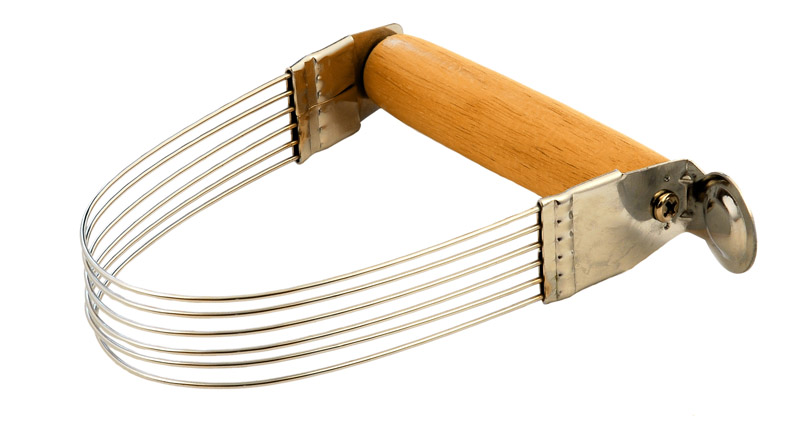
I’ve done both (the pastry blender is easier). Pictured above is my favorite kind. If the dough stuff gets caught in the loops, just run a knife over it to get it out. You’ll know what I mean when you use it.
Toss in 3-4 Tablespoons of really cold water, about 1 Tablespoon at a time, fluffing and tossing with a regular dinner fork, until the dough starts to hold together in clumps, and when you try to gather it together in a ball with your hands. . . you can. The less you work your pie crust, the more tender it will be. And the least amount of water you can put in keeps it from being soggy.
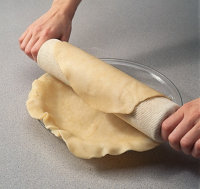
Roll it out to the desired size, usually about 11″ round for a regular pie, then roll it back onto your rolling pin, and lift it onto your pie plate. This website has some pretty good pictures of the process, including the cutting in business (it’s where the picture above was taken from).
Follow the directions in your recipe for baking and filling, but generally, if you are going to cook an unfilled pie crust, you’ll need to weight it down with a square of tin foil, on which you’ve placed uncooked rice or beans. Bake for about 10 minutes at 425 degrees.
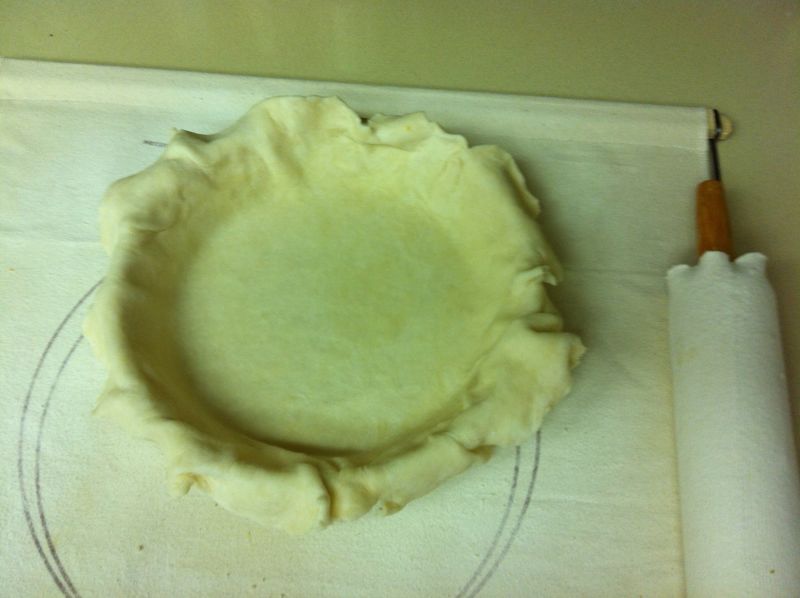
Above you see my Foley Pastry Frame, which is a square of canvas stretched between two bars and held in place by wire thingies. I also have a stockinette for my rolling pin. I wash this only when it becomes heavily spattered with food, and believe it or not, I store it in the freezer to make sure the cupboard moths don’t find it.
And one last detail: I think a rolling pin with ball bearings makes life easier, but you get to choose.