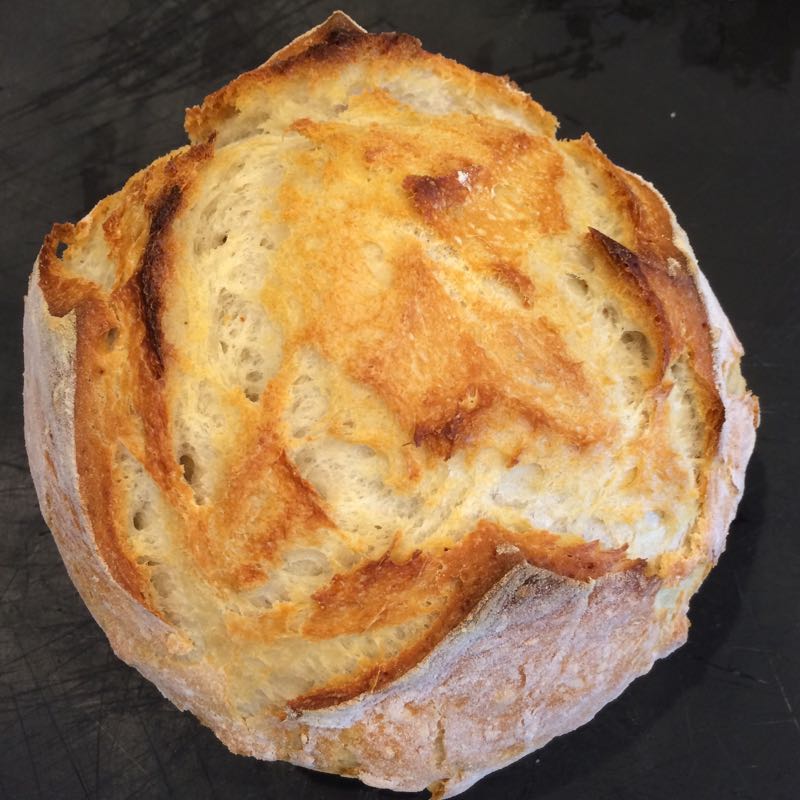
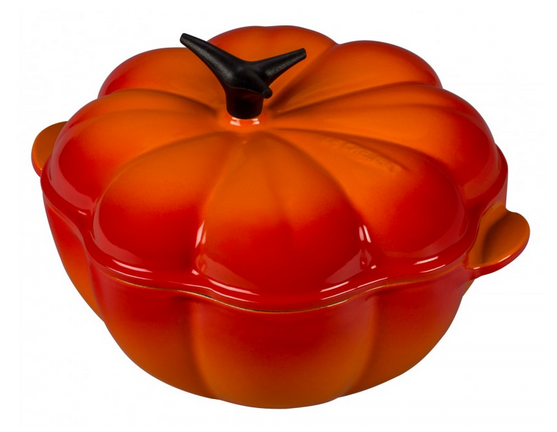
 At our recent Beachside Quilting Retreat, Mary — our hostess — brought a loaf of bread to serve us that first night and we all raved over it, asking her lots of questions, jotting down the recipe. Two days later, when we went to Summerland’s antique store, where we found two pumpkin-shaped Le Creuset pots: I bought one and she bought the other, and that afternoon, we had a bread-making lesson in between all the sewing and quilting. While the ingredients are simple and easily whipped into a ragged-looking dough, it’s her cooking method that sets this bread apart. The heavy enameled cast-iron pot is set into a cold oven, which is then preheated for a long period of time. This is what she calls the “brick-oven” method of baking as heat and moisture surrounds the baking dough, ensuring a nice crust. This recipe makes three loaves.
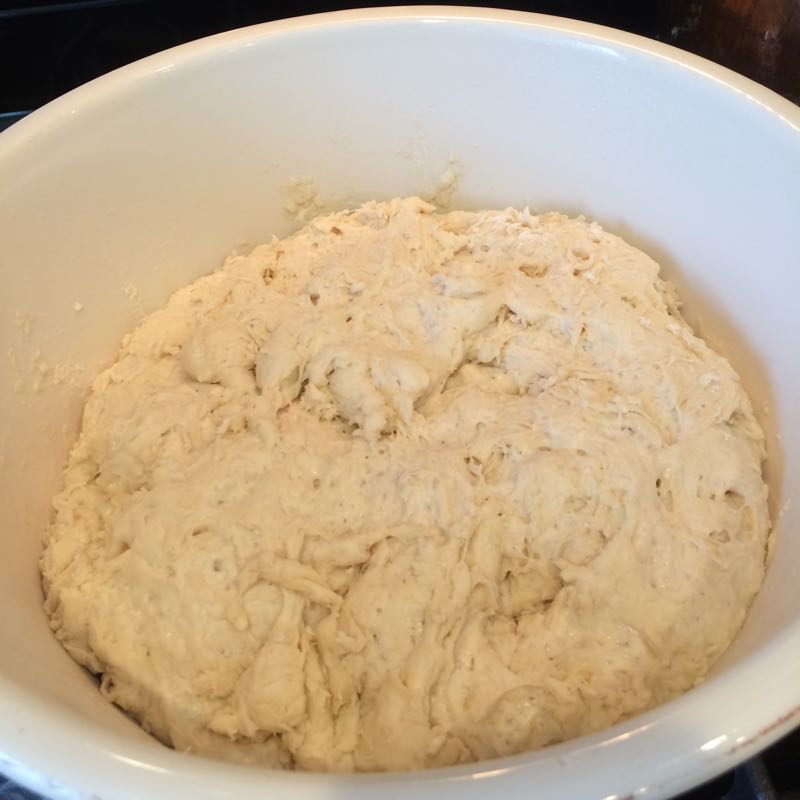
Measure out 3 cups lukewarm water. Add 1 and 1/2 T. yeast (2 packages of regular yeast) and 1 T. kosher salt (table salt is okay); let it sit for a few minutes to “bloom.” Stir in 32 oz. flour, roughly 6 to 7 cups. Stir with big spoon and cover with plastic wrap, letting it rise in a corner of the kitchen. While it will rise for a total of 2 hours, after it’s risen for roughly 1 hour set the cast iron pot with its lid into a cold oven and preheat the oven for 45 minutes to a temperature of 475 degrees F.
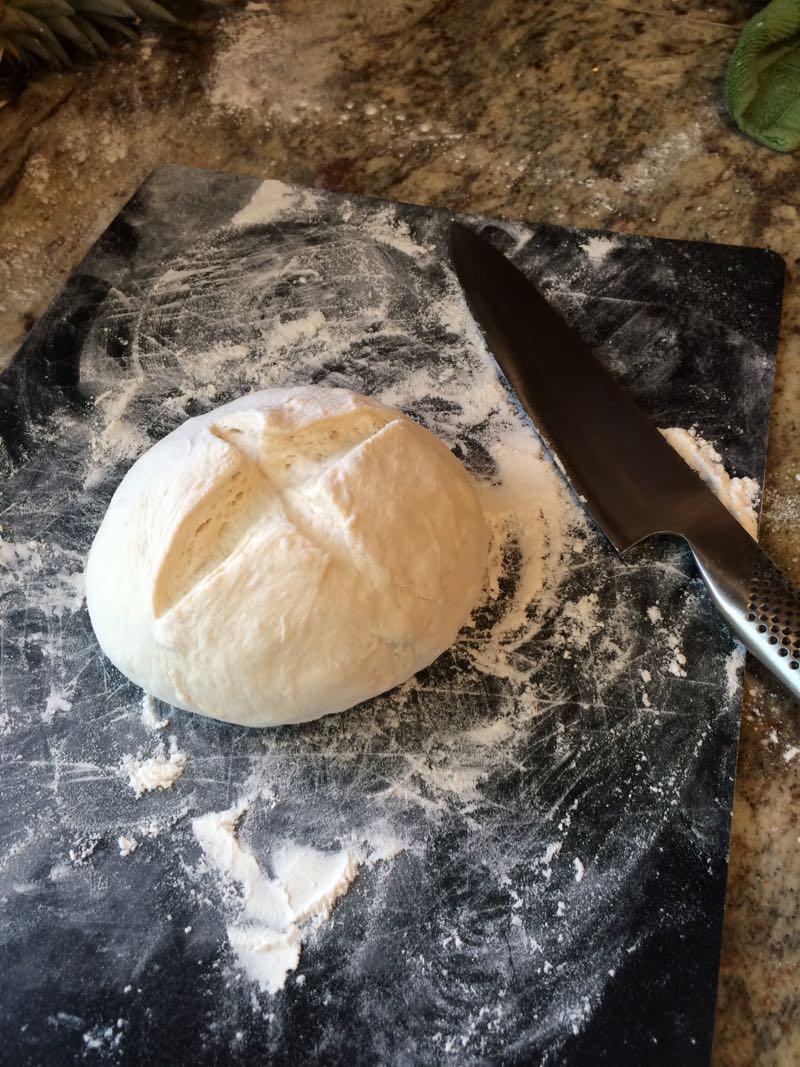
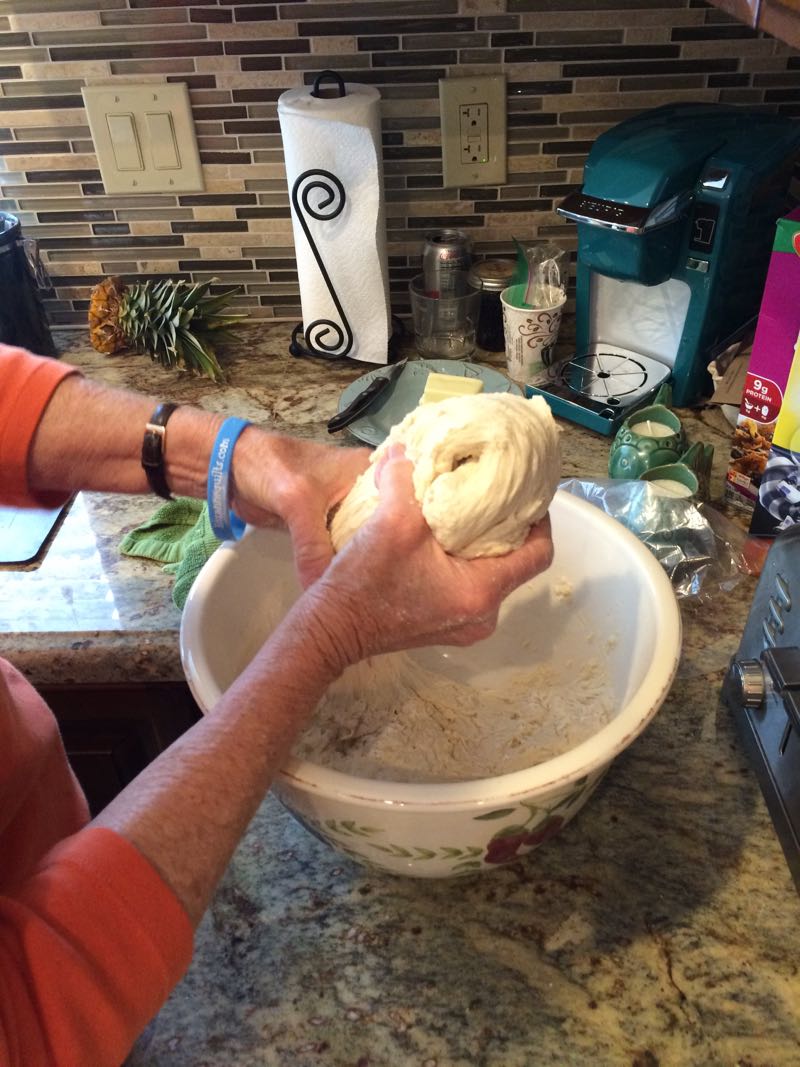 When the dough has risen for two hours, divide into thirds by grabbing about one-third of the dough. Mary says it’s ragged looking, but keep going. Using lots of flour that’s been spread onto either a pastry cloth or a cutting board, shape it into a ball. Cut an “X” into the top of the dough using a sharp knife or razor blade.
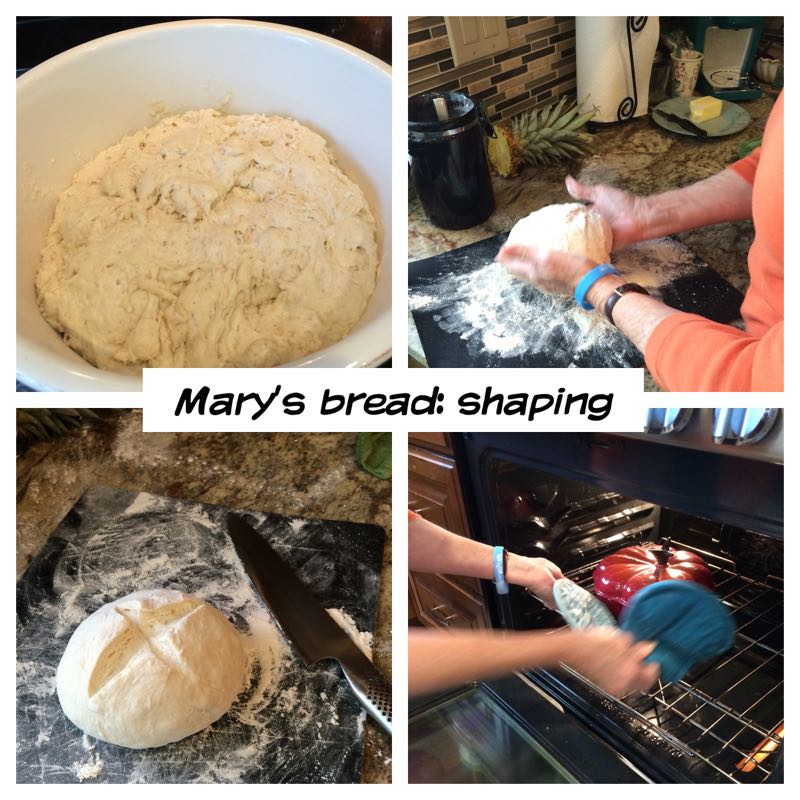
 Set ball into hot pan, being careful not to burn yourself. Cover with the preheated lid and cook for 20 minutes.
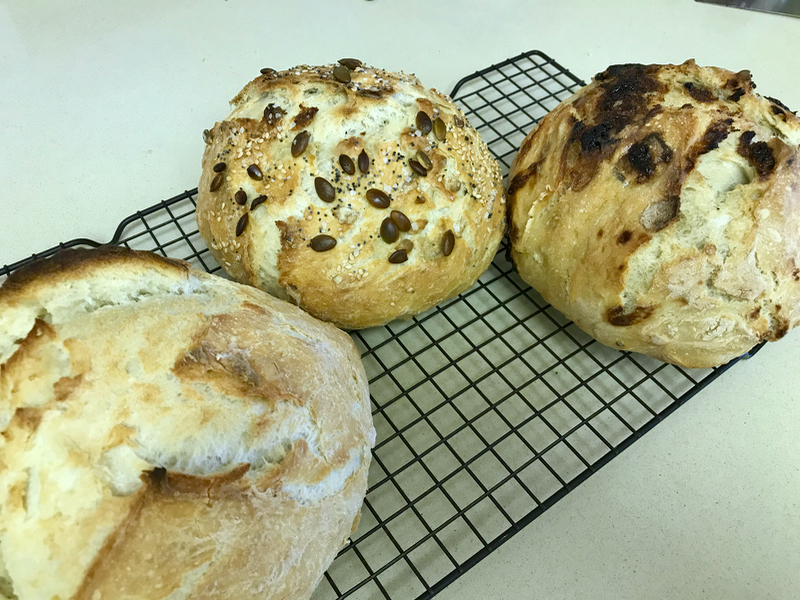
 Uncover, and cook for 10 more minutes or until it is a nice golden brown. Either tip out the bread — or grab from the pot — onto a counter and/or rack; let cool.
Cook’s Notes:
On the second and third loaf (since the dough has been in the fridge), put the dough out onto the floured surface to come to room temp while the oven heats up. Mary says she has left the dough in the fridge for as long as 12 days. The only noticeable effect has been that the dough gets more sour-tasting.
Variations:
After rising, I divided the loaves into three, shaped the first one (lower left) and started it baking. I did cut an X into this one.
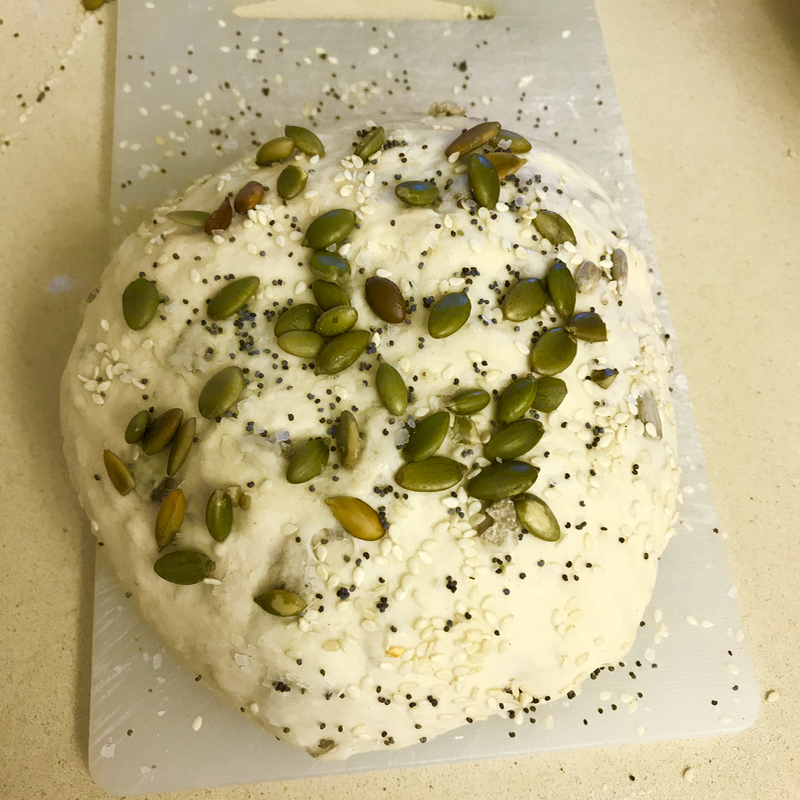 To the second blob, I added 1/3 cup sunflower seeds, massaging it through the mass. After shaping, I then pressed onto the top: pepitas (sunflower seeds), a shake of poppy seeds, a shake of sunflower seeds, a shake of kosher salt; no cutting of an X in the top. After the first loaf came out of the oven (I only have one pan), I baked that.
To the third blob, now quite sticky as it’s been rising a little more, I added 1/3 cup chopped high quality baking chocolate and 1/3 cup coarsely chopped pecans. (Don’t use white chocolate chips as you want the chocolate to melt into the bread, not remain intact; look for the bar type of white chocolate that has cocoa butter in it.) It’s a lot to mush into the bread dough, I admit, but when it was time to shape it, I concentrated on poking the bits back into the loaf, keeping them from emerging from the top. When it bakes, as I also didn’t cut an X in the top. The dark blobs (above) are the melted, baked chocolate that did emerge through while baking, but it tasted fine.
I did this loaf last in case there was residue of chocolate in the pan: there was, but it brushed right out. That would be something to check for if you are making all three loaves with the white chocolate.
I would like to try mixing the chocolate/pecans with the flour and incorporating it that way, but this time, I wanted three different loaves.