Butternut Crunch Toffee

I found this in our local newspaper, back in the day when newspapers had full-fledged cooking sections.  In the olden days, back when newspapers were read every day around the breakfast/dinner table, there were many pages devoted to Christmas cookies, delectable sweets, ways to manage the Big Day’s meal, and lots of other columns imported from other news services.  I cut it out and tried it.  My husband, whose favorite candy at the time was Almond Roca, declared this recipe A Hit.  I’ve made it just about every Christmas since.  According to the article, it came from Ann Hodgman’s Beat This! Cookbook, published in 1993.  Now you know really how old this clipping is.  I’ve made some changes: the recipe as listed below includes these changes.

1 cup (2 sticks) lightly salted butter
1 cup plus 2 tablespoons granulated sugar
1 tablespoon light corn syrup, dissolved in 2 tablespoons warm water
1 cup whole almonds
1 cup semi-sweet chocolate chips

Scatter the whole almonds over a cookie sheet and place under the broiler until lightly toasted–don’t burn!  Let cool, then chop them up in a food processor.  Scatter half of the almonds over a cookie sheet; reserve the rest for later.  [Note: I’ve always used a cookie sheet, but the recipe calls for a 9 x 13 inch pan.  Pick your poison.]

In a medium heavy saucepan, over medium to medium-low heat, melt the butter.  With a spatula kind of scoot some up on the sides so as to “butter the pan.”  As soon as the butter is melted, stir in the sugar. Continue to stir constantly until the sugar has dissolved and the mixture comes to a rolling boil (a boil that can not be stirred away).  Add the corn-syrup-water mixture and stir well; the mixture will hiss for a few seconds, but that’s all right.

With the pan still on the heat, cover the saucepan and leave it covered for 3 minutes (use a timer).  Then uncover it and stick in a candy thermometer.  Keeping the heat at medium-low, and stirring once in a while, heat the mixture to 300 degrees.  (My sister Christine also uses the paper bag test: she holds up a brown paper sack and when the toffee is that color, it’s time to yank it. *Note: for higher altitudes, for every 1000 feet above sea level, subtract 2 degrees.*)

When the candy finally reaches 300 degrees (it seems to get stuck at 220 and stays there for a long time), remove the candy from the heat immediately and pour it onto the chopped nuts, tilting the pan back and forth to cover it evenly.  The recipe says not to scrape the pan or the candy might crystallize, but I’ve been known to help down the last little ribbon of toffee mixture from the side with my spatula.  Other than that, I obey, and generally don’t scrape the pan.

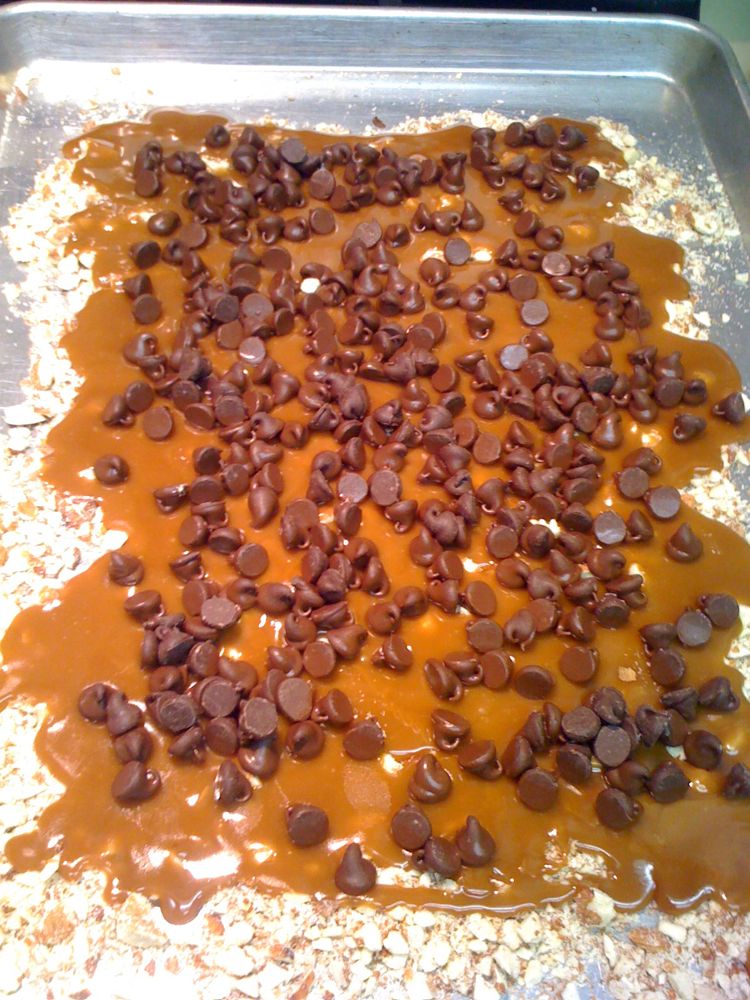
Let it cool for a few minutes, then scatter chocolate chips over the surface (another trick from my sister).  The heat from the cooling toffee will melt the chips.

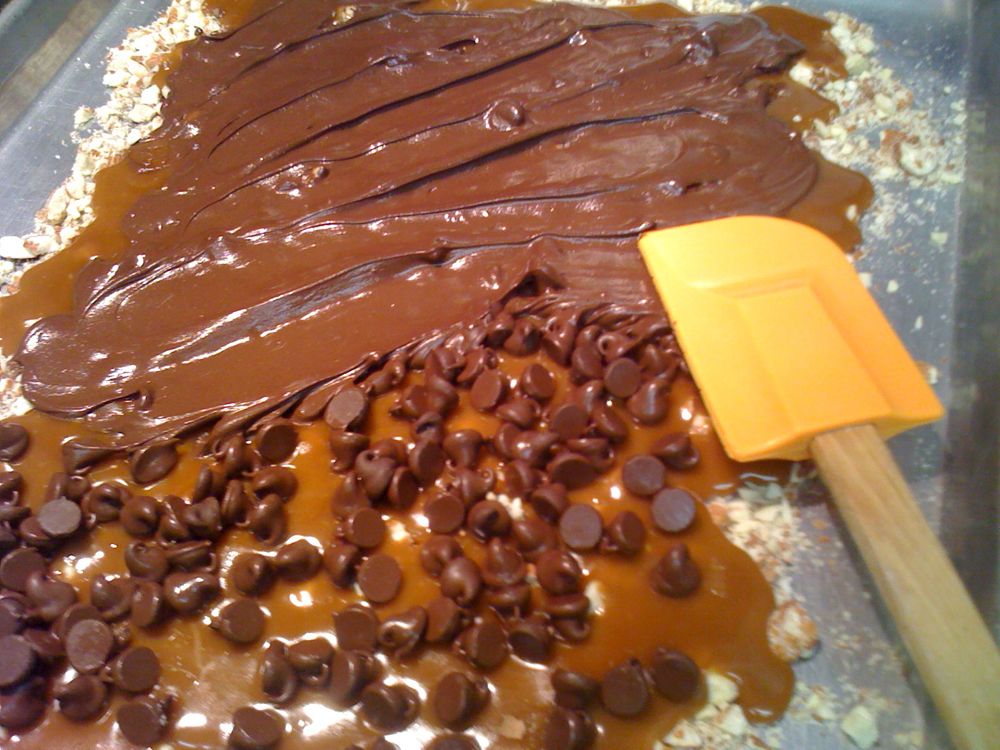
When they are melted, take a spatula and smooth out the chocolate.

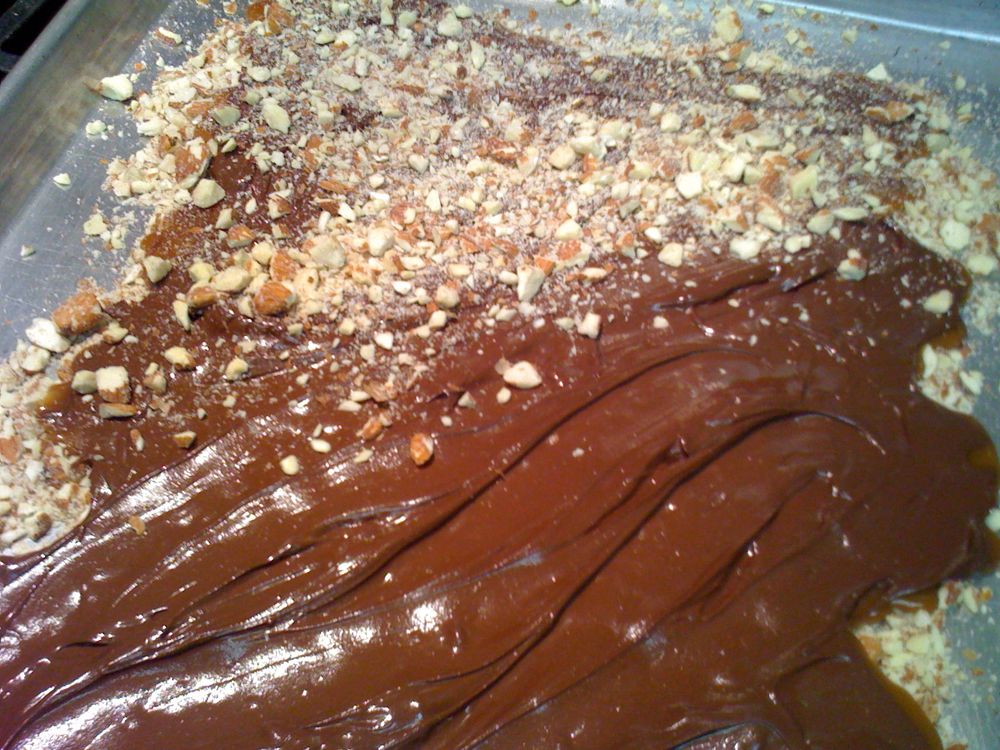
Then scatter the remaining chopped almonds over the surface.

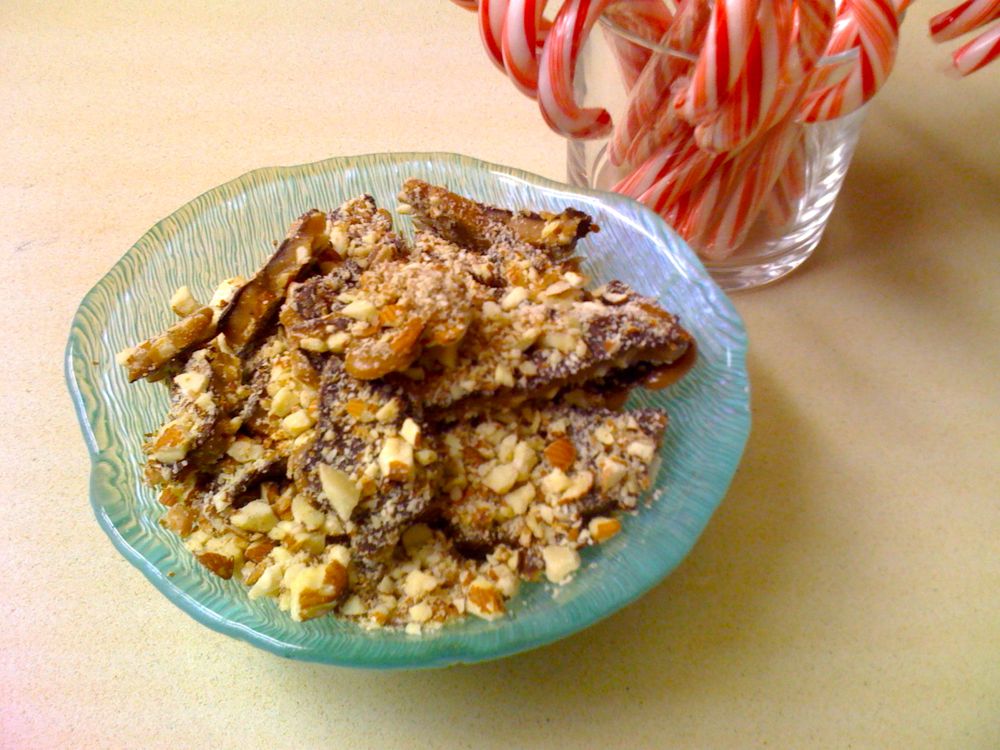
Let it really cool down.  A lot.  When the chocolate is set (about 2 hours or so), break up the toffee into pieces by “stabbing” straight down into the toffee with a paring knife until you hear it break. More stabs equals smaller pieces.  I put it into a dish, then pour the extra bits of nuts and toffee over that.  Makes about 1 pound of candy.
Creamy Chocolate Fudge

One year I was in charge of the Universe.  Just kidding.  But I was in charge of a Christmas event at church which included a video broadcast and Those In Charge wanted a big turnout.  So I hit on the idea of singing Christmas Carols before, then having a giant cookie feast afterward.  I think desserts is always a category where church-goers excel.

The tables were covered with all different plates and kinds of cookies, and then this one tin of fudge. I slipped a piece into my mouth.  Mmmm. It wasn’t the least bit sugary or dry.  It was creamy with the right amount of crunch from walnuts.  Manna, I thought.  I watched as the hoards of children hit the first table, piling up cookies in their napkins in spite of my best-practiced Withering Glance, the swarm getting closer and closer to this Bit of Heavenly fudge.  Just as the leading edge hit my section, I snatched up the tin.  “No,” I said.  “This is just for the adults.”  I then walked around offering a piece at a time to the grown-ups, trying to locate the owner and maker of this perfection.  I found her, and she sent me the recipe.  So, Monique–if you’re reading this blog–many thanks!

Creamy Chocolate Fudge

1 jar (7 ounces) of marshmallow creme
1  1/2 cups sugar
2/3 cup undiluted evaporated milk
1/4 cup butter or margarine
1/4 teaspoon salt
1 package (11 1/2 ounce) milk chocolate chips (~2 cups)
1 package (6 oz.) semi-sweet chocolate chips (~1 cup)
(Note: I have reversed the proportions of the chips on occasions for a slightly less-sweet fudge.  It works fine.)
1 cup chopped walnuts
1 teaspoon vanilla extract

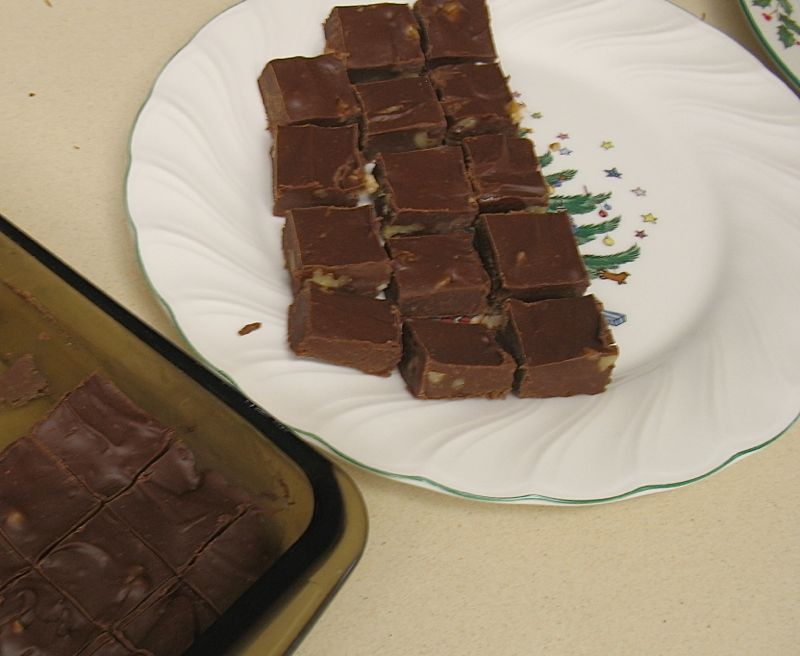
In a large saucepan over medium heat, combine marshmallow creme, sugar, evaporated milk, butter and salt; bring to a full rolling boil, stirring constantly.  BOIL FOR 45 SECONDS ONLY!!  Otherwise it will be too grainy.  Remove from heat and stir in chips until melted, stirring vigorously.  Add vanilla and nuts and pour into buttered 9 x 13″ pan.  Cool 2 hours or until firm.

Christmas Caramels

When I was nineteen several young women in my acquaintance were married and at each of their weddings was  large basket of wrapped, homemade caramels.  More than a few found their way into my purse for the drive home.  A older woman in our church, Mrs. Woodruff, made them.  She was our orthodontist’s mother, interestingly.

Right after Thanksgiving one year I called her up and asked her if she would teach me to make them.  I drove up to her house, bringing the butter, whipping cream and other ingredients with me.  The first thing she did was open up the cream and dump it all over the sugar. “Whoops,” she said.  She shook her head.  “That’s not right.”  She put the pan in her pantry and said, “That’ll be for something else later on,” and we started again.  I think of that now as I’m approaching her age.  Just say “Whoops,” when a kitchen mistake is made, and move on.

The trickiest thing about these caramels is finding the correct pan.  You need those cheapy pans from your local store–nothing fancy.  They’re a little smaller than the typical baker’s half-sheet that I normally use.  Known as a jelly-roll pan, it’s nice and shiny, and when it gets old, rusty and too full of cutting lines, toss it and start again.

Here’s the recipe, step by step.  The version without pictures is at the bottom of this post.

Caramels

2 cups granulated sugar
1/2 pint whipping cream
1/2 cup evaporated milk (1 small –5 oz.–can)
1 small bottle clear Karo corn syrup (2 cups)
1 cube of real butter
1 1/2 cups chopped walnuts
1 buttered jelly roll pan
1/2 teaspoon vanilla extract
 

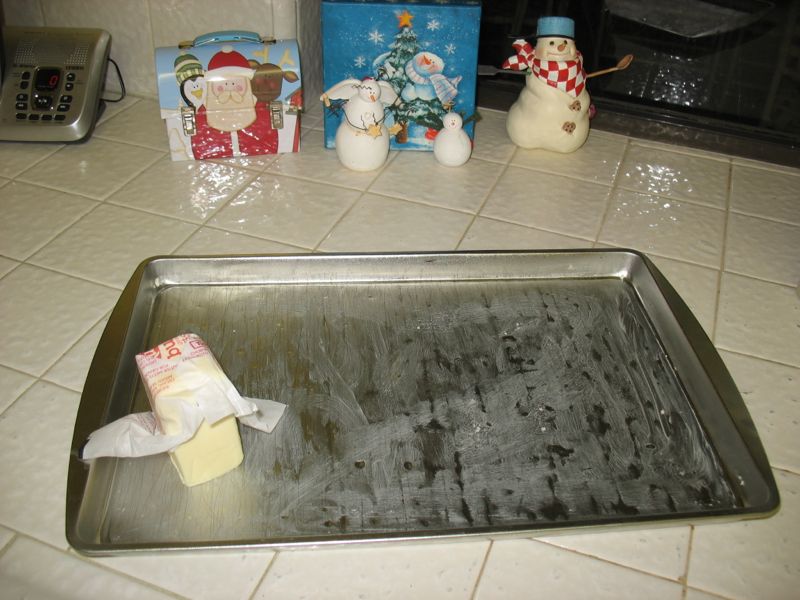
First step: butter the pan.  With real butter.

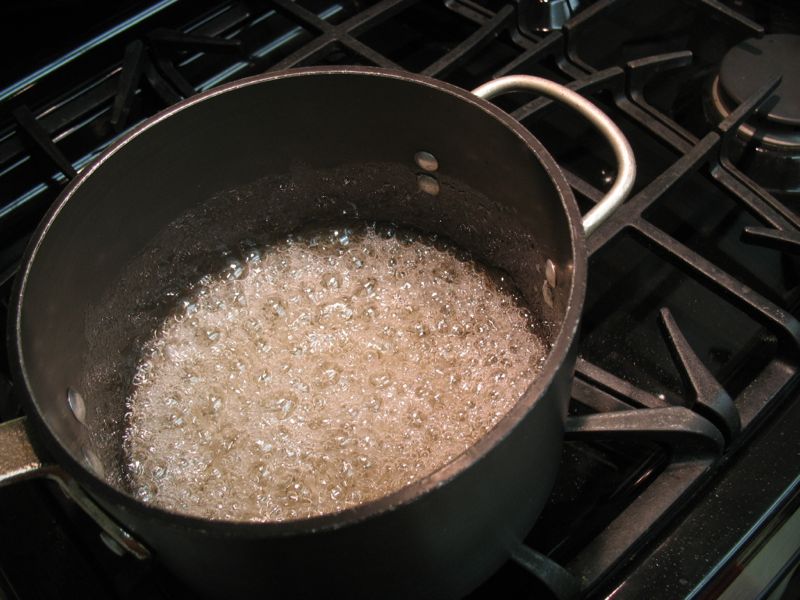
Combine the sugar and corn syrup. Cook until full boil and it turns a creamy color.

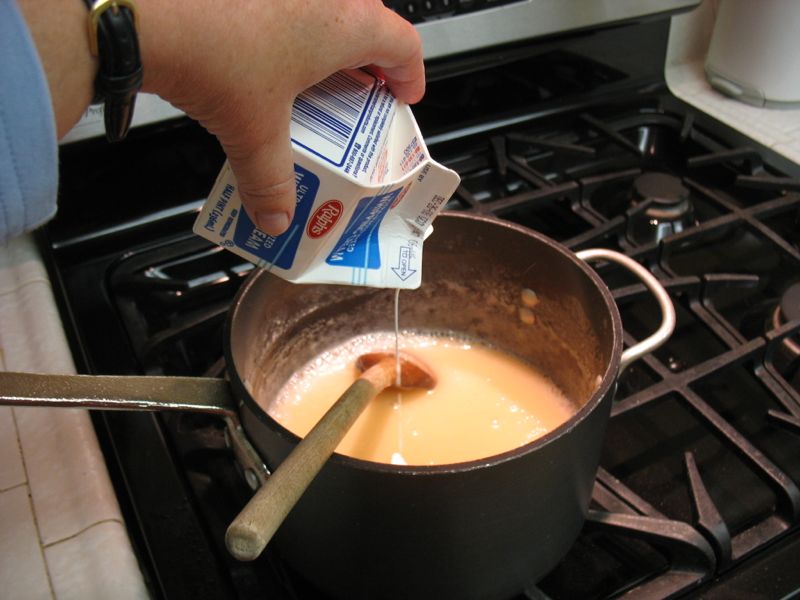
Add cream and evaporated milk (it will foam up; be careful, but keep stirring).

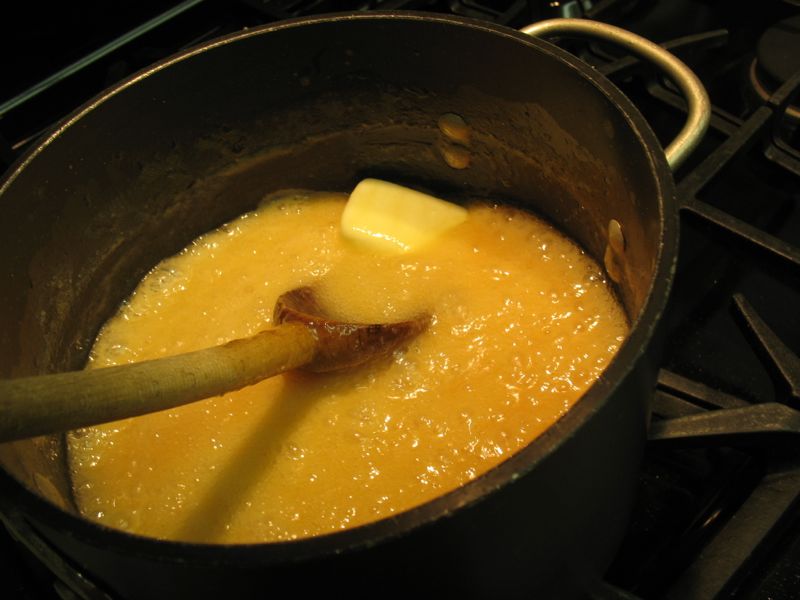
Bring to a boil, then add butter.  Normally most people would know what adding butter looks like, but this picture is for my friend Judy, who loves lots of photos in her recipe steps.

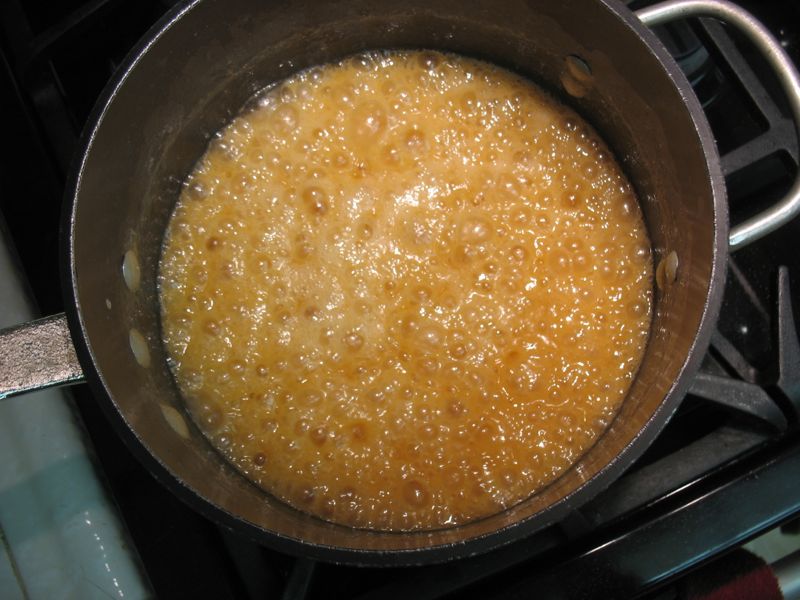
Is it done yet?  No.  If you yank them too early, they’ll be mushy-too-soft caramels. Like your neighbor’s.

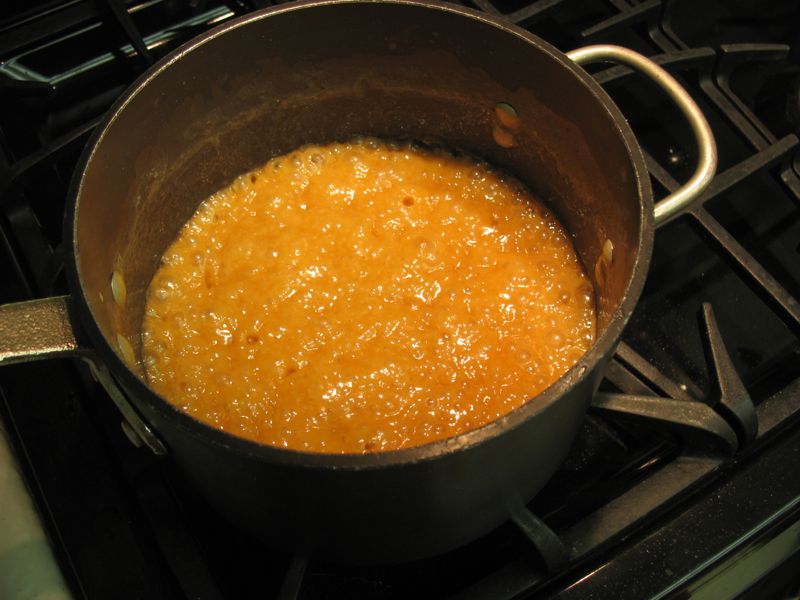
Now it’s done.  Color is a good cue, but really it’s the caramel-into-the-glass-of-water test that really is the determinant.

Cook until caramel hardness (3/4 to 1 hour) keeping it at a low boil the whole time, and stirring occasionally.  We test our caramel with the old-fashioned water-in-a-glass method.    Drizzle a bit of the caramel into the water, feeling it into a ball, and seeing if it’s the texture of a caramel.  (It doesn’t hurt to pop this sample into your mouth to see.)  Don’t get the water ice cold, or you can’t figure it out. With practice, you’ll know exactly when its ready.

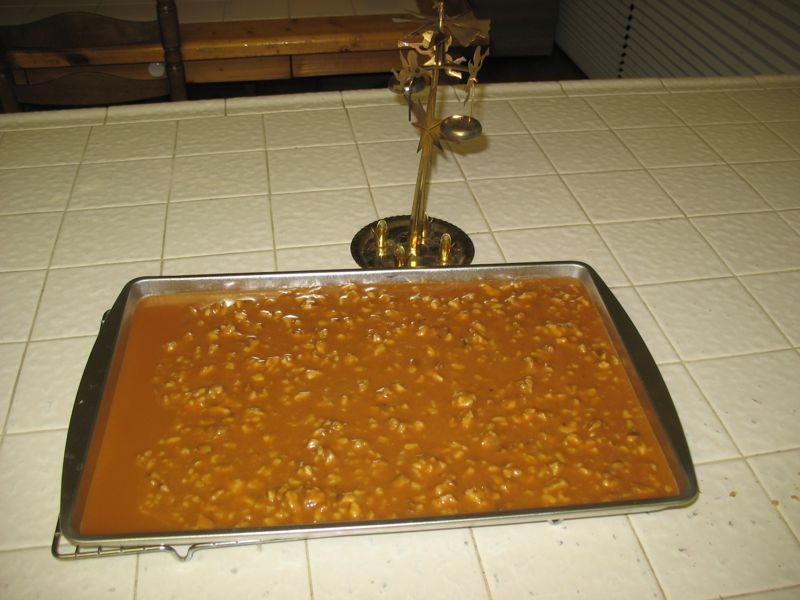
Remove from heat, then stir in nuts and vanilla and pour into the pan.  I always pour a little bit out on one end to give to those who don’t like nuts (I place a spoon underneath the opposite edge of the pan to keep it tilted), then after adding the nuts to the main caramel batch, I pour the rest in (and remove the spoon from underneath).  Let sit 24 hours, covered with a sheet of wax paper.

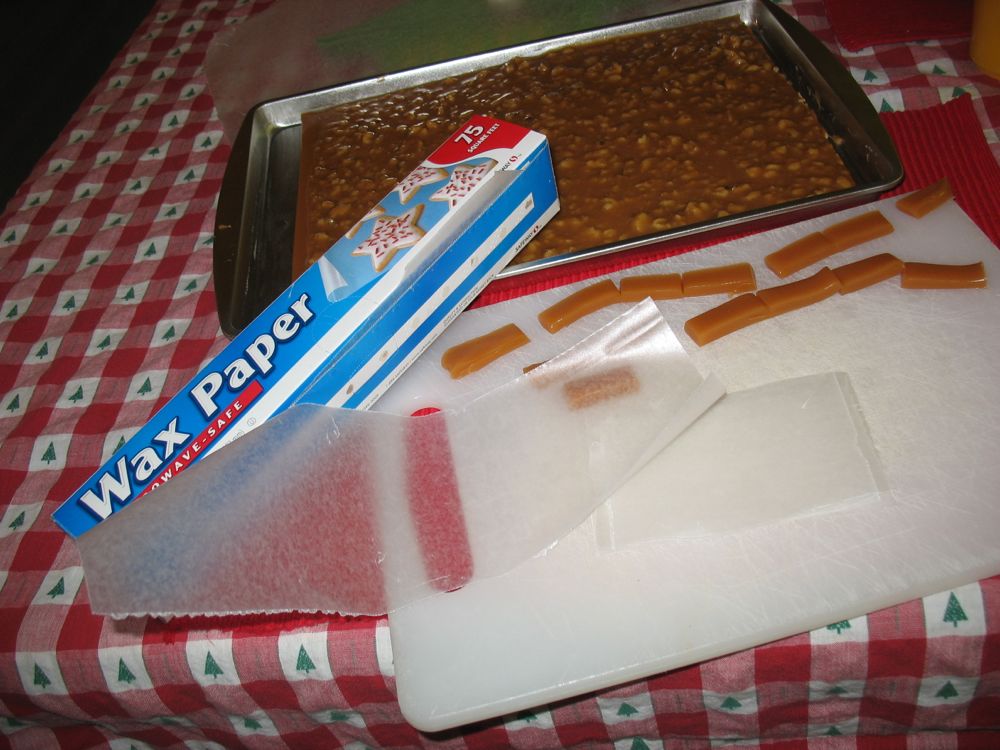
Cut pieces of wax paper, by ripping a three-inch strip off of the roll, then slicing into into half, then half again.

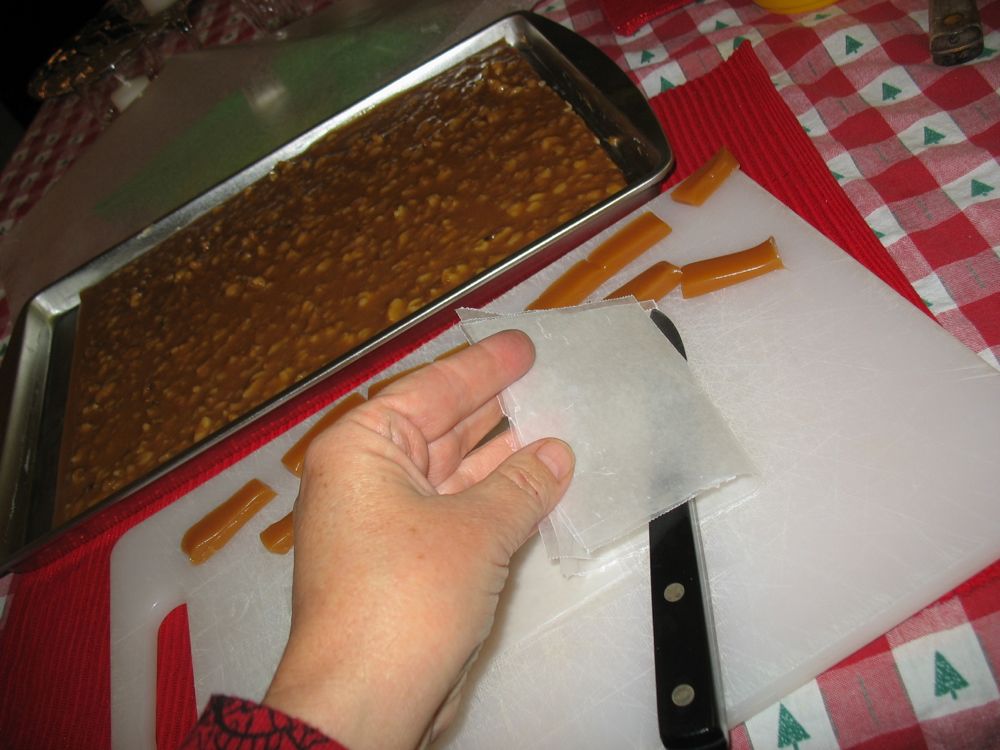
I do about 6 little strips at a time, making 24 little squares of wax paper.

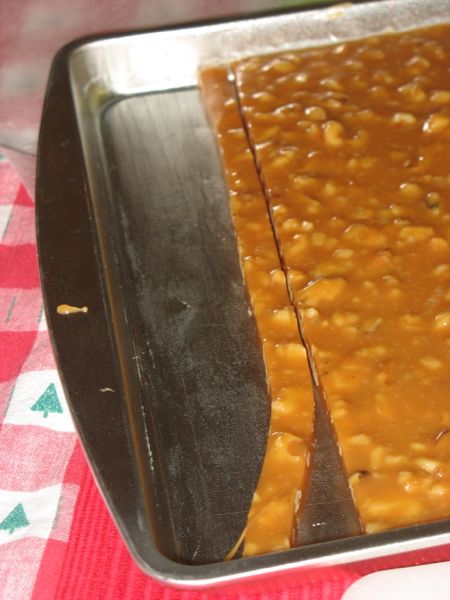
Cut across the short end of the pan making a long strip about 3/8″ wide.  No wider.

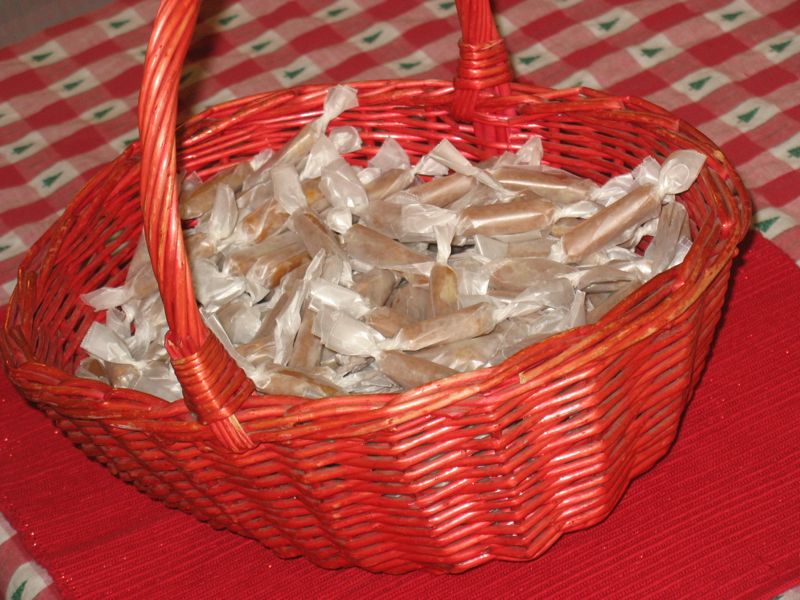
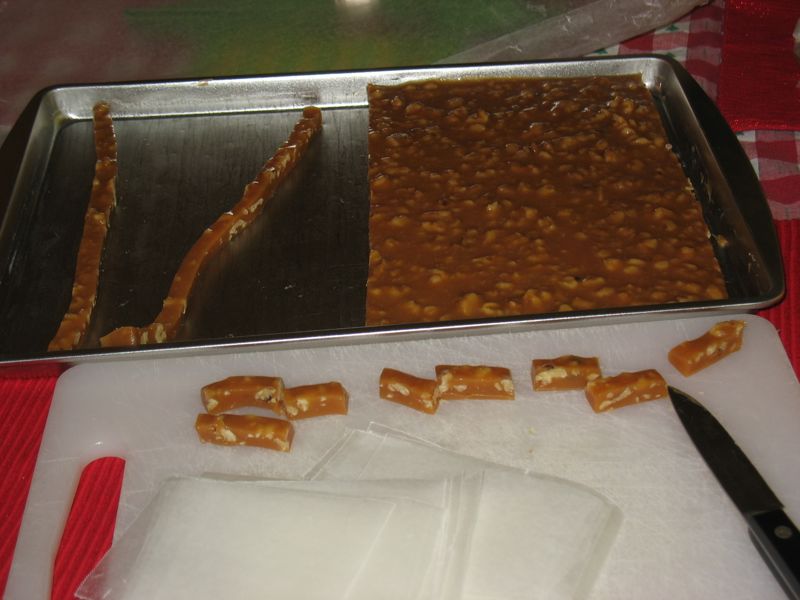
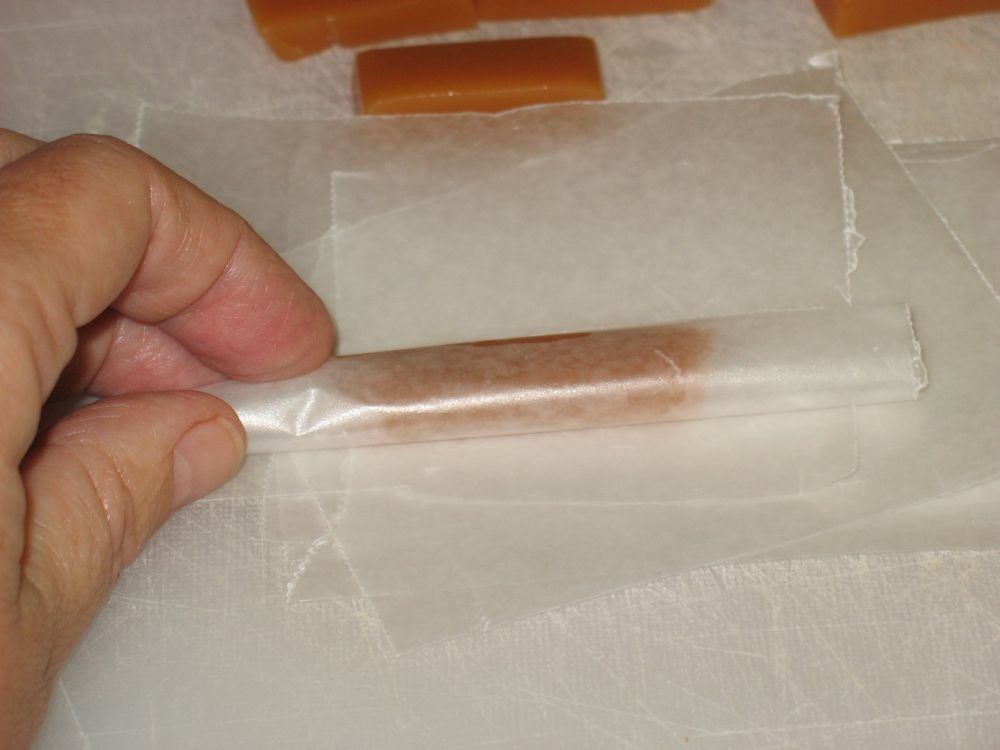
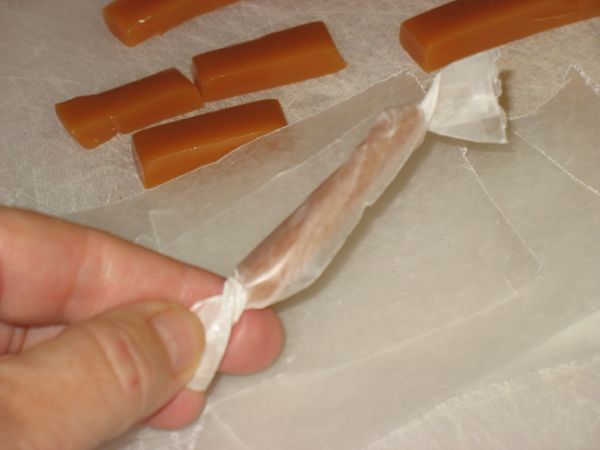
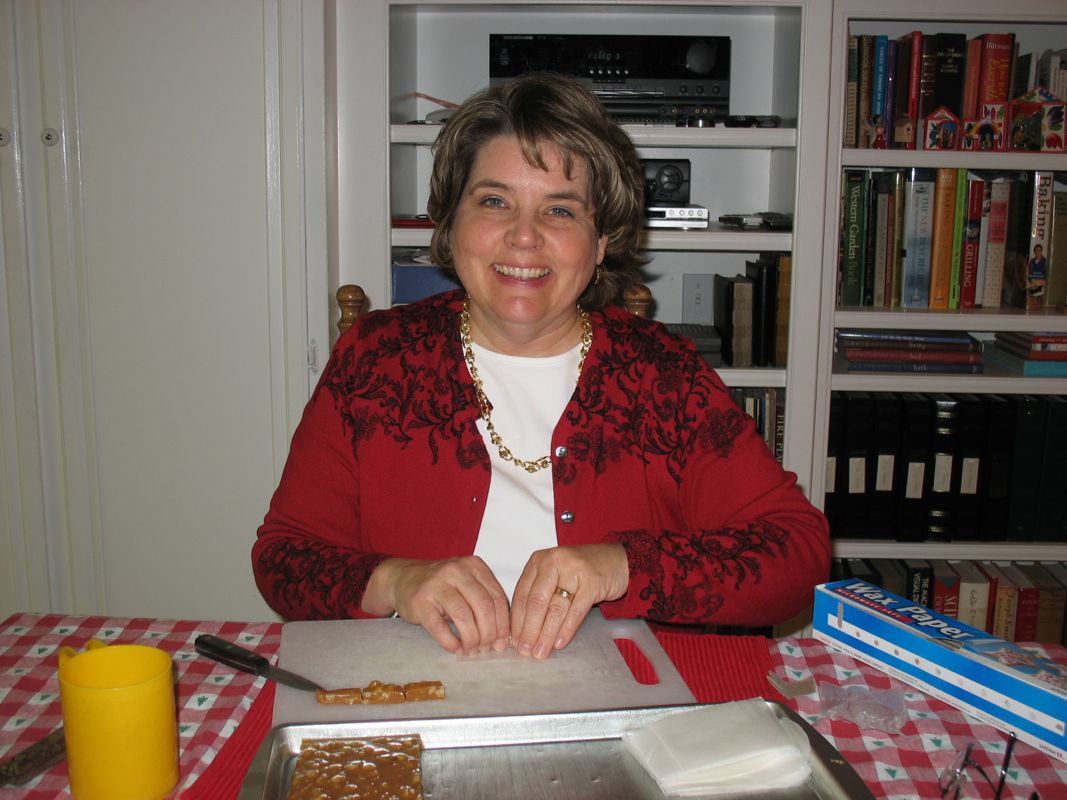
Cut this into about 7 equal pieces and wrap in squares of wax paper.  (Mine are usually longer and skinnier than this photo shows.)

They keep for a season, if they last that long.

Merry Christmas!

************************

Caramels  Yield: 2 1/2 pounds

2 cups granulated sugar
1/2 pint whipping cream
1/2 cup evaporated milk (1 small –5 oz.–can)
1 small bottle clear Karo corn syrup (2 cups)
1 cube of real butter
1 1/2 cups chopped walnuts
1 buttered jelly roll pan
1/2 teaspoon vanilla extract

Combine the sugar and corn syrup.  Cook until full boil and it turns a creamy color.  Add cream and evaporated milk (it will foam up; be careful, but keep stirring). Bring to a boil, then add butter.  Cook until caramel hardness (3/4 to 1 hour) keeping it at a low boil the whole time, and stirring occasionally.  We test our caramel with the old-fashioned water-in-a-glass method.  Don’t get the water too cold, or you can’t figure it out.  Drizzle a bit of the caramel into the water, feeling it into a ball, and seeing if it’s the texture of a caramel.  (It doesn’t hurt to pop this sample into your mouth to see.)  With practice, you’ll know exactly when its ready.  Remove from stir in nuts and vanilla and pout into the pan.  I always pour a little bit on one end to give to those who don’t like nuts, then after adding the nuts, I pour the rest in.  Let sit 24 hours, covered with a sheet of wax paper.

Cut across the short end of the pan making a long strip about 3/8″ wide.  No wider.  Cut this into about 7 equal pieces and wrap in squares of wax paper.  It keeps for a season, if it lasts that long.