When I was nineteen several young women in my acquaintance were married and at each of their weddings was large basket of wrapped, homemade caramels. More than a few found their way into my purse for the drive home. A older woman in our church, Mrs. Woodruff, made them. She was our orthodontist’s mother, interestingly.
Right after Thanksgiving one year I called her up and asked her if she would teach me to make them. I drove up to her house, bringing the butter, whipping cream and other ingredients with me. The first thing she did was open up the cream and dump it all over the sugar. “Whoops,” she said. She shook her head. “That’s not right.” She put the pan in her pantry and said, “That’ll be for something else later on,” and we started again. I think of that now as I’m approaching her age. Just say “Whoops,” when a kitchen mistake is made, and move on.
The trickiest thing about these caramels is finding the correct pan. You need those cheapy pans from your local store–nothing fancy. They’re a little smaller than the typical baker’s half-sheet that I normally use. Known as a jelly-roll pan, it’s nice and shiny, and when it gets old, rusty and too full of cutting lines, toss it and start again.
Here’s the recipe, step by step. The version without pictures is at the bottom of this post.
Caramels
2 cups granulated sugar 1/2 pint whipping cream 1/2 cup evaporated milk (1 small –5 oz.–can) 1 small bottle clear Karo corn syrup (2 cups) 1 cube of real butter 1 1/2 cups chopped walnuts 1 buttered jelly roll pan 1/2 teaspoon vanilla extract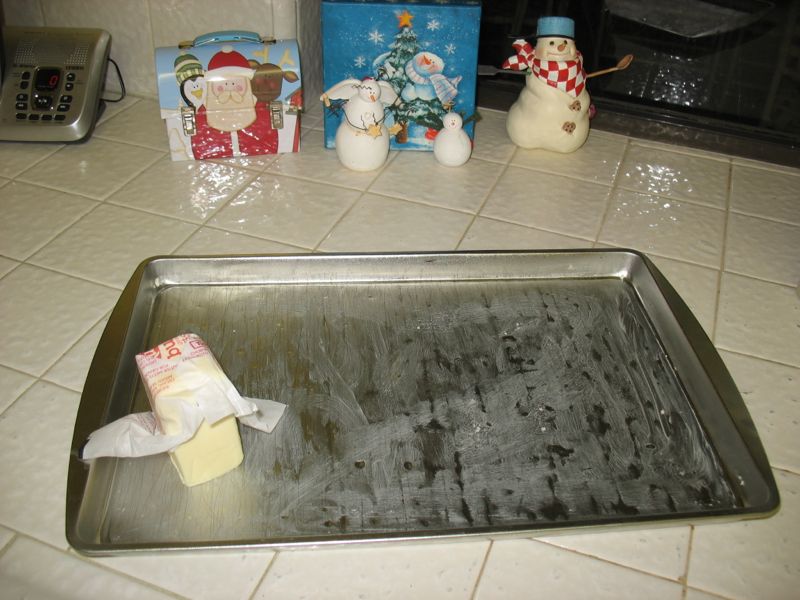
First step: butter the pan. With real butter.
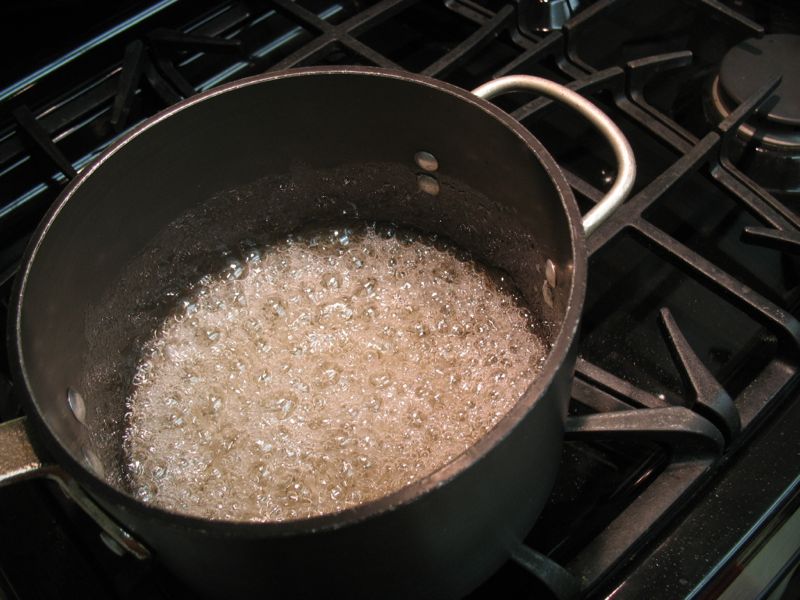
Combine the sugar and corn syrup. Cook until full boil and it turns a creamy color.
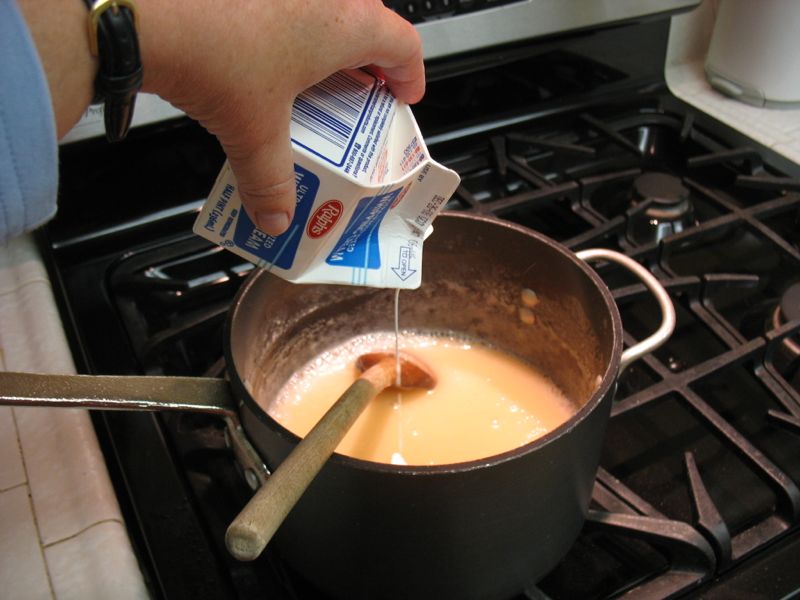
Add cream and evaporated milk (it will foam up; be careful, but keep stirring).
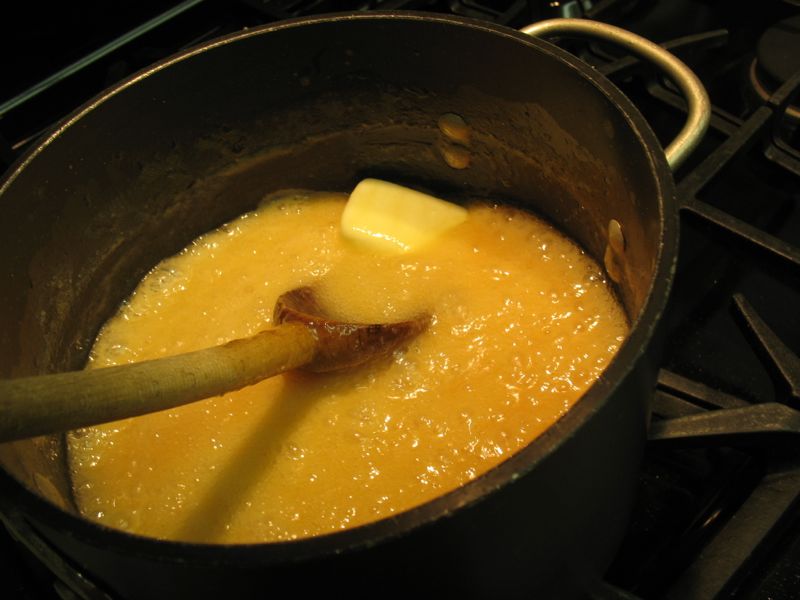
Bring to a boil, then add butter. Normally most people would know what adding butter looks like, but this picture is for my friend Judy, who loves lots of photos in her recipe steps.
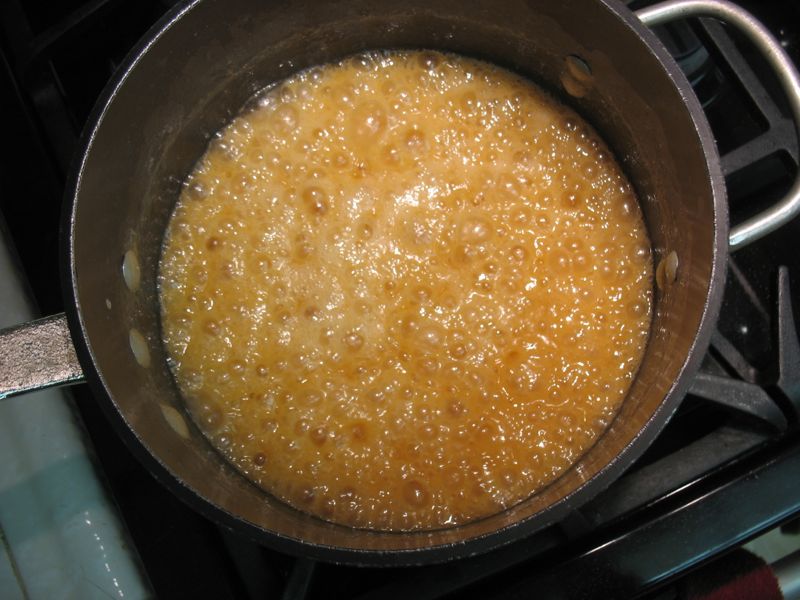
Is it done yet? No. If you yank them too early, they’ll be mushy-too-soft caramels. Like your neighbor’s.
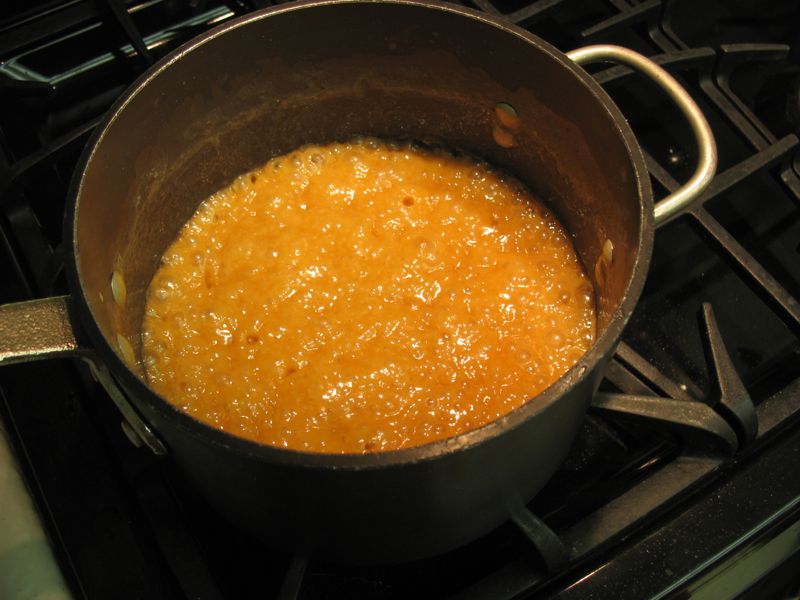
Now it’s done. Color is a good cue, but really it’s the caramel-into-the-glass-of-water test that really is the determinant.
Cook until caramel hardness (3/4 to 1 hour) keeping it at a low boil the whole time, and stirring occasionally. We test our caramel with the old-fashioned water-in-a-glass method. Drizzle a bit of the caramel into the water, feeling it into a ball, and seeing if it’s the texture of a caramel. (It doesn’t hurt to pop this sample into your mouth to see.) Don’t get the water ice cold, or you can’t figure it out. With practice, you’ll know exactly when its ready.
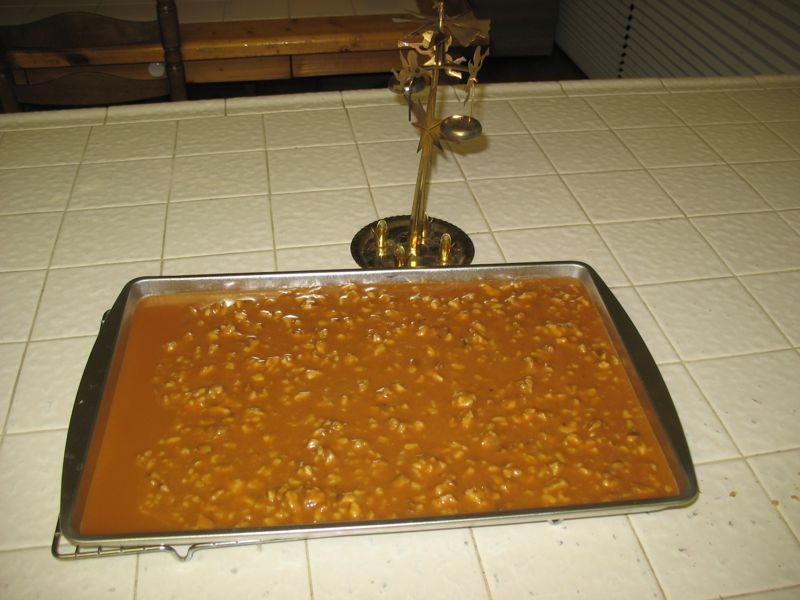
Remove from heat, then stir in nuts and vanilla and pour into the pan. I always pour a little bit out on one end to give to those who don’t like nuts (I place a spoon underneath the opposite edge of the pan to keep it tilted), then after adding the nuts to the main caramel batch, I pour the rest in (and remove the spoon from underneath). Let sit 24 hours, covered with a sheet of wax paper.
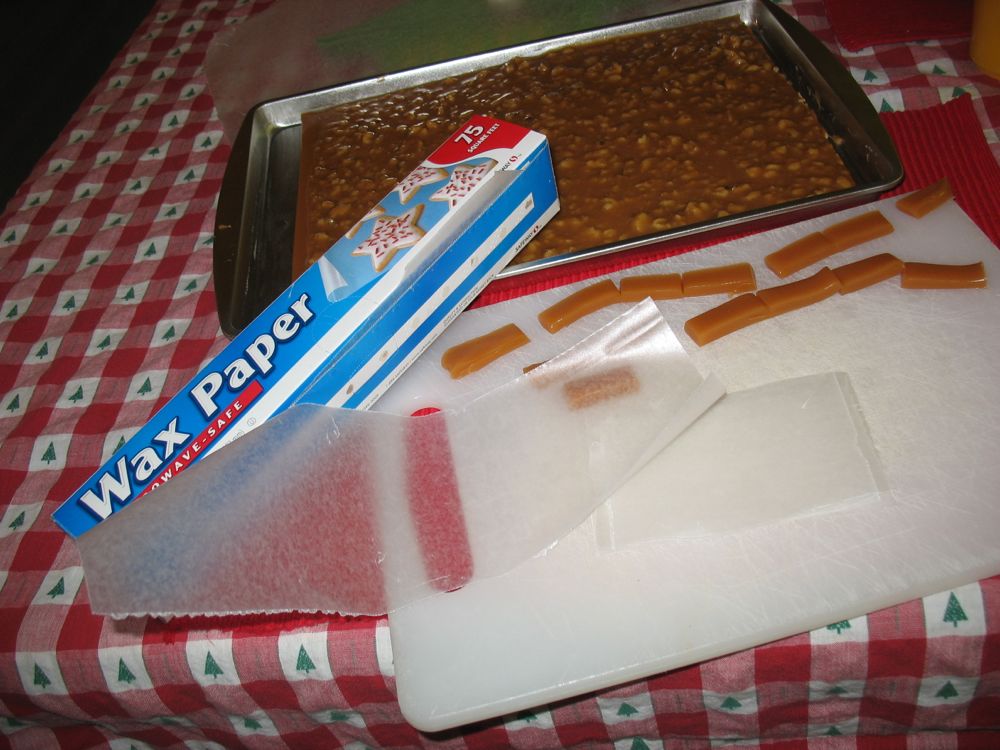
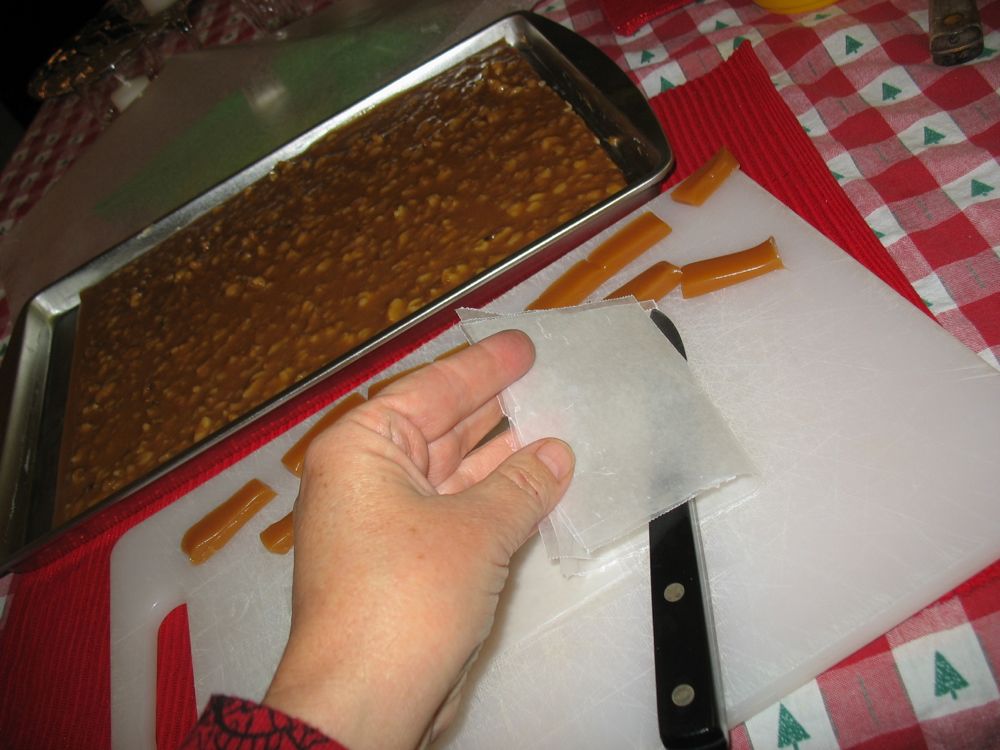
Cut pieces of wax paper, by ripping a three-inch strip off of the roll, then slicing into into half, then half again.
I do about 6 little strips at a time, making 24 little squares of wax paper.
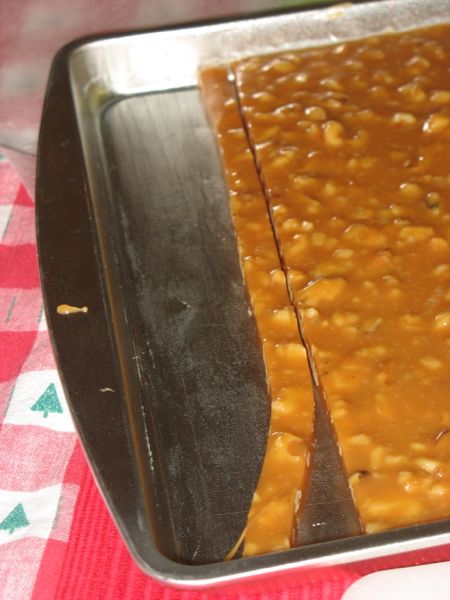
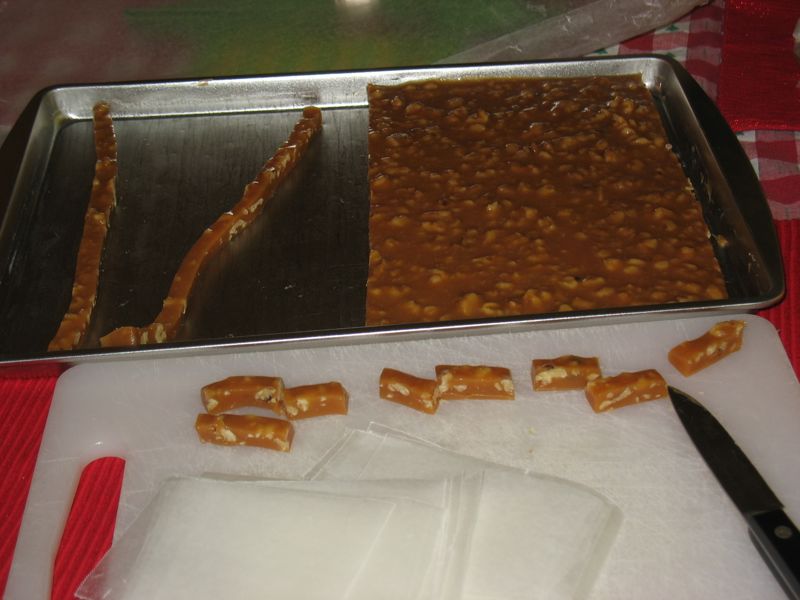
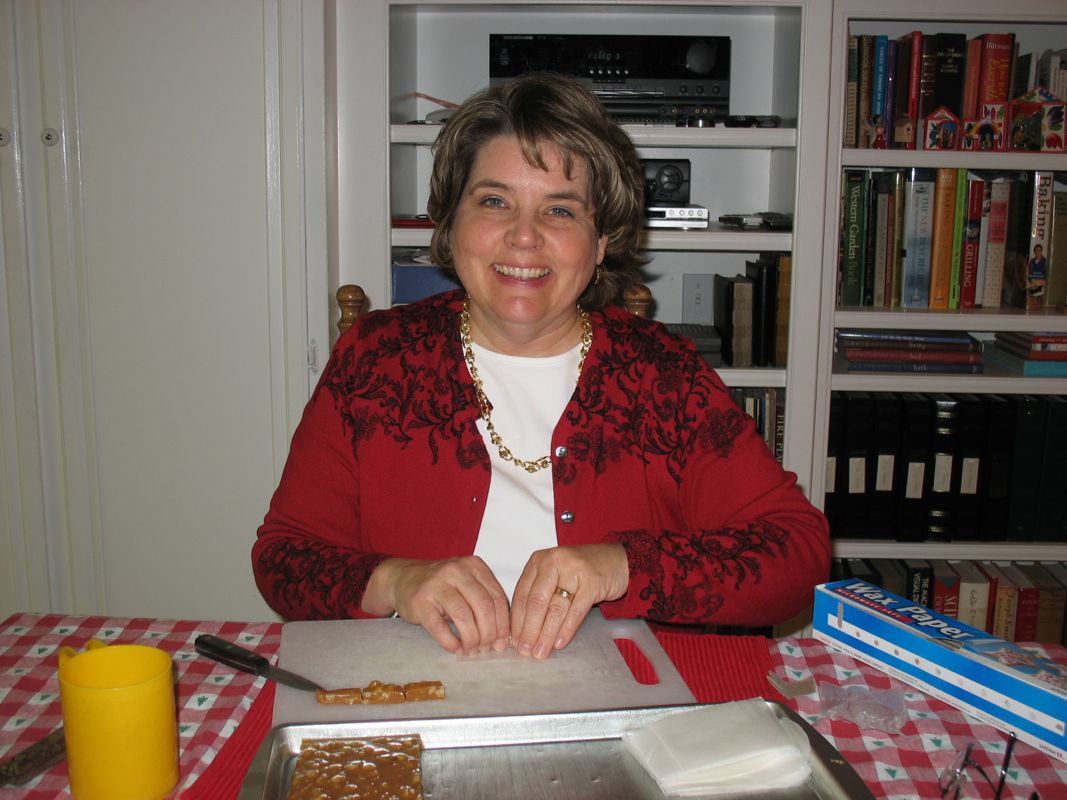
Cut across the short end of the pan making a long strip about 3/8″ wide. No wider.
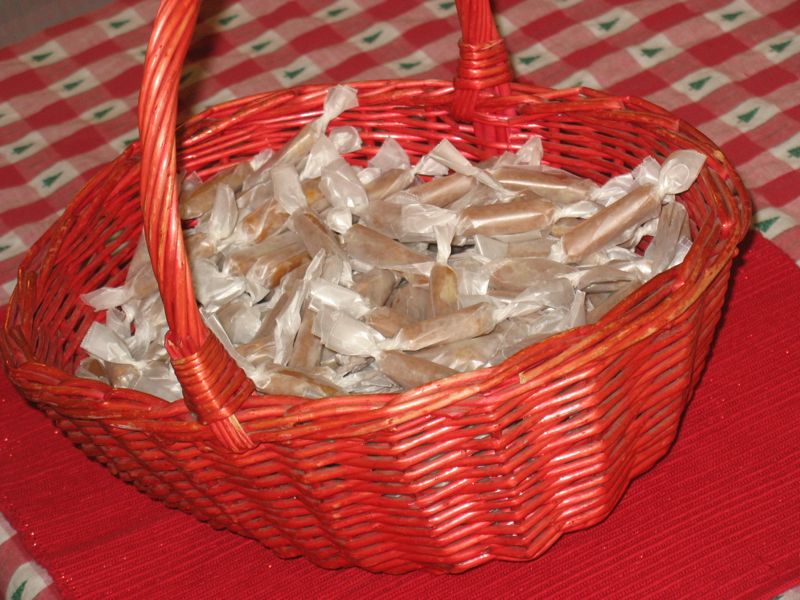
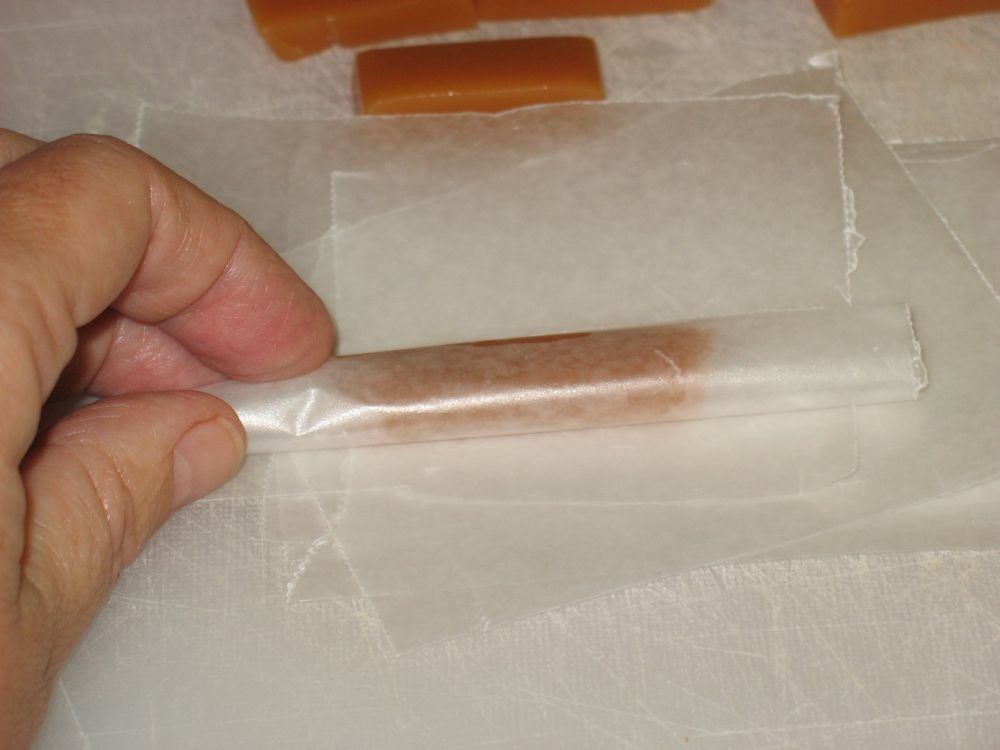
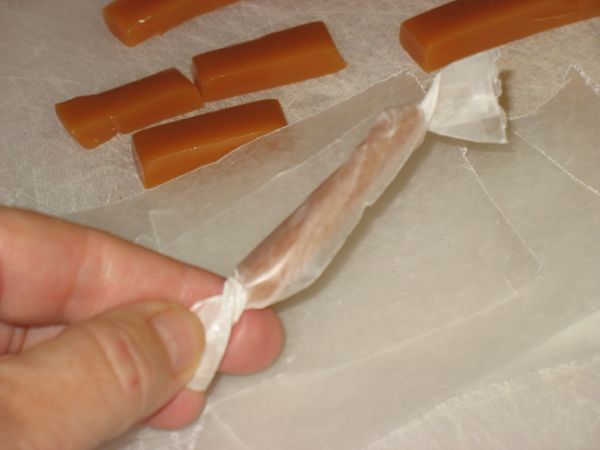
Cut this into about 7 equal pieces and wrap in squares of wax paper. (Mine are usually longer and skinnier than this photo shows.)
They keep for a season, if they last that long.
************************
Caramels Yield: 2 1/2 pounds
Combine the sugar and corn syrup. Cook until full boil and it turns a creamy color. Add cream and evaporated milk (it will foam up; be careful, but keep stirring). Bring to a boil, then add butter. Cook until caramel hardness (3/4 to 1 hour) keeping it at a low boil the whole time, and stirring occasionally. We test our caramel with the old-fashioned water-in-a-glass method. Don’t get the water too cold, or you can’t figure it out. Drizzle a bit of the caramel into the water, feeling it into a ball, and seeing if it’s the texture of a caramel. (It doesn’t hurt to pop this sample into your mouth to see.) With practice, you’ll know exactly when its ready. Remove from stir in nuts and vanilla and pout into the pan. I always pour a little bit on one end to give to those who don’t like nuts, then after adding the nuts, I pour the rest in. Let sit 24 hours, covered with a sheet of wax paper.
Cut across the short end of the pan making a long strip about 3/8″ wide. No wider. Cut this into about 7 equal pieces and wrap in squares of wax paper. It keeps for a season, if it lasts that long.
Caramels are Tim’s favorite. I’ll point him to your recipe for hints and comparisons. But I’ll let Tim remain the caramel guy in the family. I just don’t have the patience to keep stirring the stuff and mine turn out poorly.
Tim is also the cookie guy.