Creamy Chocolate Fudge

One year I was in charge of the Universe.  Just kidding.  But I was in charge of a Christmas event at church which included a video broadcast and Those In Charge wanted a big turnout.  So I hit on the idea of singing Christmas Carols before, then having a giant cookie feast afterward.  I think desserts is always a category where church-goers excel.

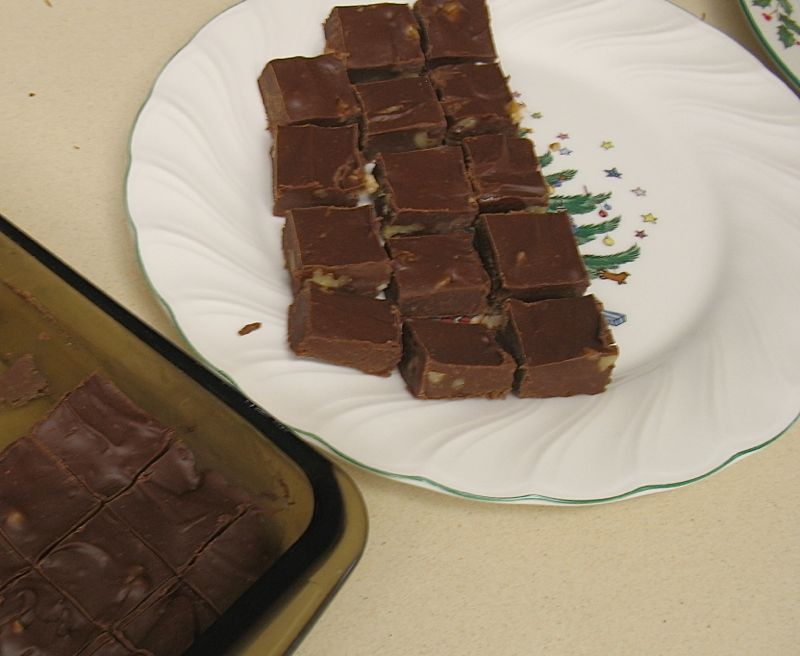
The tables were covered with all different plates and kinds of cookies, and then this one tin of fudge. I slipped a piece into my mouth.  Mmmm. It wasn’t the least bit sugary or dry.  It was creamy with the right amount of crunch from walnuts.  Manna, I thought.  I watched as the hoards of children hit the first table, piling up cookies in their napkins in spite of my best-practiced Withering Glance, the swarm getting closer and closer to this Bit of Heavenly fudge.  Just as the leading edge hit my section, I snatched up the tin.  “No,” I said.  “This is just for the adults.”  I then walked around offering a piece at a time to the grown-ups, trying to locate the owner and maker of this perfection.  I found her, and she sent me the recipe.  So, Monique–if you’re reading this blog–many thanks!

Creamy Chocolate Fudge

1 jar (7 ounces) of marshmallow creme
1  1/2 cups sugar
2/3 cup undiluted evaporated milk
1/4 cup butter or margarine
1/4 teaspoon salt
1 package (11 1/2 ounce) milk chocolate chips (~2 cups)
1 package (6 oz.) semi-sweet chocolate chips (~1 cup)
(Note: I have reversed the proportions of the chips on occasions for a slightly less-sweet fudge.  It works fine.)
1 cup chopped walnuts
1 teaspoon vanilla extract

In a large saucepan over medium heat, combine marshmallow creme, sugar, evaporated milk, butter and salt; bring to a full rolling boil, stirring constantly.  BOIL FOR 45 SECONDS ONLY!!  Otherwise it will be too grainy.  Remove from heat and stir in chips until melted, stirring vigorously.  Add vanilla and nuts and pour into buttered 9 x 13″ pan.  Cool 2 hours or until firm.

Christmas Caramels

When I was nineteen several young women in my acquaintance were married and at each of their weddings was  large basket of wrapped, homemade caramels.  More than a few found their way into my purse for the drive home.  A older woman in our church, Mrs. Woodruff, made them.  She was our orthodontist’s mother, interestingly.

Right after Thanksgiving one year I called her up and asked her if she would teach me to make them.  I drove up to her house, bringing the butter, whipping cream and other ingredients with me.  The first thing she did was open up the cream and dump it all over the sugar. “Whoops,” she said.  She shook her head.  “That’s not right.”  She put the pan in her pantry and said, “That’ll be for something else later on,” and we started again.  I think of that now as I’m approaching her age.  Just say “Whoops,” when a kitchen mistake is made, and move on.

The trickiest thing about these caramels is finding the correct pan.  You need those cheapy pans from your local store–nothing fancy.  They’re a little smaller than the typical baker’s half-sheet that I normally use.  Known as a jelly-roll pan, it’s nice and shiny, and when it gets old, rusty and too full of cutting lines, toss it and start again.

Here’s the recipe, step by step.  The version without pictures is at the bottom of this post.

Caramels

2 cups granulated sugar
1/2 pint whipping cream
1/2 cup evaporated milk (1 small –5 oz.–can)
1 small bottle clear Karo corn syrup (2 cups)
1 cube of real butter
1 1/2 cups chopped walnuts
1 buttered jelly roll pan
1/2 teaspoon vanilla extract
 

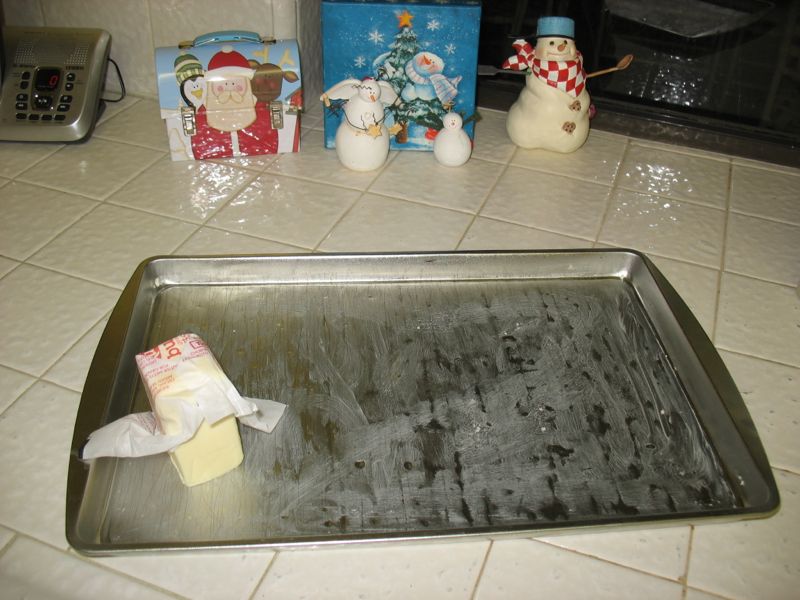
First step: butter the pan.  With real butter.

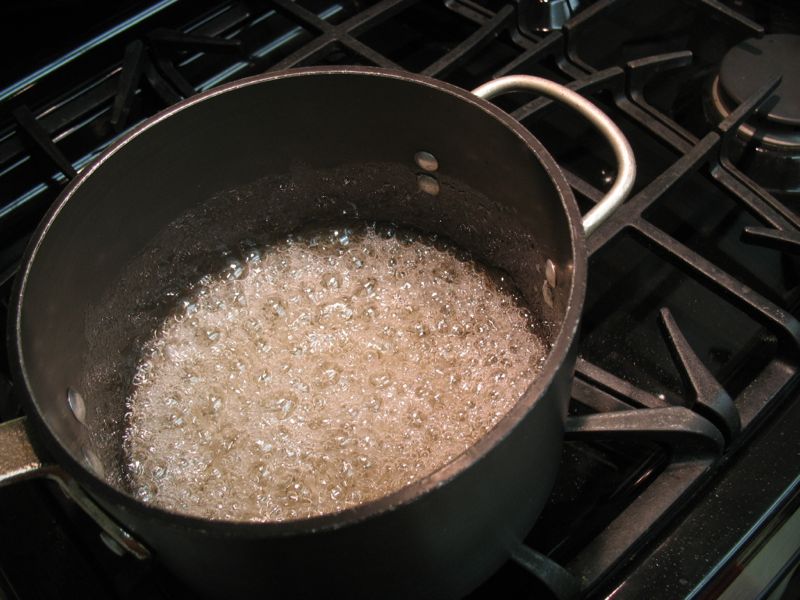
Combine the sugar and corn syrup. Cook until full boil and it turns a creamy color.

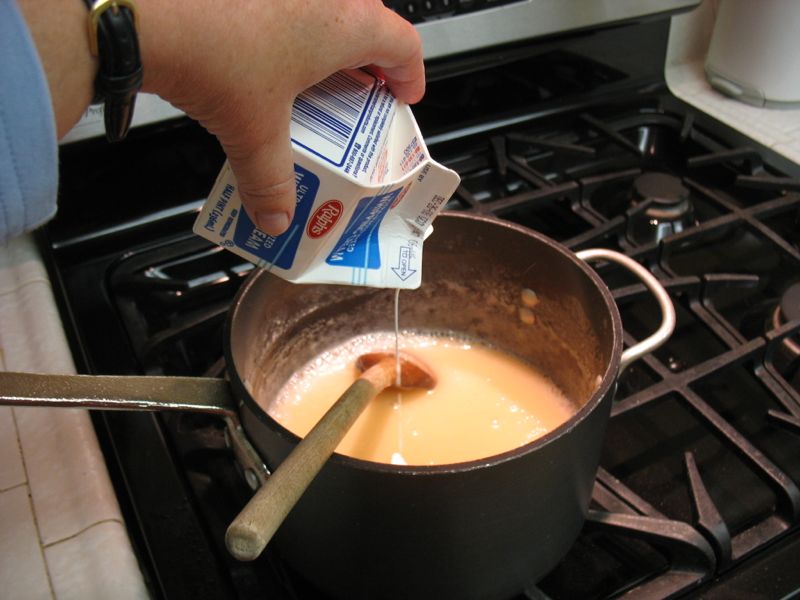
Add cream and evaporated milk (it will foam up; be careful, but keep stirring).

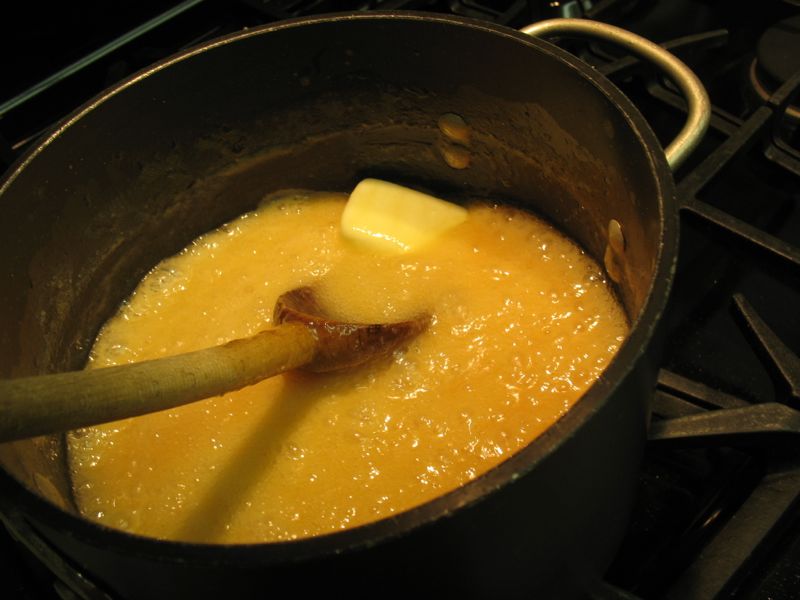
Bring to a boil, then add butter.  Normally most people would know what adding butter looks like, but this picture is for my friend Judy, who loves lots of photos in her recipe steps.

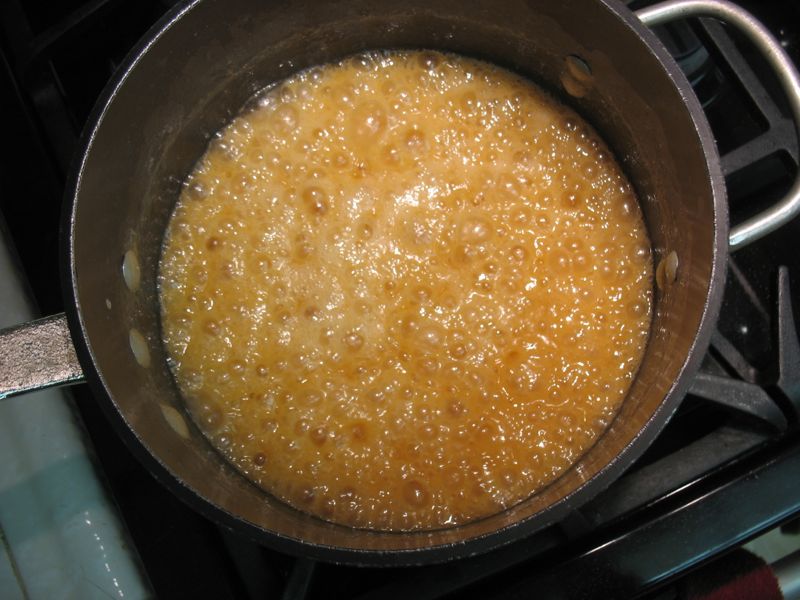
Is it done yet?  No.  If you yank them too early, they’ll be mushy-too-soft caramels. Like your neighbor’s.

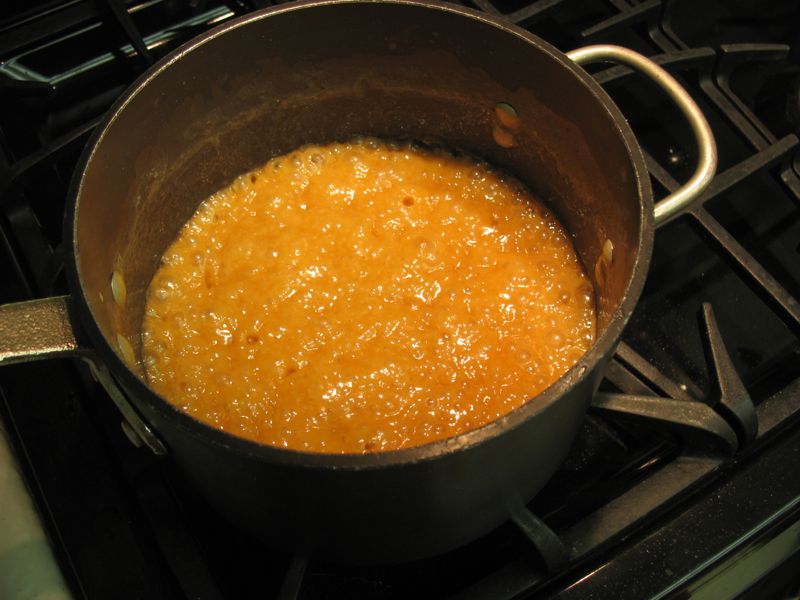
Now it’s done.  Color is a good cue, but really it’s the caramel-into-the-glass-of-water test that really is the determinant.

Cook until caramel hardness (3/4 to 1 hour) keeping it at a low boil the whole time, and stirring occasionally.  We test our caramel with the old-fashioned water-in-a-glass method.    Drizzle a bit of the caramel into the water, feeling it into a ball, and seeing if it’s the texture of a caramel.  (It doesn’t hurt to pop this sample into your mouth to see.)  Don’t get the water ice cold, or you can’t figure it out. With practice, you’ll know exactly when its ready.

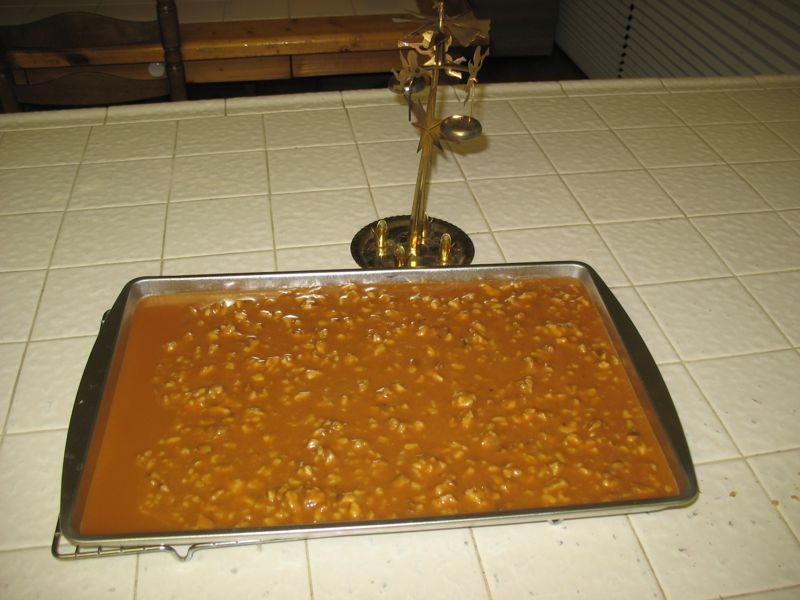
Remove from heat, then stir in nuts and vanilla and pour into the pan.  I always pour a little bit out on one end to give to those who don’t like nuts (I place a spoon underneath the opposite edge of the pan to keep it tilted), then after adding the nuts to the main caramel batch, I pour the rest in (and remove the spoon from underneath).  Let sit 24 hours, covered with a sheet of wax paper.

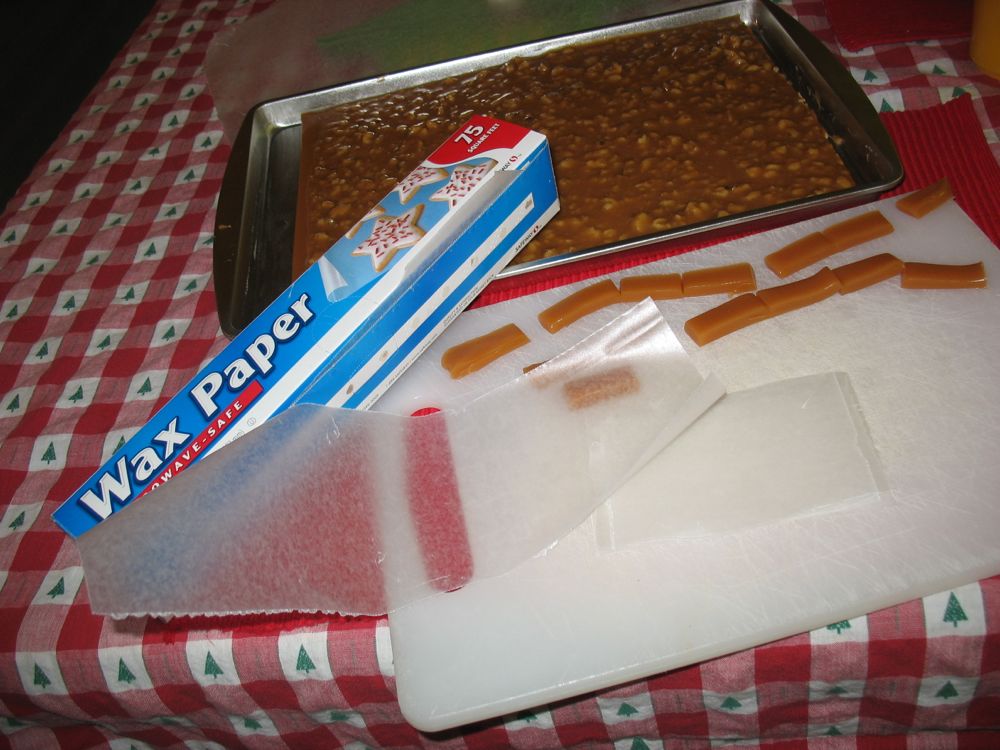
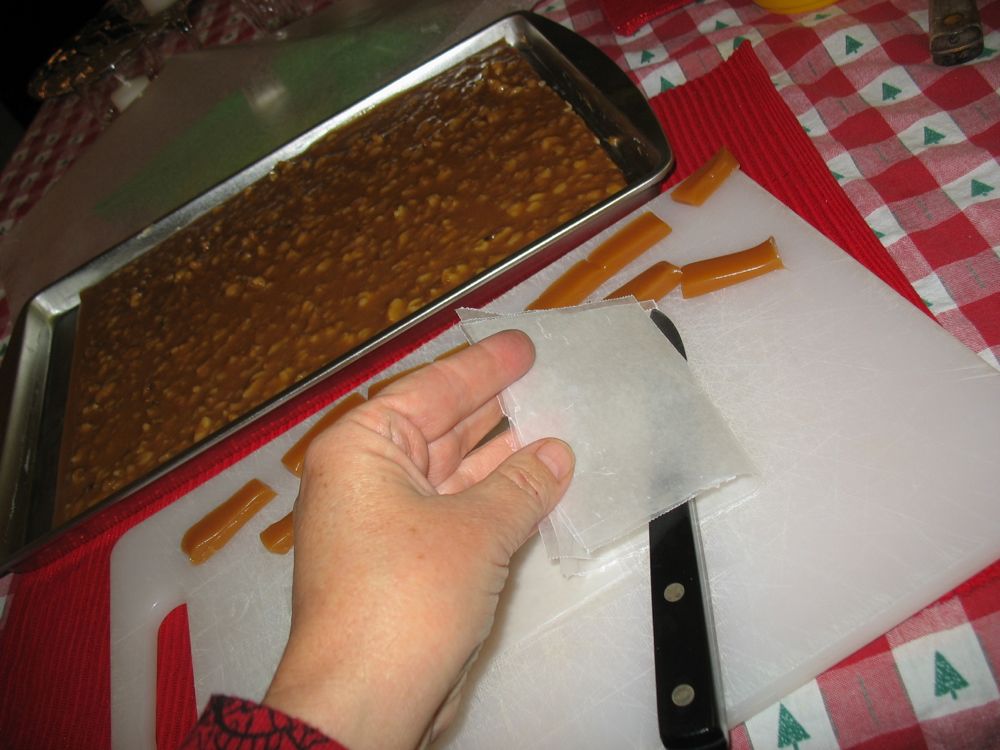
Cut pieces of wax paper, by ripping a three-inch strip off of the roll, then slicing into into half, then half again.

I do about 6 little strips at a time, making 24 little squares of wax paper.

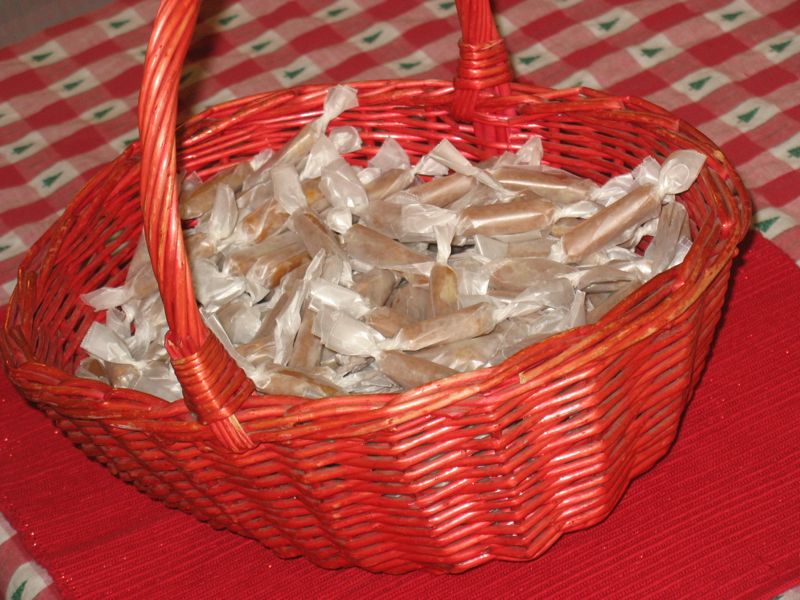
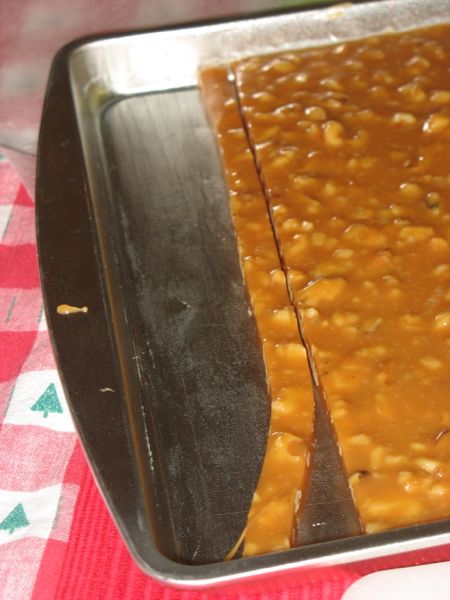
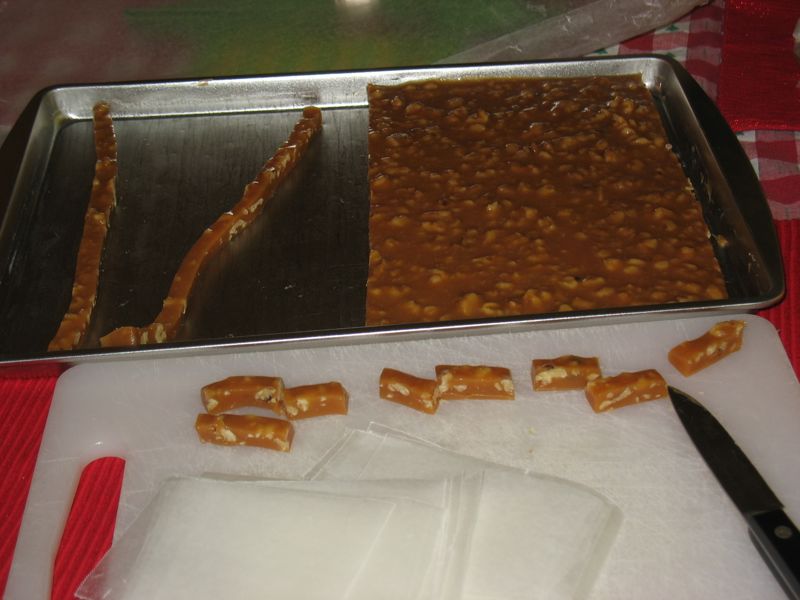
Cut across the short end of the pan making a long strip about 3/8″ wide.  No wider.

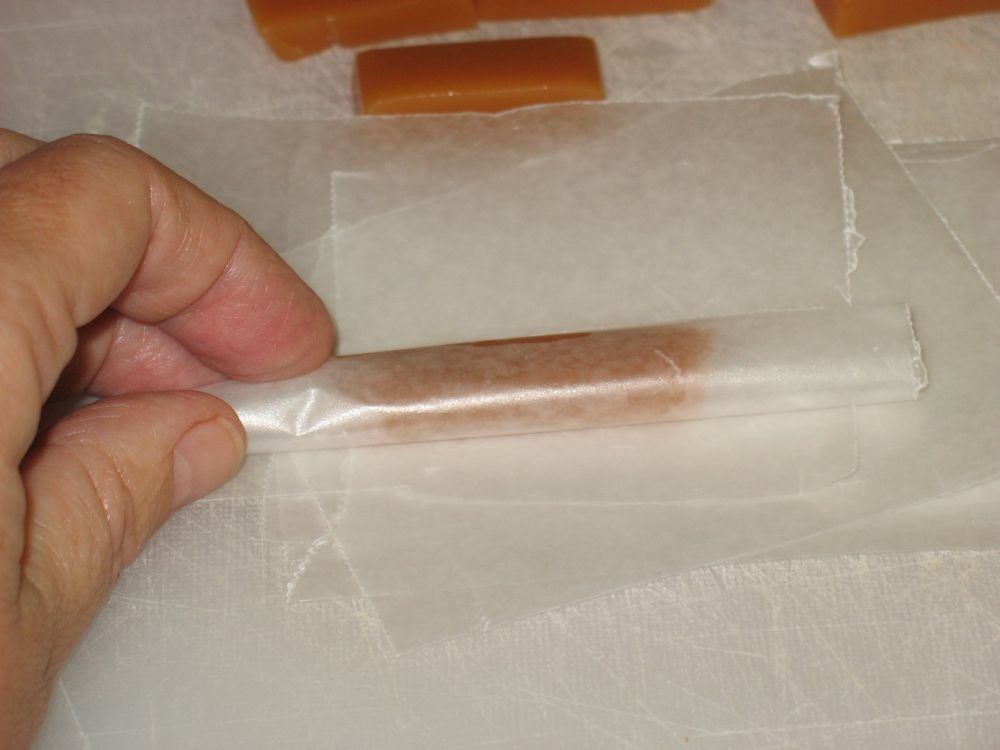
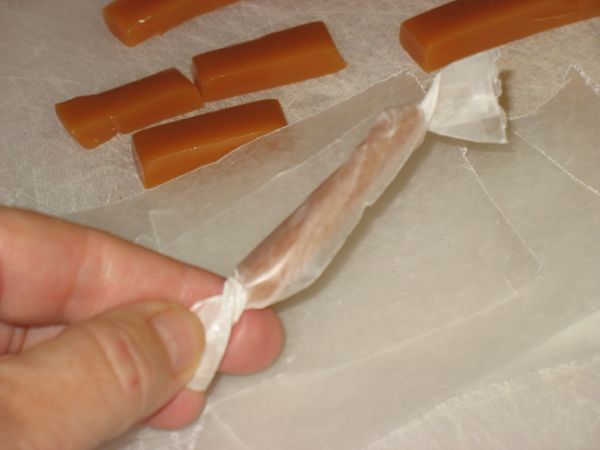
Cut this into about 7 equal pieces and wrap in squares of wax paper.  (Mine are usually longer and skinnier than this photo shows.)

They keep for a season, if they last that long.

Merry Christmas!

************************

Caramels  Yield: 2 1/2 pounds

2 cups granulated sugar
1/2 pint whipping cream
1/2 cup evaporated milk (1 small –5 oz.–can)
1 small bottle clear Karo corn syrup (2 cups)
1 cube of real butter
1 1/2 cups chopped walnuts
1 buttered jelly roll pan
1/2 teaspoon vanilla extract

Combine the sugar and corn syrup.  Cook until full boil and it turns a creamy color.  Add cream and evaporated milk (it will foam up; be careful, but keep stirring). Bring to a boil, then add butter.  Cook until caramel hardness (3/4 to 1 hour) keeping it at a low boil the whole time, and stirring occasionally.  We test our caramel with the old-fashioned water-in-a-glass method.  Don’t get the water too cold, or you can’t figure it out.  Drizzle a bit of the caramel into the water, feeling it into a ball, and seeing if it’s the texture of a caramel.  (It doesn’t hurt to pop this sample into your mouth to see.)  With practice, you’ll know exactly when its ready.  Remove from stir in nuts and vanilla and pout into the pan.  I always pour a little bit on one end to give to those who don’t like nuts, then after adding the nuts, I pour the rest in.  Let sit 24 hours, covered with a sheet of wax paper.

Cut across the short end of the pan making a long strip about 3/8″ wide.  No wider.  Cut this into about 7 equal pieces and wrap in squares of wax paper.  It keeps for a season, if it lasts that long.

Turkey Gravy

Another inexact science.  If you want exact, Google it.

Generally it goes like this.  Start with the giblets: in a medium saucepan, place the celery florets, half of an onion studded with a couple of cloves, a carrot, scrubbed and broken into a couple of pieces, the giblets (we always added the liver, but some say it gives a bitter taste), the neck and cover with water.  Simmer gently for 45-60 minutes or until the neck meat is tender and done.  Reserve the giblets and neck, strain the liquid into a container.  I chop up the liver, the neck meat and add to my stuffing.  The cooking liquid is for the gravy.

Turkey drippings are really fatty, and you don’t need all of them otherwise you’ll be making VATS of gravy.  So drain off all but about 1/2 cup.  I save the rest just in case I want it. I place the turkey pan, with its drippings on a couple of burners, and start scraping and stirring while adding an equivalent amount of flour to the pan, start with about 1/2 cup.  Stir, stir, mixing it in and letting this roux cook and brown (but not too fast–don’t have the heat too high).  When all the flour is incorporated, start adding the giblet brew first, 1/2 cup at a time, mixing it in, adding more, and when you run out of that and if the gravy is still too thick, add chicken broth.

If you over-added and it’s soupy, don’t despair.  Put 1/2 cup cold water into a Tupperware-style container, add 3-4 tablespoons cornstarch, and shake well.  Add this a little at a time until you see the mixture thicken up.  Note: some use flour in that water mix, but mine always is lumpy and then I have to strain it, which is doable.  I just prefer the ease of the cornstarch.

Salt and pepper to taste and get someone to help you tilt the pan to pour it into the gravy boat.

Note: It’s optional to cut up the giblets and add it to the stuffing.

Roast Turkey

It took me many years to figure out how to roast a turkey.  For as long as I could, we went to Mom’s house, where she had it down.  But the time came.  At first I’d follow the directions on the wrapper of the turkey, the plastic saved from year to year in the gadget drawer in the kitchen.  Later I turned to my go-to cookbook: The Joy of Cooking.  I guess I should say something poetic about the food, the holiday, the company, the gathering, but this post is just about turkey, not the event.

Basics: Purchase a FRESH turkey a few days before Thanksgiving, keeping it refridgerated.  (Some recommend brining, and if I every try it, I’ll post that, but not today).  My favorite stuffing–yes, I still stuff the bird–is Pepperidge Farm in the blue box: Herbed Seasoned Bread Stuffing.  Buy a head of celery, a pound of butter, onion (white or yellow), chicken broth, and make sure you have a large enough pan (with a rack, hopefully) to roast your bird.

Set a rack or a clean towel (or scrub the sink) in the kitchen sink and put the turkey in there: remove the bird from the wrapping, dig the giblets out of the neck area (save them), check the cavity to make sure you got all the treasures out of there, then rinse the bird thoroughly in cool water several times.  Do not let it soak. Drain.  Pat it dry with paper towels, inside and out and set aside–it’s okay to set it in the roasting pan you’ll use.

Put on the music to keep you company–no one else will.  Preheat to the oven to 450 degrees F.

Chop about 4-5 stalks of celery, saving the leaves for the giblet brew (more on that later) and 1 large onion.  Place a cube of butter in a large pan, and add these vegetables to the pan, sauteeing them until golden.  Add the amount of chicken broth you need to this mix (see the back of the bag for proportions), bring to a simmer.  Rip open the bag of stuffing and place in a large bowl.  Pour the hot vegetable mix over the dry stuffing, toss to mix well.  (Since you haven’t had breakfast yet, this is really good breakfast food for the cook–slightly crunchy and warm.)

Maneuver the turkey around and stuff the neck area, making sure not to pack it in–it needs room to expand–then skewer the flap closed.  (Skewers are sold in grocery stores right now and they look like giant corsage pins.)  Maneuver the turkey around again, gently, and set it on it’s end and spoon the stuffing into the large cavity, again loosely, but enough.  Get a crust of bread and place over the opening, then wangle the legs back into their wire holders, if the turkey comes that way.  If it doesn’t, skewer the skin closed, then tie the legs over the opening with some kitchen twine.

I tuck the wings back under the turkey, then set the whole thing in the rack.  Since you’ve stuffed it, you need to quickly get it into the oven (for food safety reasons).

Two ways to do this:  One way is to put the turkey upside down so that the drippings saturate the breast area throughout the cooking time. Invert the bird the last 20 minutes of cooking to brown the breasts.  I’ve done it both ways and if you are diligent about basting the bird every 20-30 minutes, you should have a moist bird if you place it breast side up in the rack.  Either way, as soon as you put it in the 450-degree oven, reduce the heat at once to 350 degrees.

When you baste, put the pan on top of the stove so you don’t let all the heat escape from your oven.  I usually start by stroking the bird all over with a cube of real butter, then after that I use the pan drippings, tilting it so I can get at it with my spoon.  I’ve used the turkey basters and they’re okay, but I got tired of the spitting (you’ll find out) and the cleaning, so now I just use a spoon.

The USDA has charts for roasting fresh turkey (thawed frozen ones take about 50% longer). I think turkeys take even less time than these charst; sometimes they’ll have a roasting chart printed on your wrapper.  Some say allow 20 minutes per pound in smaller birds and 15 minutes per pound for the larger tom turkey, adding 5 minutes per pound for stuffed birds. However you figure it, just know that it’s inexact and that it will always be done when you least expect it–usually too early.

Meanwhile in a medium saucepan, place the celery florets, half of an onion studded with a couple of cloves, a carrot, scrubbed and broken into a couple of pieces, the giblets (we always added the liver, but some say it gives a bitter taste), the neck and cover with water.  Simmer gently for 45-60 minutes or until the neck meat is tender and done.  Reserve the giblets and neck, strain the liquid into a container.  I chop up the liver, the neck meat and add to my stuffing.  The cooking liquid is for the gravy.

Back to the turkey: toward the end, as it gets browner and browner, you can shield some parts with tin foil (like the tips of the legs, or even the breast).  Some say it’s done when they jiggle the drumstick to see if the hip joint is loose.  Others prick the skin of the thigh to see if the juices run clear.  The legs and thighs will generally always take longer than the breast–this is when you use foil if you have to. I use a meat thermometer to check for doneness–about 165-170 degrees (according to the USDA), taking care that the tip is not in contact with the bone when I check.

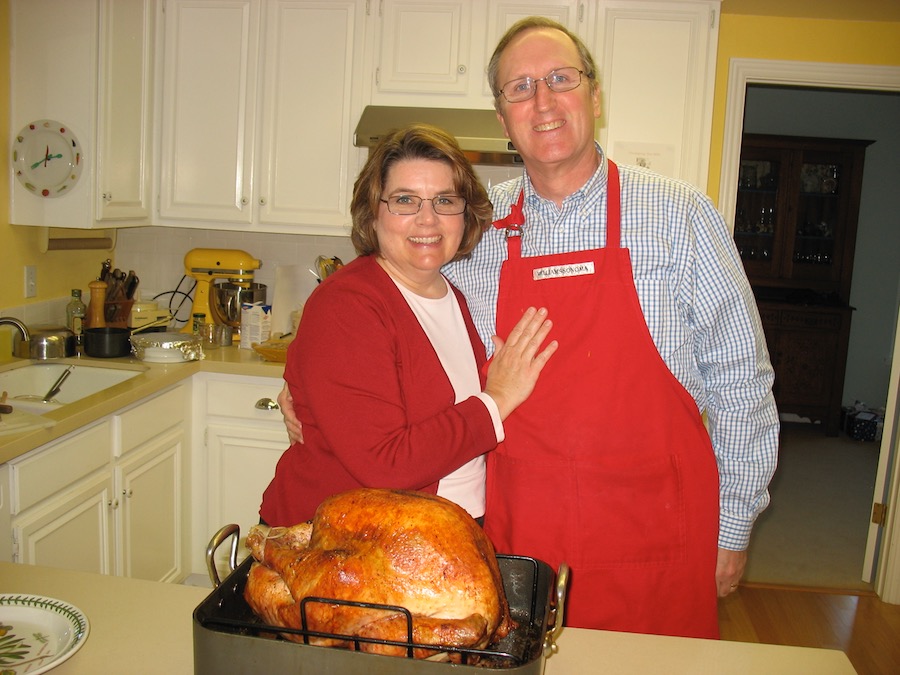
Remove Mr. Turkey from the oven, and IMMEDIATELY remove the stuffing from both cavities into an oven proof dish.  I usually mix the stuffing from the bird with the extra stuffing, the chopped bits from the above giblet brew, cover it and keep it warm in the oven.  You can add canned chicken broth if it looks dry. Then tent the turkey and let it rest for a few minutes.

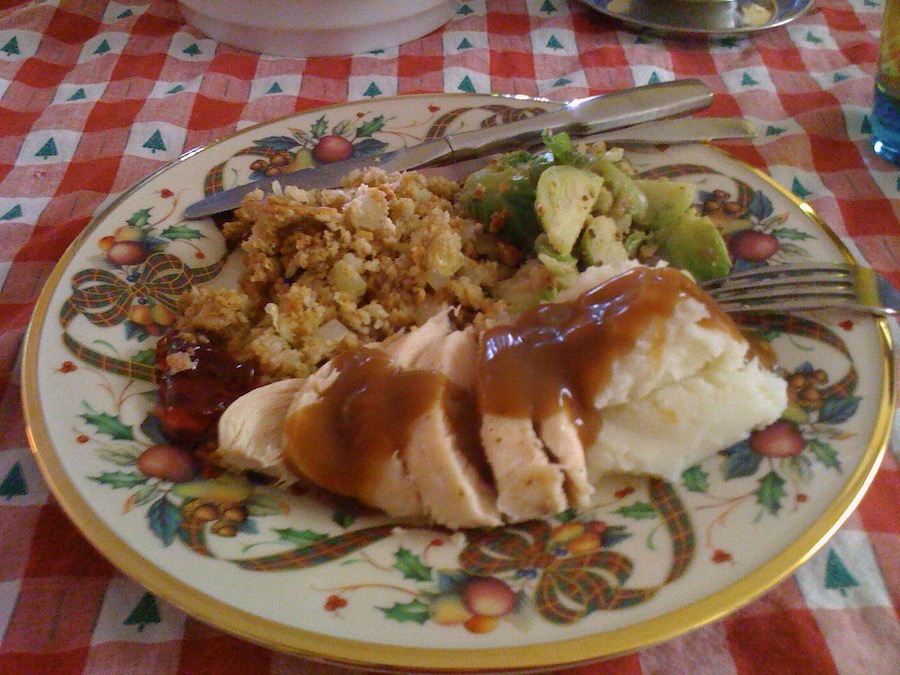
Then dress up the husband in the apron (or whoever is carving it), hand him the knife and fork and let him at it.  Happy Turkey!