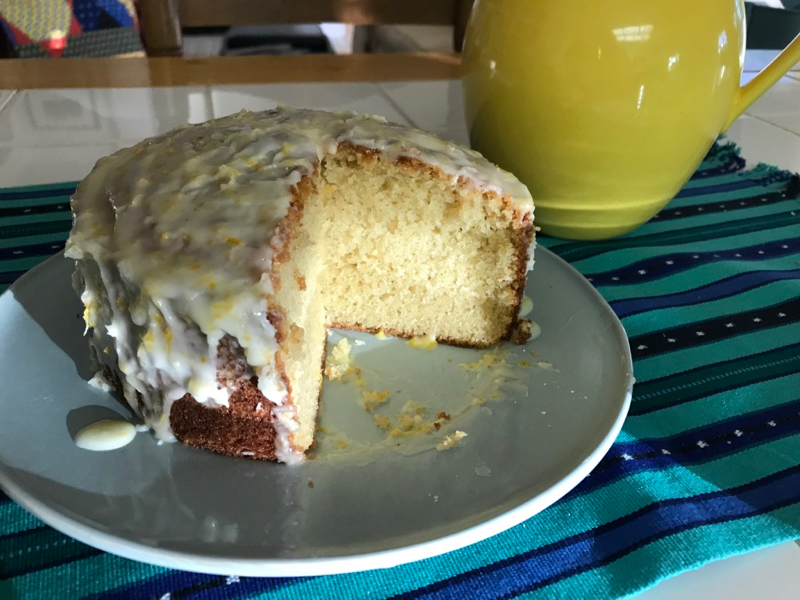
I read reviews of Simple Cake, by Odette Williams, and immediately purchased the book. It reads, as my friend Bette says, like a novel. While I’m still trying to master some of the techniques and recipes, I feel confident in this little 6″ cake to put it up on my recipe blog. I’ve made some changes to the recipe printed in her book and they are incorporated below; to get her original, I would recommend buying this book, for this is only one of the many delicious and excellent recipes. I love that the cakes aren’t fussy, but can be beautiful in their simplicity.
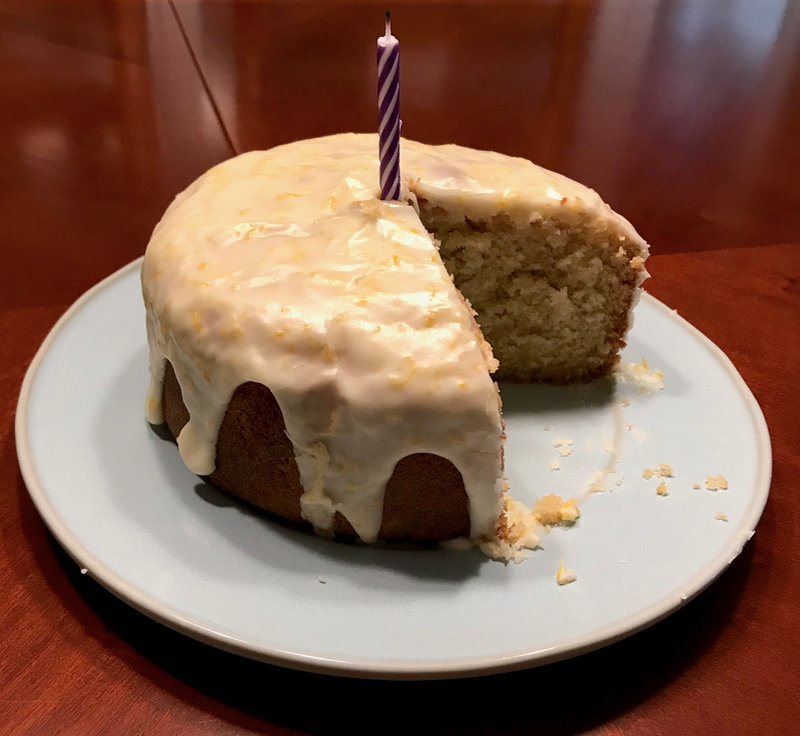 You’ll need a 6″ diameter springform pan that is 3″ deep. It’s perfect for making a cake for two people or a small family.
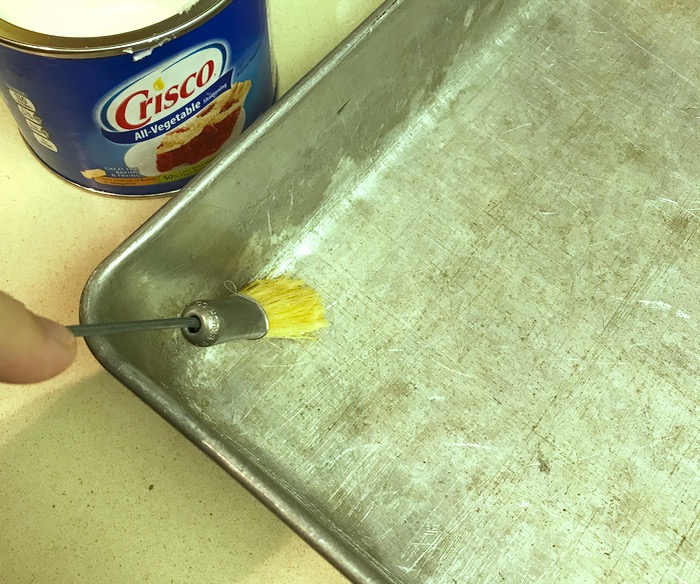
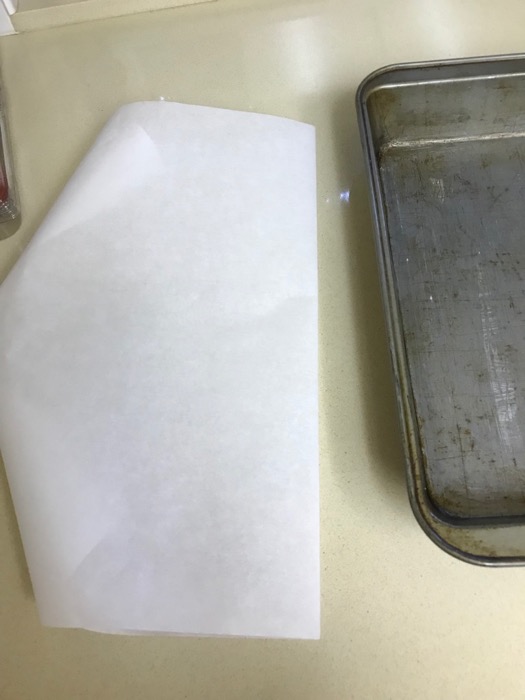
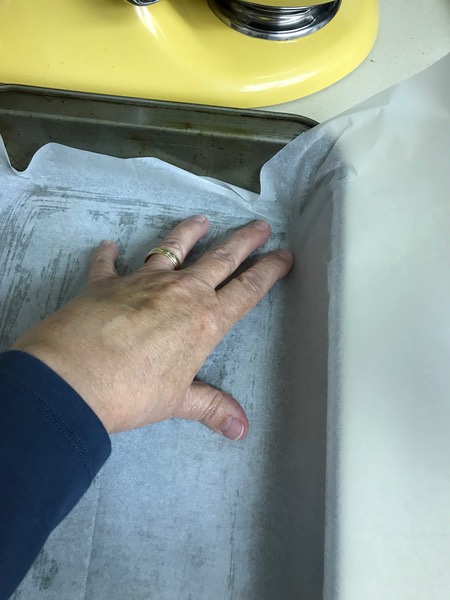
Preheat oven to 350F. Butter the bottom and sides of your 6″ pan. Cut out a parchment circle for the bottom, place in in the pan, then butter it again.
1/2 cup whole milk
2 teaspoons freshly squeezed lemon juice
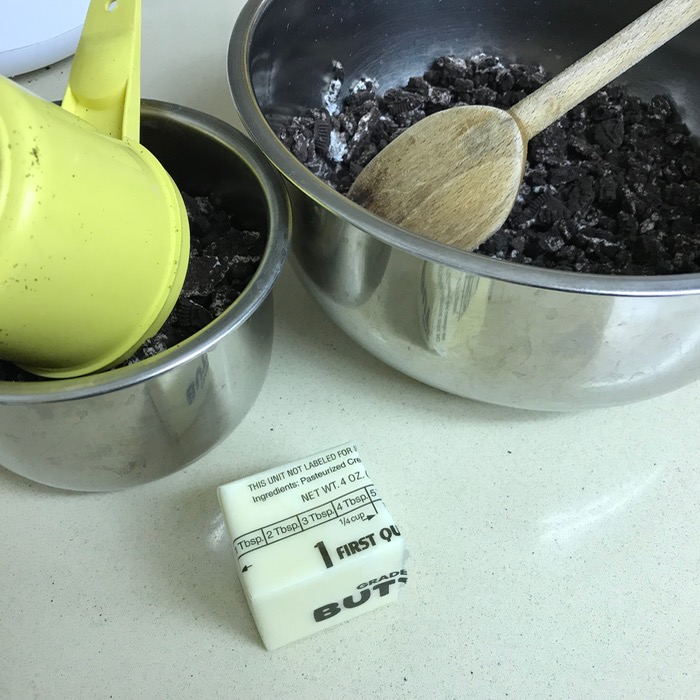
1 stick (8 Tablespoons) real butter, at room temperature
3/4 cup granulated sugar
1-1/2 cups all-purpose flour
1 teaspoon baking powder
1/4 teaspoon baking soda
1/4 teaspoon salt
2 Tablespoons pure vanilla extract
2 eggs, at room temperature
Mix together the whole milk and the lemon juice and set aside for five to ten minutes to let it curdle.
Stir together the dry ingredients of flour, baking powder, baking soda, and salt; set aside.
Using an electric mixer with paddle beater, beat the butter on medium speed for 30 seconds, then gradually add the sugar. Continue beating on medium speed for another 4 minutes, scraping the bowl at the halfway point, until it is light in color and fluffy.
Add vanilla extract and beat until combined. With the mixer on, gradually add the eggs, one at a time, making sure they are well blended into the mixture. Williams notes: “if the batter curdles, add 1-2 Tablespoons of the flour mixture to bind it back together.” (I had that problem only once.)
Alternate adding dry ingredients with the milk: first add half of the dry ingredients to the butter mixture, then the milk. End with the rest of the dry ingredients, but don’t overbeat. Scrape down sides and bottom of the bowl, blending well.
Pour the batter into the prepared pan and smooth the top. Bake in the center of the oven for 55 minutes, checking after 50. If you like a lighter colored cake, cover with tinfoil after 30 minutes. Check for doneness when a wooden toothpick inserted into the center comes out clean, and it bounces back after lightly tapping it.
Let stand for 10 minutes on a cooling rack. Then release the springform pan ring (run a knife around the inside of the pan, if needed) and remove. Turn cake over, and remove both the pan bottom and the parchment, then return it to the cooling rack, right-side up.
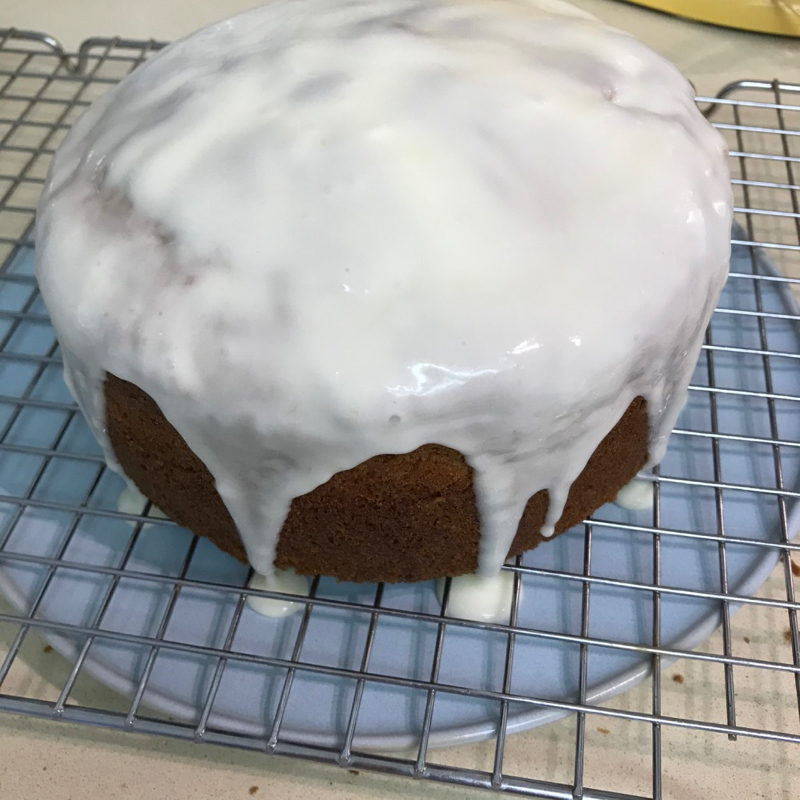
Glaze now, while it is still warm, pouring the glaze on the top, and letting it slowly drip down the sides. It helps to put a sheet of waxed paper underneath the rack and the cake to catch any drips.
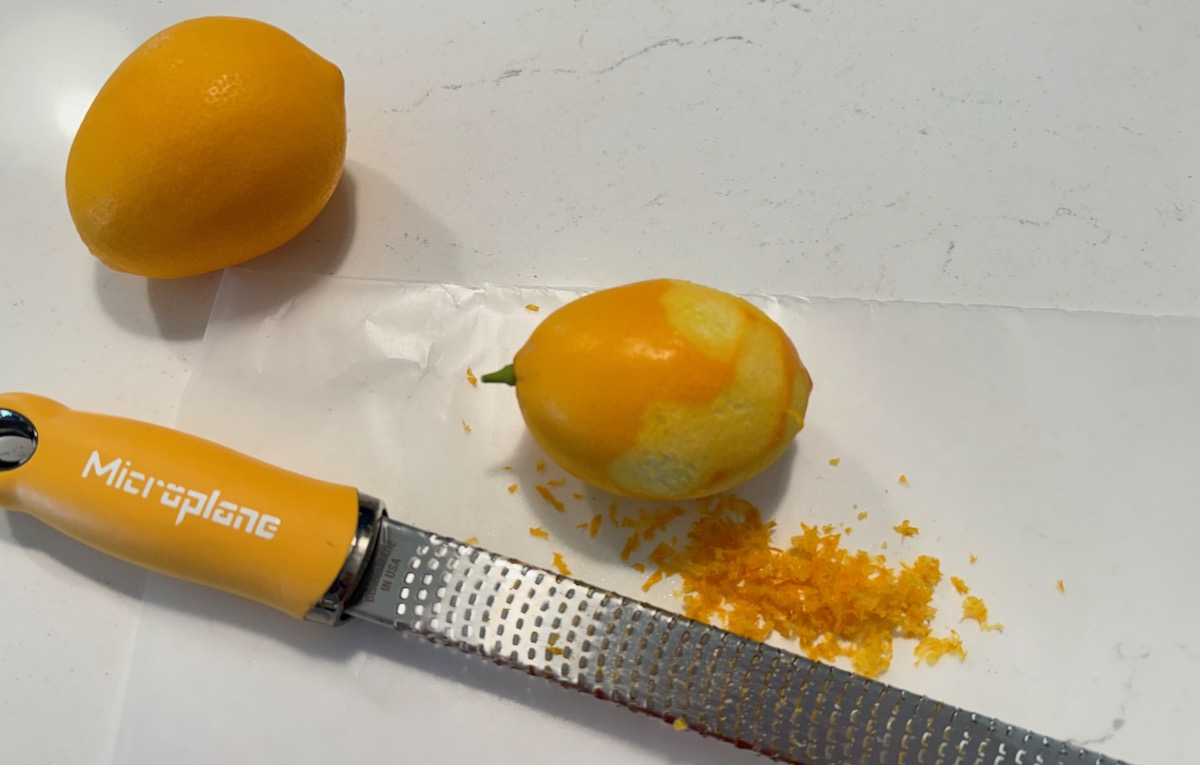
A simple glaze can be made with 1 Tablespoon butter, 2 Tablespoons lemon juice. Microwave this to melt the butter and heat the liquid. Add 1 cup powdered sugar, beating well with a whisk to remove any lumps. I start with these measurements, but found the glaze seems to work better when it’s on the thicker side. (I added lemon rind to the cake above and won’t do it again–ugh.)
Next I want to try using water and a few drops of almond extract. Williams has many variations of glaze in her cookbook, if you need more.