Potato, Snap Pea and Tomato Salad

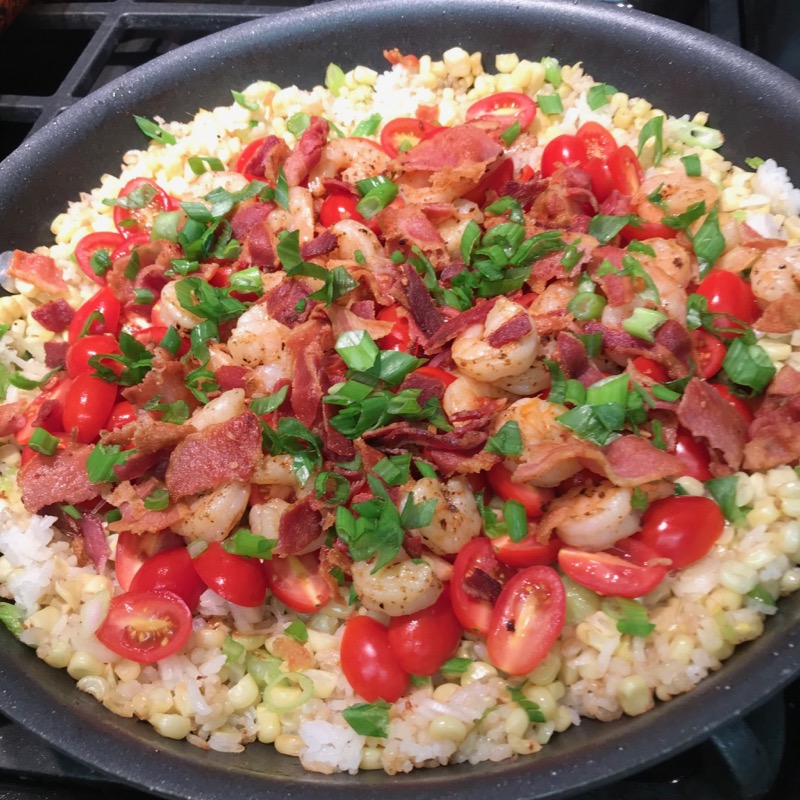
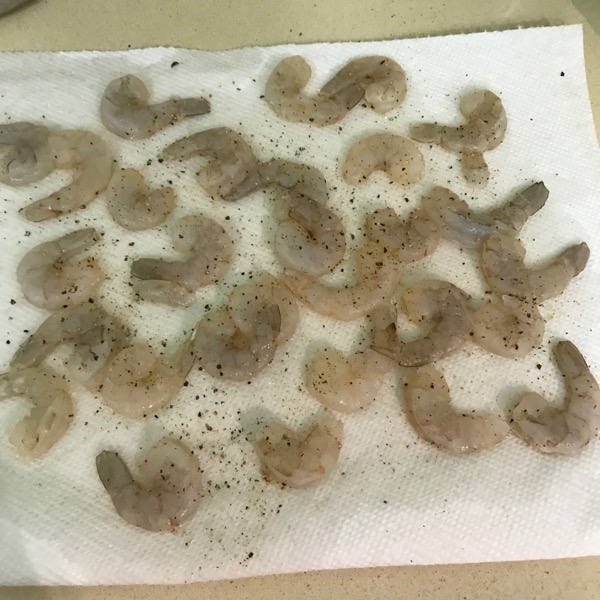
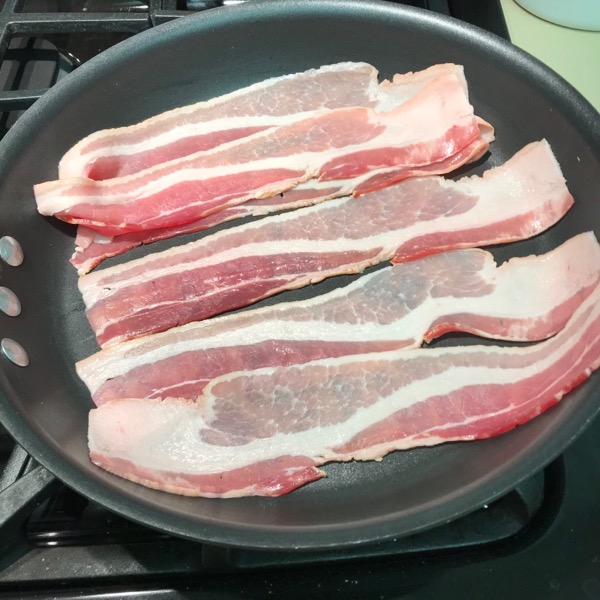
I was determined to get rid of some of those magazines I had laying around, so went through them one day, folding down the corners of pages that looked great.  Then, today, a friend and I went into the local specialty olive-oil-and-vinegar store, and picked up a couple of different vinegars and oils.  All of this combined to yield tonight’s dinner, served up with a piece of flaky grilled salmon. Perfection!

Ingredients:

1 lb. mixed potatoes: fingerlings, small white or red potatoes, small blue potatoes (our market sells them together, but you can mix and match from your grocer’s produce section).  Cut all potatoes the same size (I made them all about the size of a man’s thumb.)

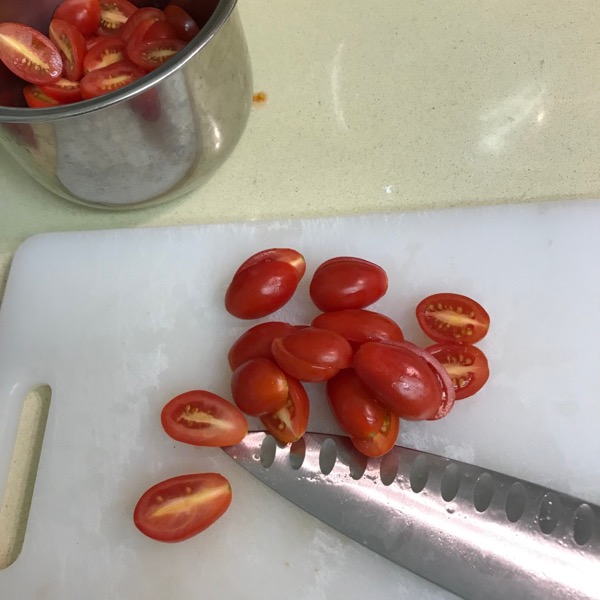
1 cup sweet pearl tomatoes, cut in half
1-1/2 cups (approximately) sugar snap peas, washed and cut in half, ends trimmed
4 very thin slices of red onion, cut into quarters, then soaked in water for 5 minutes
1 clove garlic, chopped fine (not smashed), then soaked in water for 5 minutes
7-8 basil leaves
salt and pepper — If you don’t have a salt grinder, use a few shakes of David’s Kosher Salt (no substitutions)

Lemon Vinaigrette

Splashes of other vinegars: red wine or lemongrass mint or your other favorite tangy vinegar
Extra drizzles of flavored olive oils: herb, or lime, or other mild flavors

Preparation:

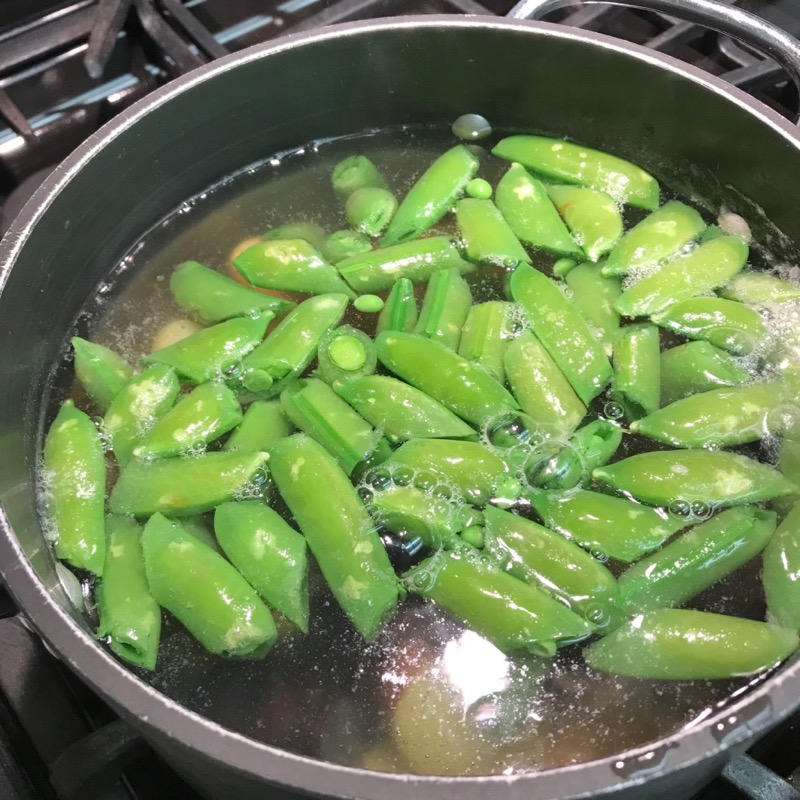
Cook potatoes in salted boiling water until almost tender.  To the same pot, add snap peas and cook until crisp (potatoes should be tender).  Check by dunking the snap pea in ice water; don’t overcook.  Drain and then place in ice water bath to cool quickly and to stop the cooking.

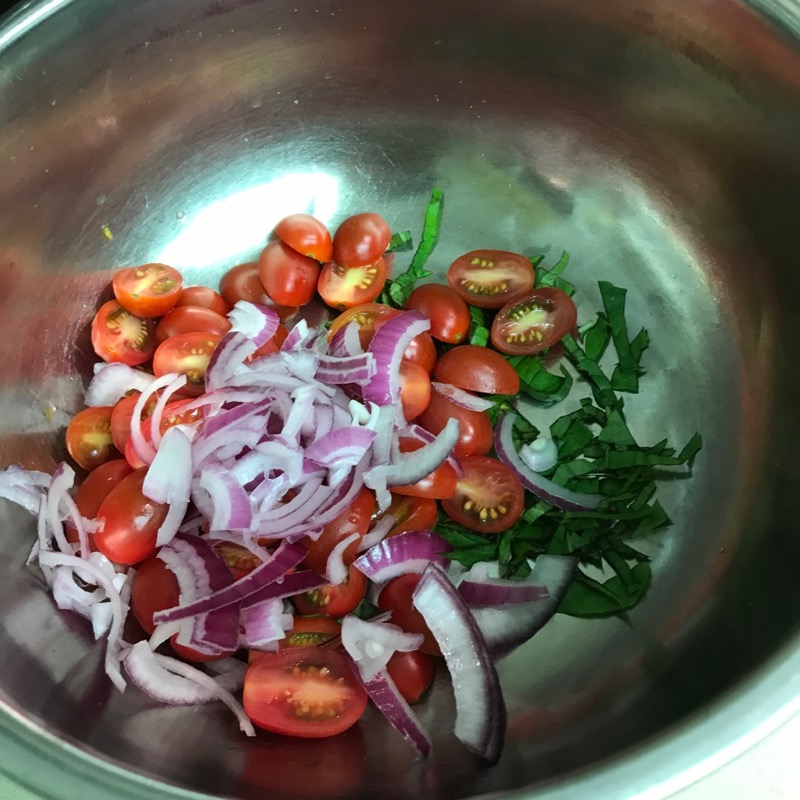
Meanwhile, while potatoes are cooking, snip the basil leaves into ribbons in the bottom of a medium bowl.  Add cut tomatoes.  Drain the onions, and add those to bowl.

Make up a batch of Lemon Vinaigrette, added the drained garlic to the mix, along with salt and pepper, and a splash or two of other vinegars.  Pour over the above vegetables and let sit for a few minutes to blend.  (Note: you can reverse the order of this–prep up the vegetables, then putting the potatoes on to boil.)

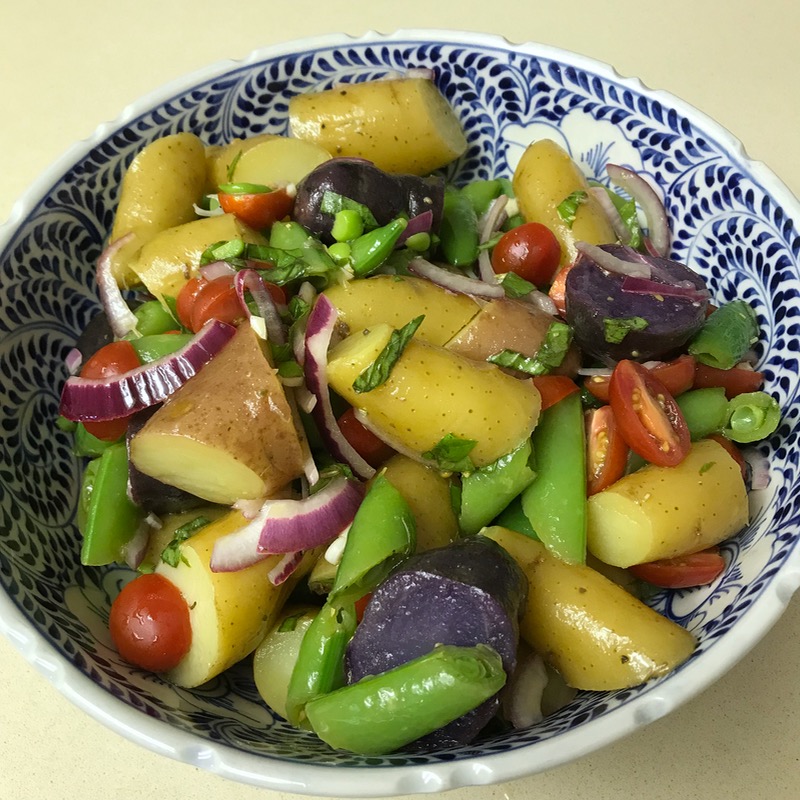
When potatoes are cooked and cooled down, drain and pour onto clean kitchen towel, patting to remove excess water.  Place the potato/snap pea mixture into the bowl with the vegetables, toss to coat evenly.  Add drizzles of flavored oils, splashes of vinegar if it doesn’t have enough kick, and plenty grinds of your salt shaker.

Serve immediately.

Happy Summer!

Basil Pesto from the Garden

Many years ago, thinking I needed a night out, my sister Christine took me to a quilt shop Open House.  I did. But while the memory of the event has faded, the dish she made — Pasta with Pesto (see notes below) — is still vivid in my mind.  While I haven’t made the pasta recipe too much, every year when the basil plants in the garden threaten to take over the entire plot, I snip the branches and make some pesto to put in the freezer.

Choose wrinkly leaves from your plant, as shown in the top photo.  When the plants start to set blooms, the leaves change becoming stiff and pointy, which is why my husband and I are always out in the garden pulling off the flowers.

3-4 cups of basil leaves, washed and laid out to dry on a paper towel (blot excess moisture)
3/4 to 1 cup olive oil
3 Tablespoons toasted pinenuts
3 large cloves of garlic (or if you want to add this later, chop your garlic)
1/2 to 3/4 cup grated Parmesan cheese

Place garlic in a blender, and put in basil leaves on top.  Add pinenuts and cheese.

With blender going, drizzle in the olive oil, until desired consistency.

Place pesto into jars; place in refrigerator for current use.  Freeze for long-term storage; I chip out chunks to put into soups, sauces, or wherever I need that fresh-from-the-garden taste.


**To make that Pasta with Pesto, mentioned in the beginning, pour the pesto over hot cooked pasta, with a glug of olive oil.

Serve hot or at room temperatures.  Can add slightly sauteed vegetables of your choice (zucchini, carrots, red sweet peppers, etc.) and/or cooked, diced chicken meat.

Summer Squash Caponata

While I admit that the above photo of the vegetable melange doesn’t look at all like the one on the New York Times website, this is still a great summer vegetable-based dish, the kind we’re all supposed to be making these days.  I incorporated some of the suggestions from the commenters on that website, but generally, it was a pretty straight forward, chop-up-the-vegetables, juicy, sort of dish.

Ingredients
Extra-virgin olive oil
1 ½ pounds medium green zucchini, cut into 3/4-inch cubes
Kosher salt and black pepper
1 ½ pounds yellow summer squash, cut into 3/4-inch cubes
1 large onion, diced (about 1 1/2 cups)
6 celery stalks, diced (about 1 cup)
Pinch of red-pepper flakes
1 tablespoon granulated sugar
3 tablespoons red wine vinegar
2 tablespoons medium capers, rinsed, soaked in cold water for 10 minutes and drained
24 green olives, such as Castelvetrano or Cerignola

Optional Garnishes:
6 hard-boiled eggs (9-minute)
Italian parsley leaves
Basil leaves
Green olives

Can be served with 12 (1/2-inch) slices Italian or French bread, toasted.  However, since we are from Southern California, I cooked up some tortillas in a pan (the heat-and-serve kind), and served this caponata in a tortilla, topped with chunks of rotisserie chicken.

Preparation
Pour a glop of olive oil into a large, wide skillet over medium-high heat. When oil is hot, add the chopped onion.  Cook the onions over medium-high heat, stirring, until softened, 5 to 7 minutes. Add celery and cook for 2 to 3 minutes more. Season with salt and pepper and transfer onion mixture to a large bowl.

Sprinkle the pinch of red-pepper flakes over the onions, then the green olives (I had to take the pits out, so they were in chunks); set aside.
[NOTE: if you are going to use the green olives for a garnish at the end, don’t add them now.]

Add another pool of olive oil (roughly 2-3 Tbs) in the hot pan, and add enough zucchini to cover the bottom of the pan.  (Note: my pan had gently sloped sides, so I pushed the zucchini up the sides of the pan, too.  I was able to fit all of the 1 1/2 cups into one batch, but if you can’t, please divide into two batches.)  Season lightly with salt and pepper, letting zucchini sizzle and brown slightly. Cook, stirring, until softened, about 5 minutes. Remove to a large bowl.

Continue cooking zucchini and summer squash in batches, adding oil to the pan as necessary, then transferring cooked vegetable to the large bowl.

When all the vegetables are cooked, add, sugar, vinegar and capers. Toss gently together. Taste and adjust, making sure the seasoning is bright, with a balanced sweet-sour flavor. Leave for 10 to 15 minutes and taste again. (If time permits, let the flavors marry for an hour or more before serving. The caponata may be refrigerated for up to 2 days; bring to room temperature to serve.)

We served ours from a bowl, filling our tortillas, but to do it the original way: transfer mixture to a large platter. Top with olives and hard-cooked eggs, halved or quartered. Garnish with parsley and basil.

Gluten-free Tahini Chocolate Chip Cookie

It is the 14th of July, hotter than blazes, and over in France they are celebrating their national holiday, Bastille Day.  But here in the U.S. of A. I’m all about making a giant cookie that is really more like a cake, but in modern fashion, it is “everything-free.”  That means is is dairy-free, gluten-free, but not chocolate-free or taste-free.  Enjoy.

Ingredients

1/4 cup olive oil
1/3 cup maple syrup
1/4 cup tahini
1 large egg
1 teaspoon pure vanilla extract
1 cup gluten-free all-purpose flour blend (I used Bob’s Red Mill 1 for 1 blend)
1/4 teaspoon sea salt
1/4 teaspoon baking soda
2 handfuls dark chocolate chips or chunks (about 3/4 to 7/8 cup)
1/2 cup chopped walnuts (optional)

Instructions

NOTE: I didn’t have an 8-inch oven-proof skillet, so used an aluminum cake pan instead; it was fine.

Using a pastry brush, lightly grease an 8-inch oven-proof skillet with olive oil, brushing the oil around the sides of the pan as well. Set the pan aside.

In a medium bowl whisk together olive oil, maple syrup, tahini, the egg, and vanilla extract.  In a separate small bowl whisk together flour, salt, and baking soda.  Add the dry ingredients all at once to the wet ingredients and stir to combine completely.

Stir in the chocolate chips and nuts and place the mixture in the refrigerator to chill for 30 minutes.

Place a rack in the upper third of the oven and preheat oven to 350 degrees F.  When you’re ready to bake the cookie, spread the dough in an even layer across the prepared pan and bake.

Although the original recipe says to bake for 16 to 18 minutes, and until just baked through but slightly underbaked — my cookie-cake took about 25 minutes to get to that the-top-is-still-shiny, slightly underbaked, gooey status.  It could have been my use of the aluminum pan, or maybe not.

Remove from oven and allow to cool for about 10 minutes before inhaling.

Bastille Day Flyover

This is modified from Joy Wilson’s recipe of  Gluten Free Tahini Dark Chocolate Skillet Cookie, from her Joy The Baker website.

Crispy Rice with Shrimp, Bacon and Corn

When I posted this to Instagram, with an invitation to come to dinner, I had quite a few people accept my invitation; some even wanted the recipe.  It came from the New York Times, and was written by Genevieve Ko; however, I have modified it slightly as I’m making it for two.  Modifications are in the recipe below.  Serves 4 amply, especially if served with fresh ciabatta bread (or take-n-bake, whatever works for you).

INGREDIENTS

1/2  pound peeled and deveined shrimp, patted very dry
Kosher salt and ground black pepper
4-5  strips bacon
2  ears uncooked corn
6  scallions
pinch of red pepper flakes
1  pint grape tomatoes, cut in half
2-3  cups cooked rice — I used a mixture of brown rice and white rice

PREPARATION:

Prepare the shrimp by rinsing in cool water, and removing any shells.  Lay out on paper towels to dry; blot with another paper towel.  Grind salt and pepper over one side of the shrimp.  Set it aside for now.

Cut tomatoes in half; set aside.  Trim off ends of scallions (green onions), then slicely thinly on an angle, using nearly all of the green tops.  Reserve a healthy handful of green tops for garnish, and set the sliced scallions aside.  Slice the kernels off the cobs of corn; reserve.

Lay bacon strips out in heavy skillet over med-high heat, and cook until nearly crispy, turning as needed.  Remove strips to a plate covered with paper towels to cool.  Layer more paper towels on top.

Sprinkle a pinch of red pepper flakes in the hot bacon grease, then add the shrimp, stirring for one to two minutes per side, or until just cooked.  Using a slotted spoon, remove from grease and lay atop the paper towels that are on top of the bacon.

Keeping the heat on medium-high, add the corn, most of the scallions, and a pinch of salt to the skillet. Cook, stirring, until the scallions just wilt, about 1 minute.

Add the rice and stir until well-mixed and heated through, about 3 minutes. Press the rice evenly across the bottom and up the sides of the pan. Let cook, without stirring, as the rice and corn begin to crackle, until you smell a toasty scent and the rice browns, about 5 minutes. You can lift up a section of rice to peek and see if a golden brown crust has developed.

Layer on the bed of rice/corn, in this order:
•  halved tomatoes
•  cooked shrimp
•  crumbled bacon
•  handful of green scallion tops for garnish

With heat off, cover with a lid for about 2-3 minutes, letting the steam from the rice/corn soften the tomatoes.  Remove the lid to serve.

Note: While I realize that putting the lid on for too long might soften your “crust,” in our case, it did not.  We could still taste the crunch.  We stored the leftovers in the refrigerator and had them four days later; it was still amazing.