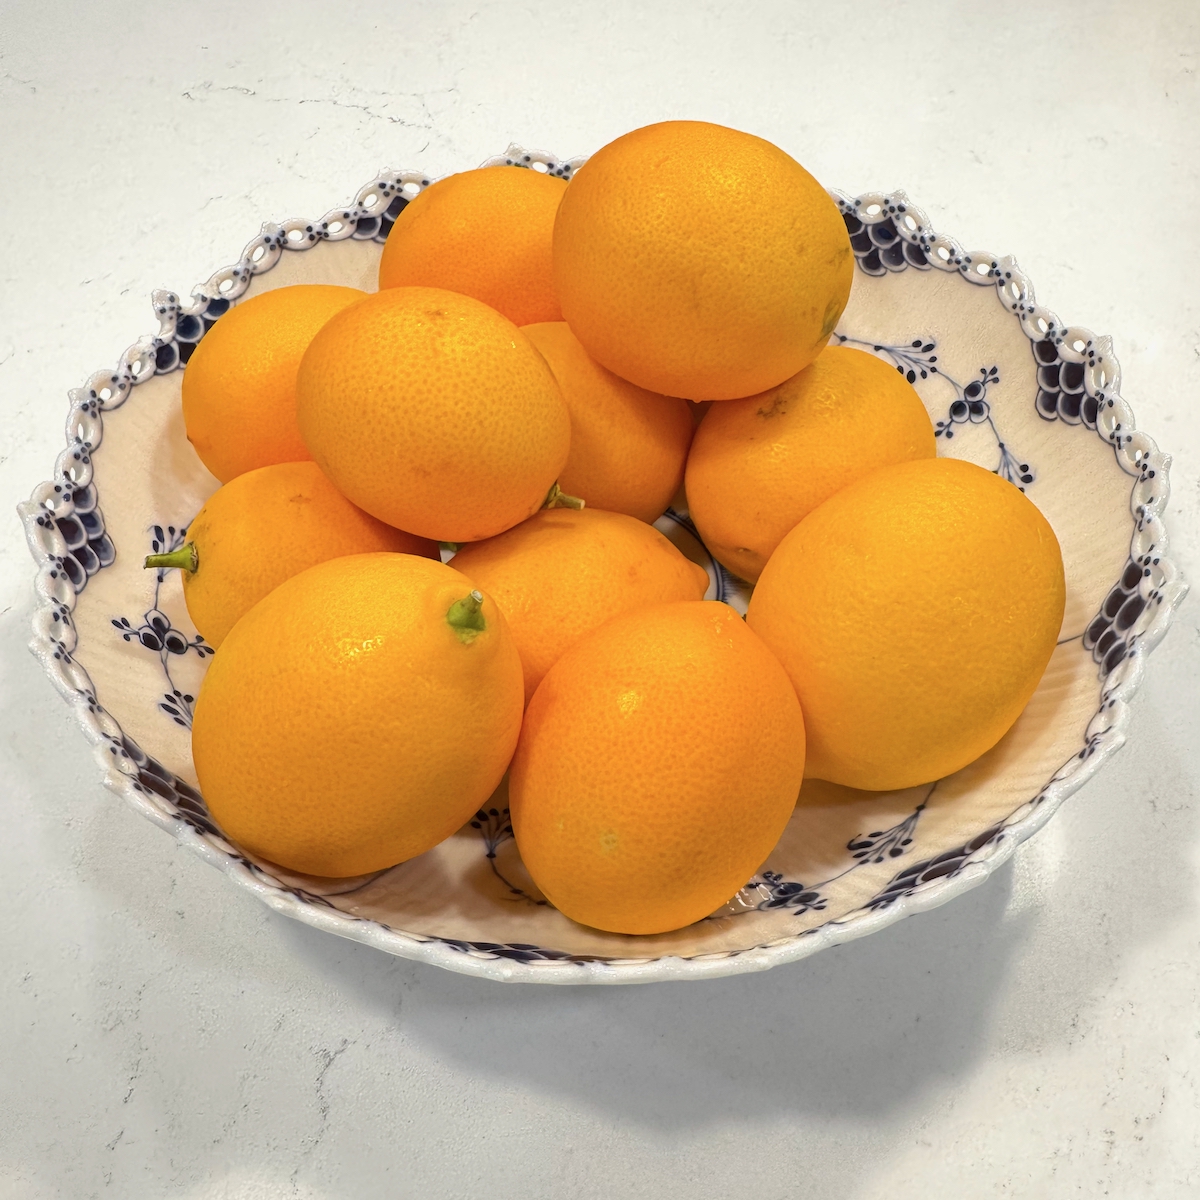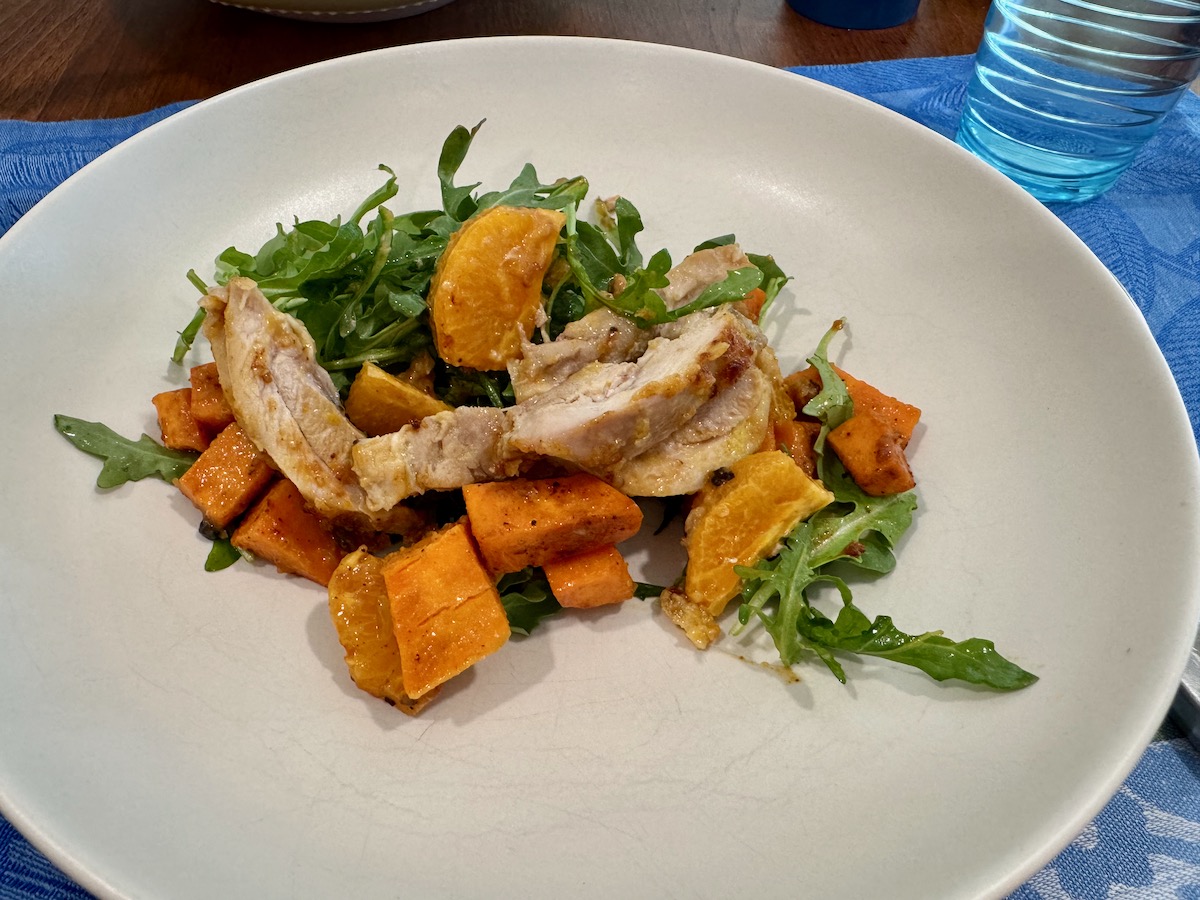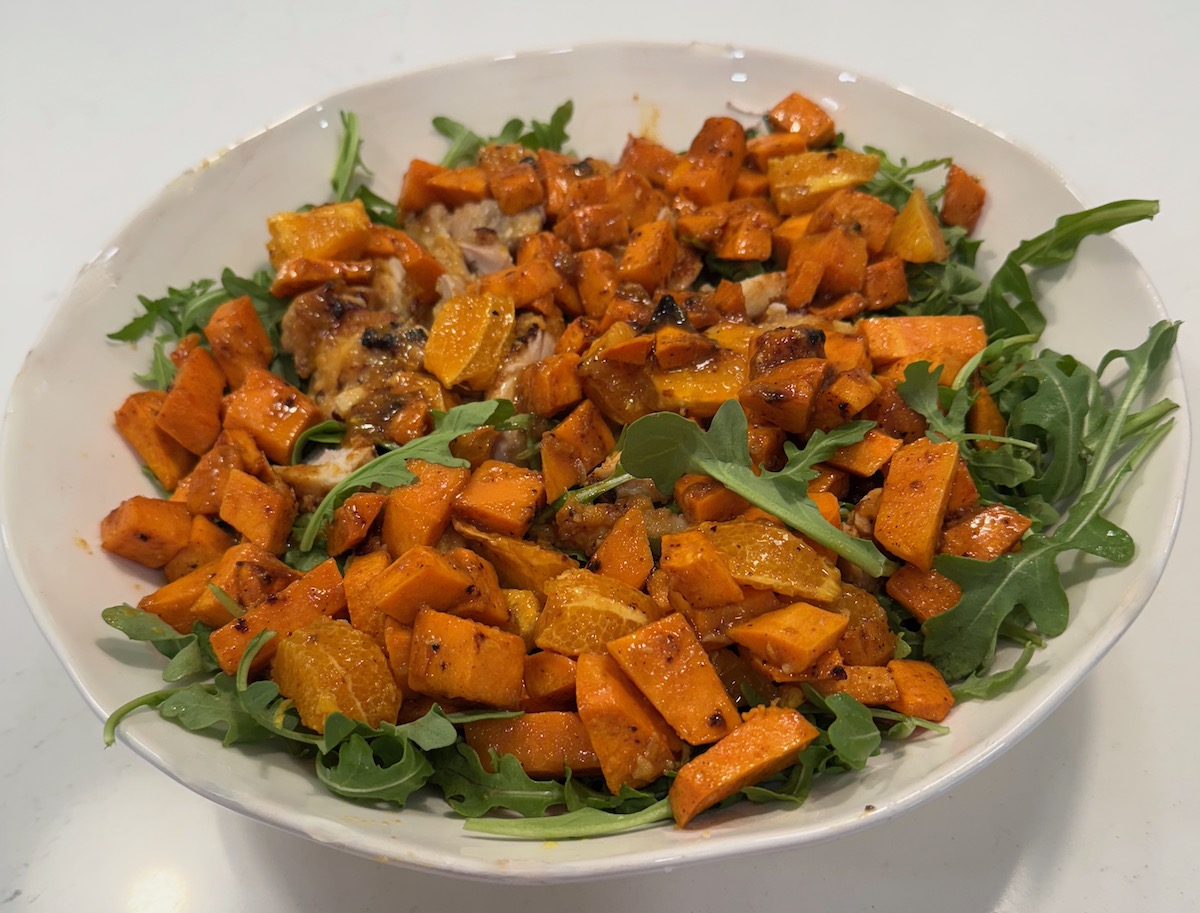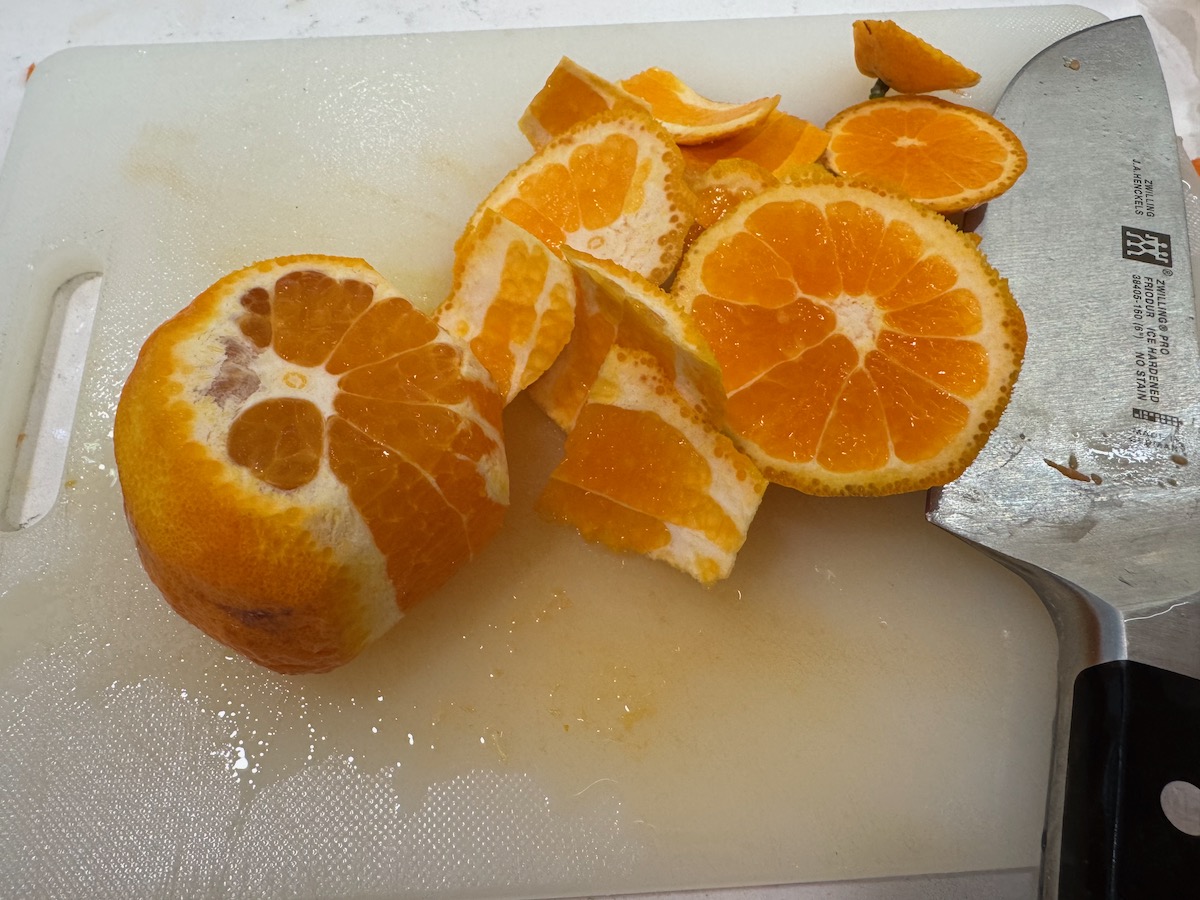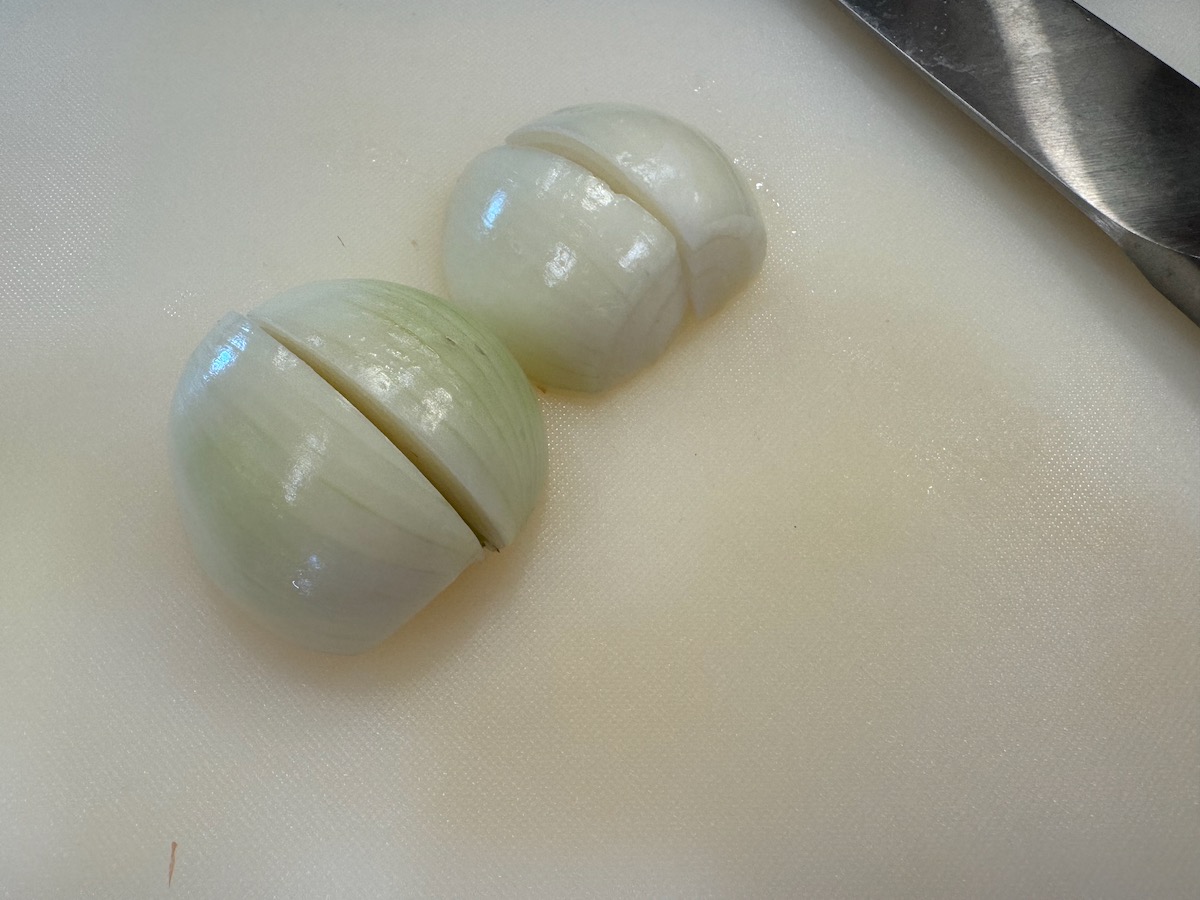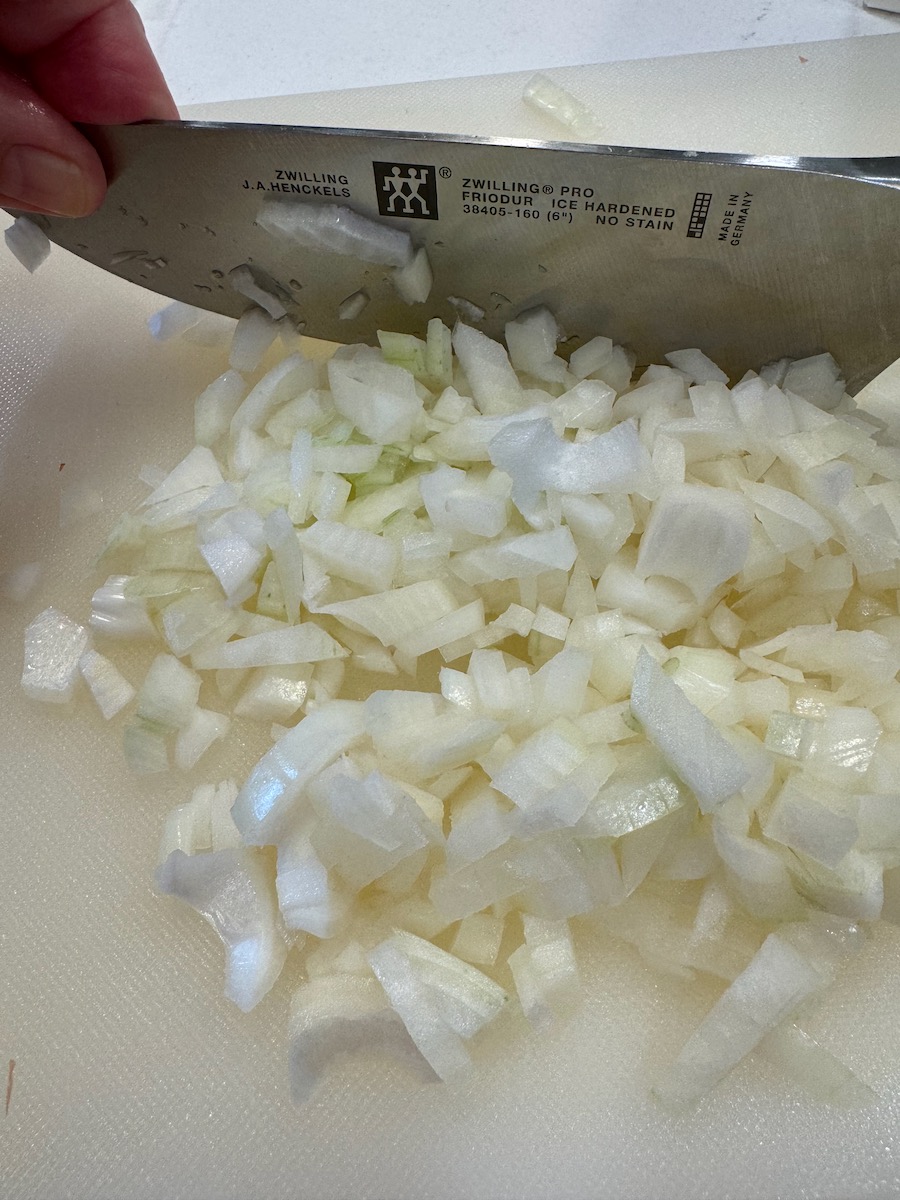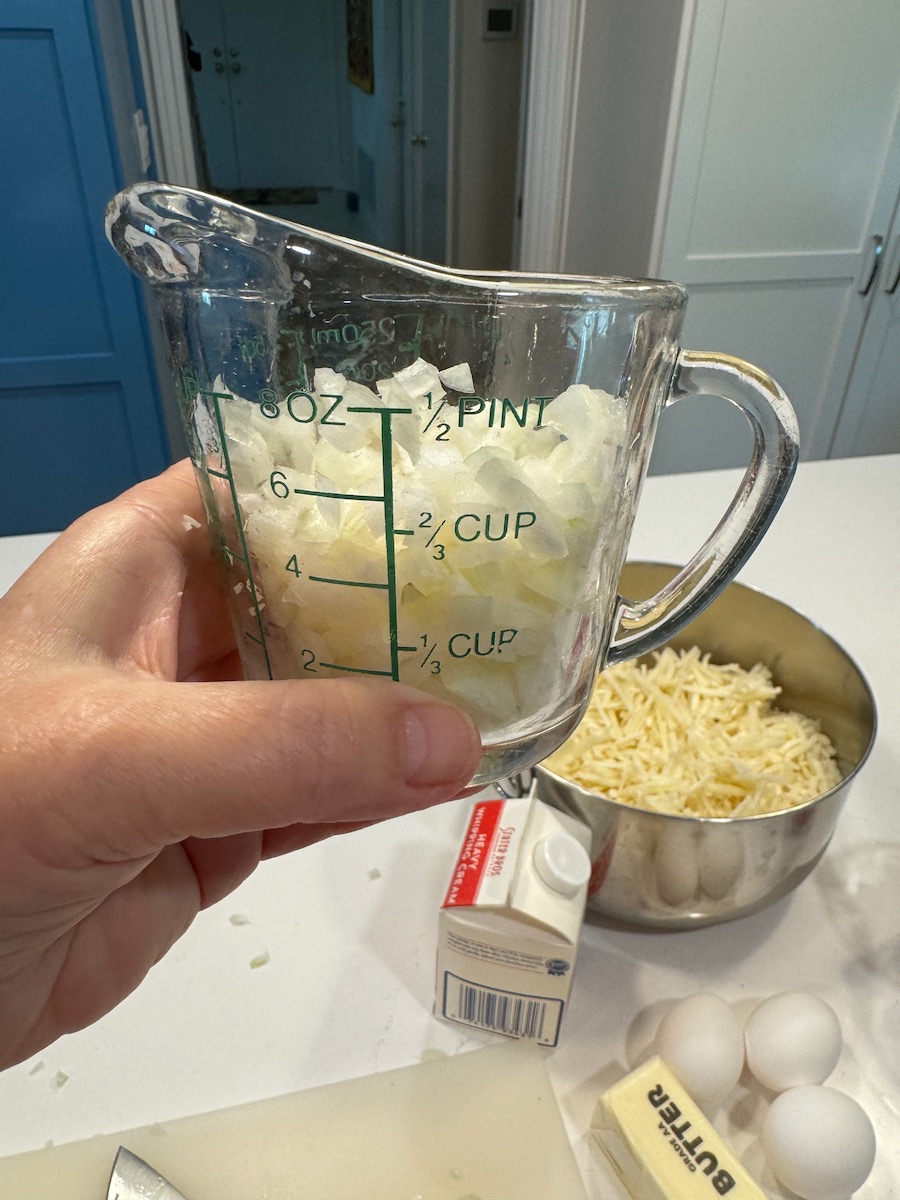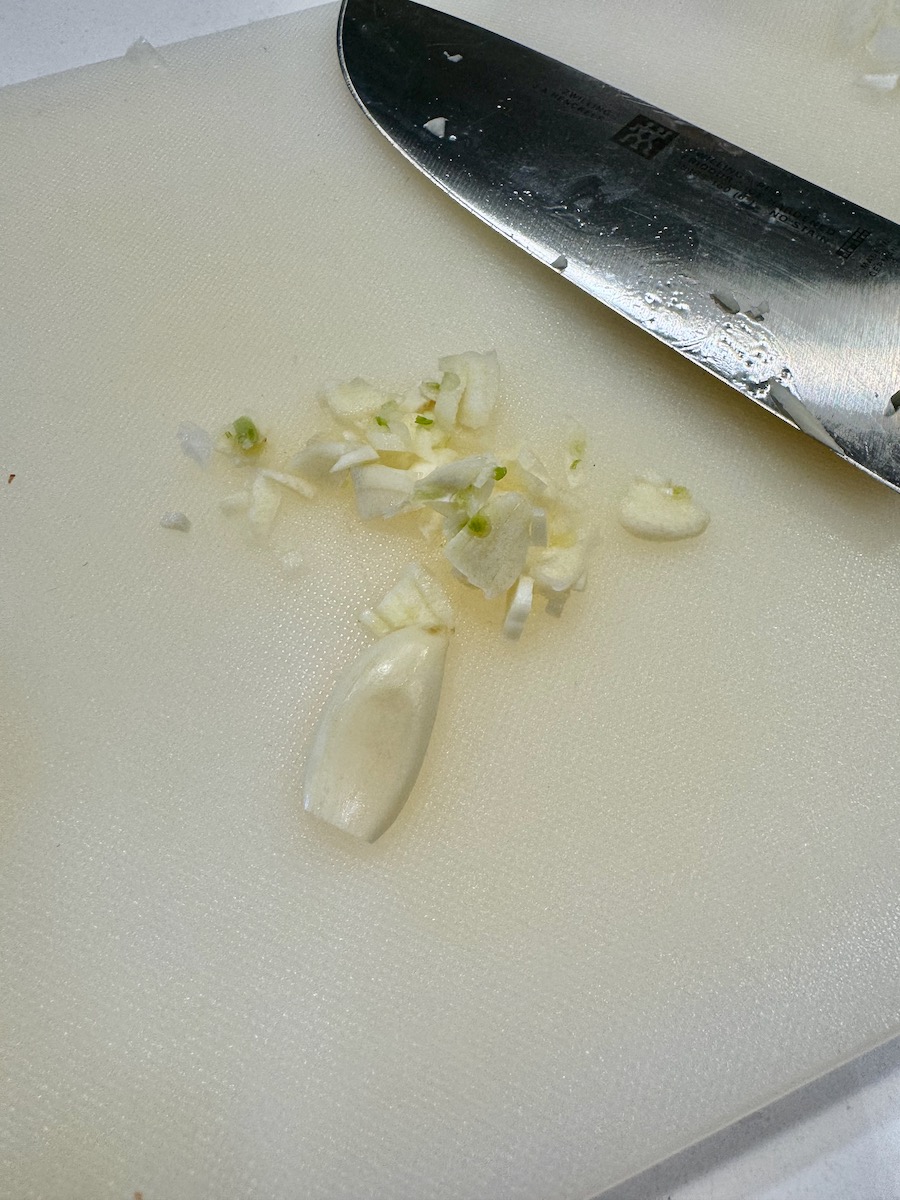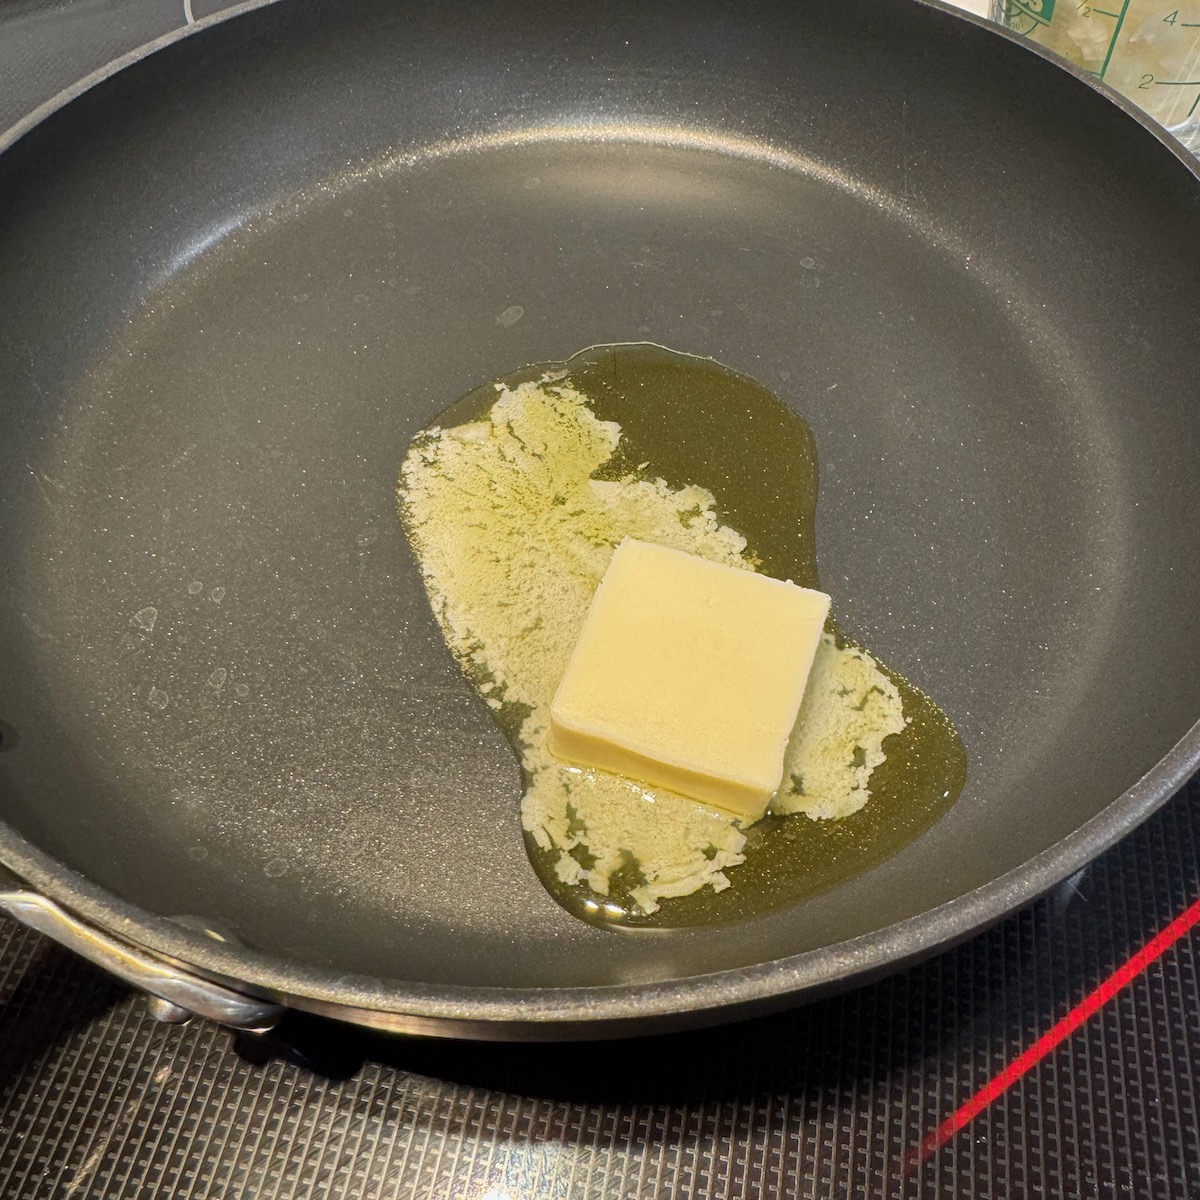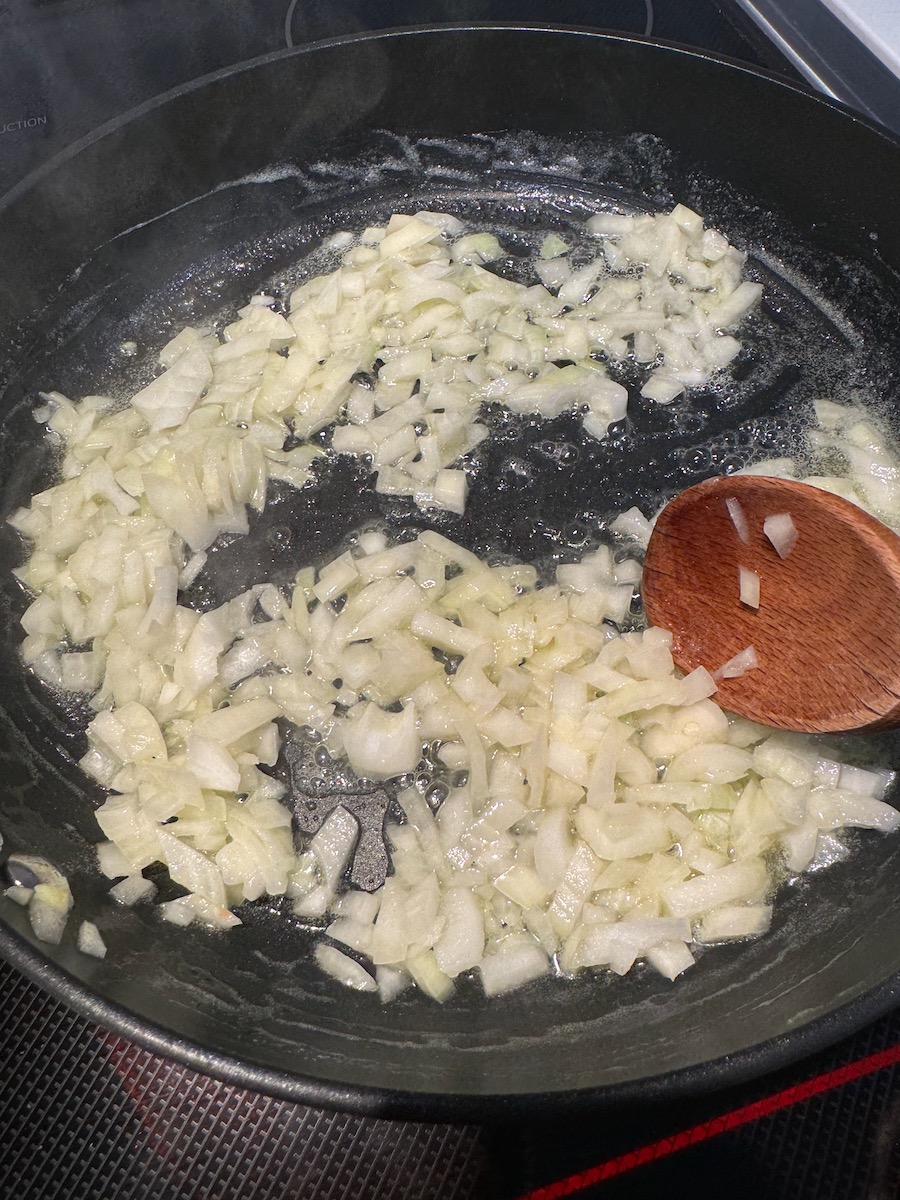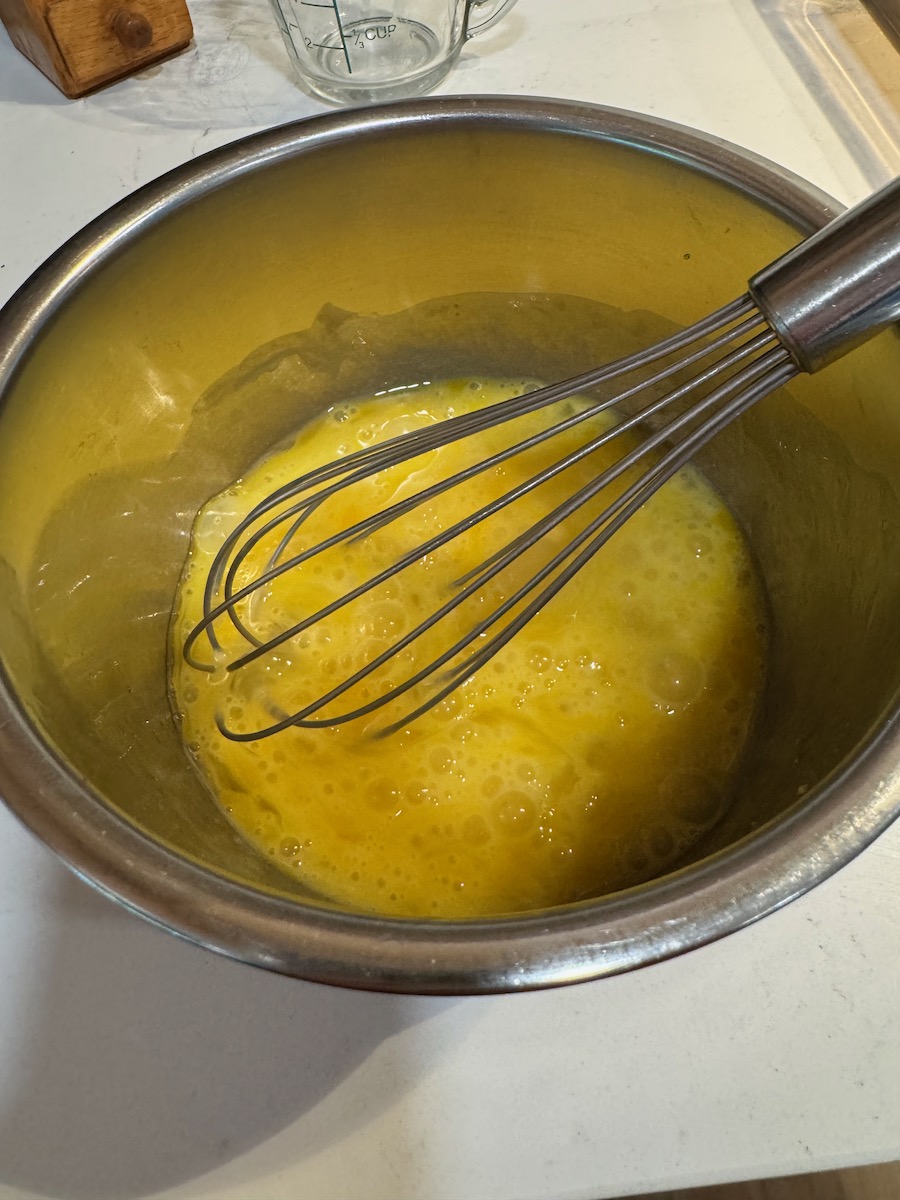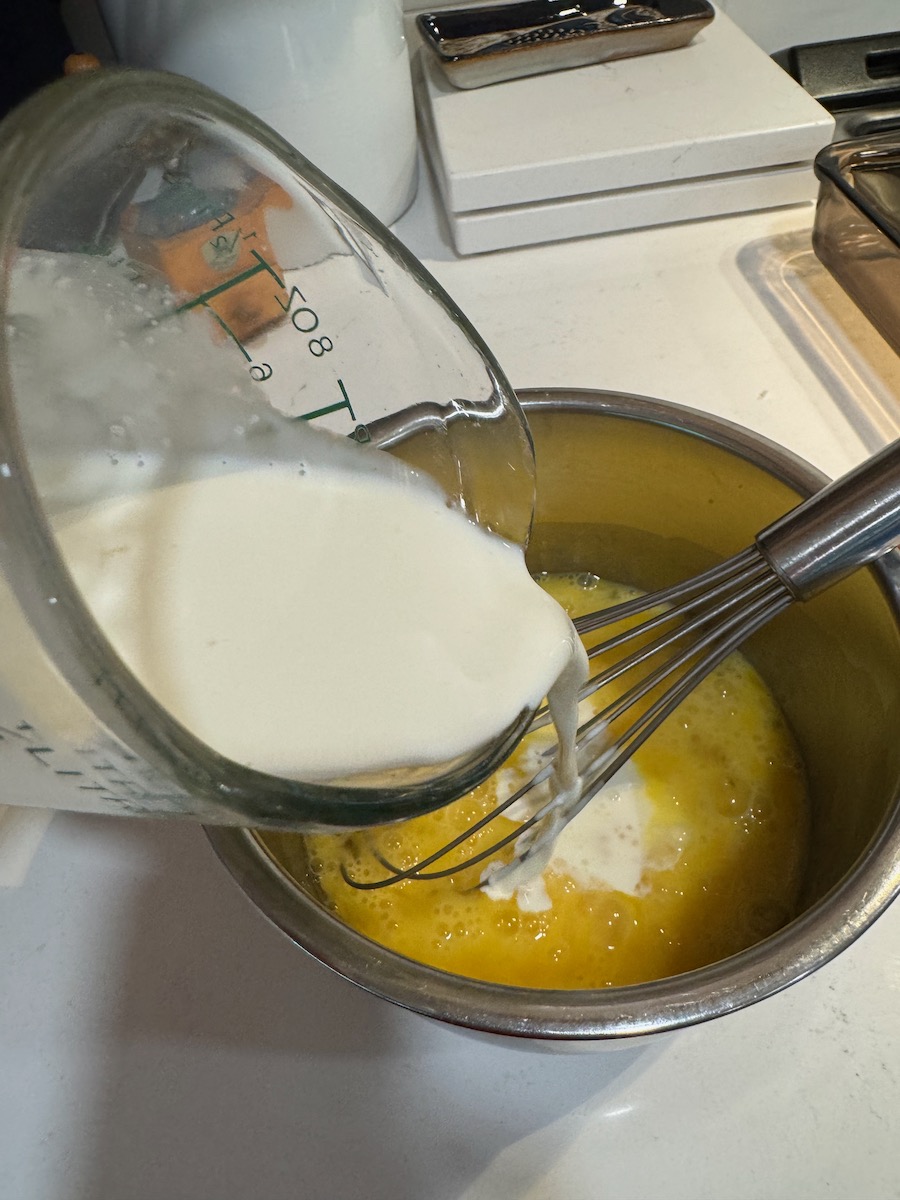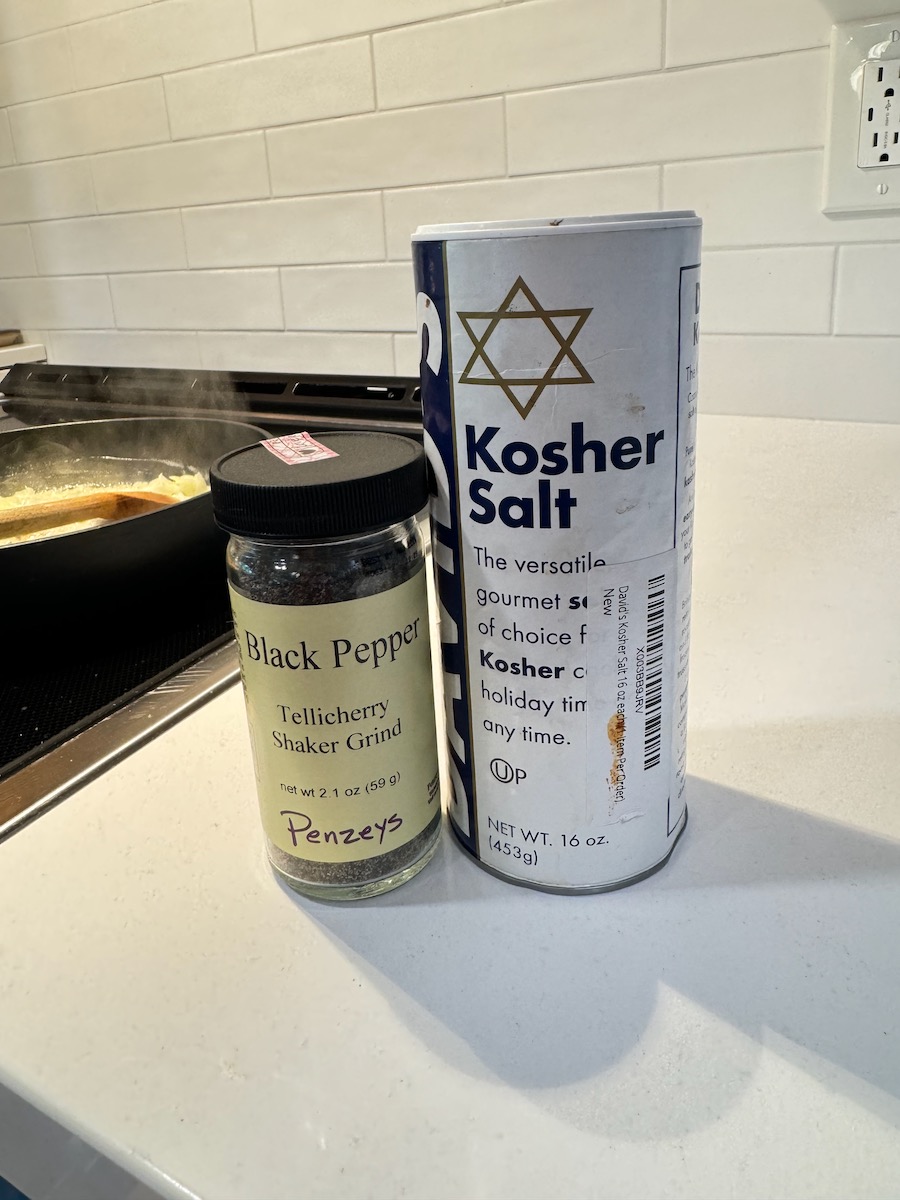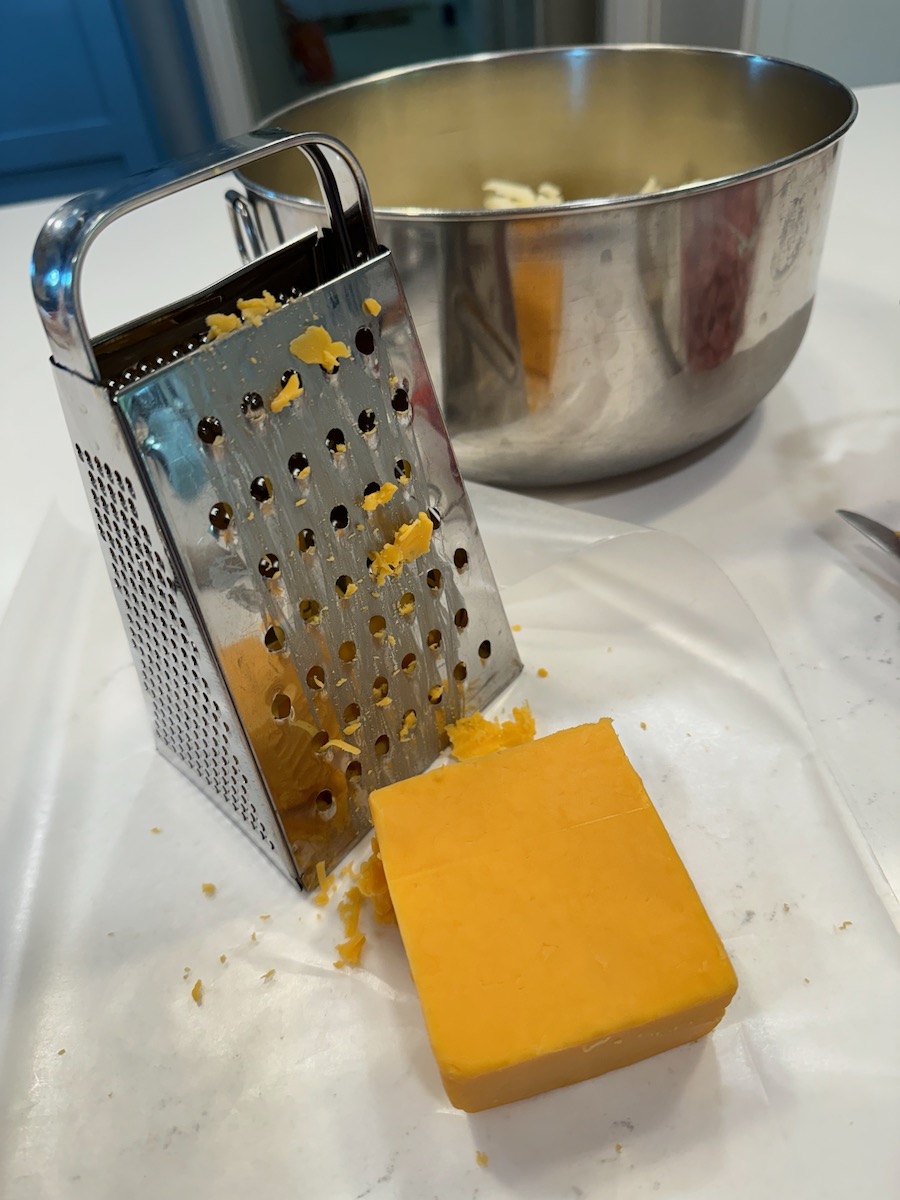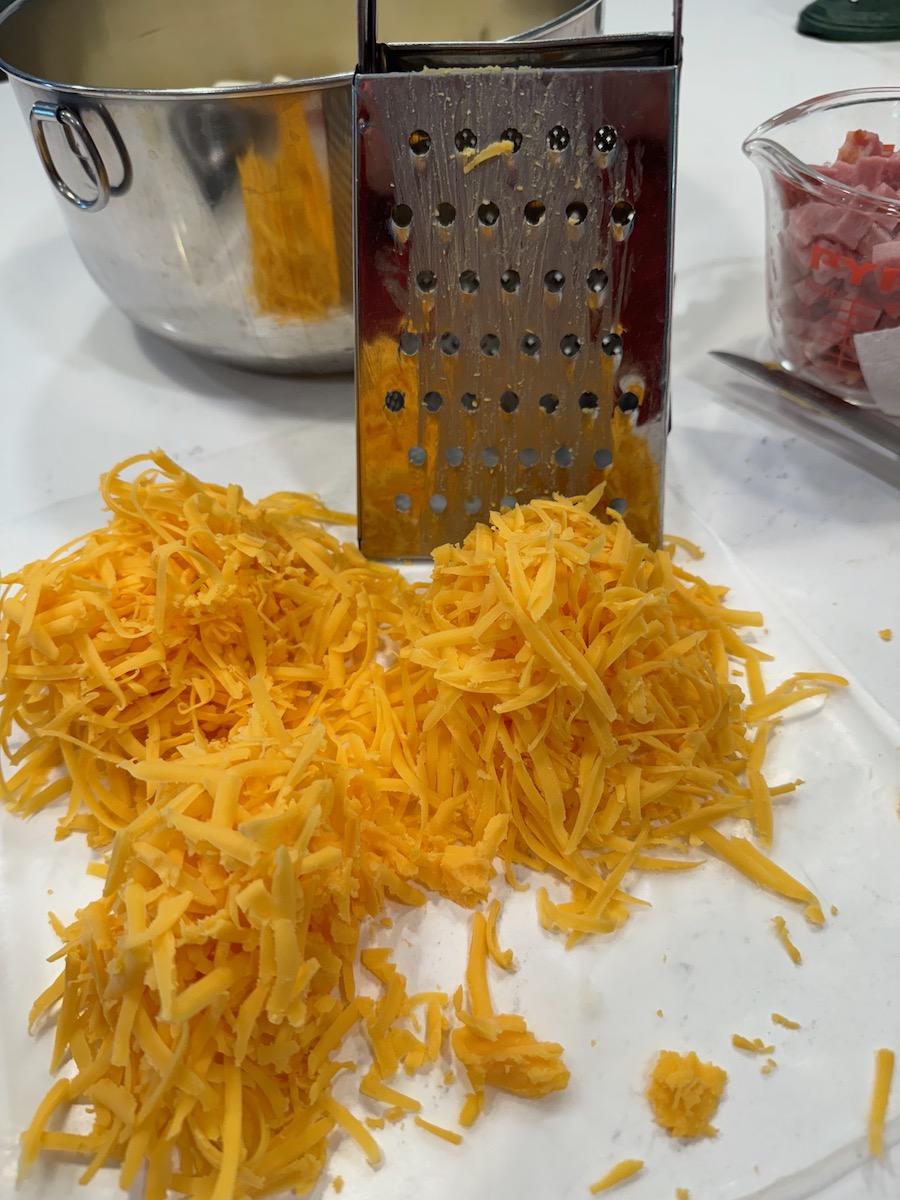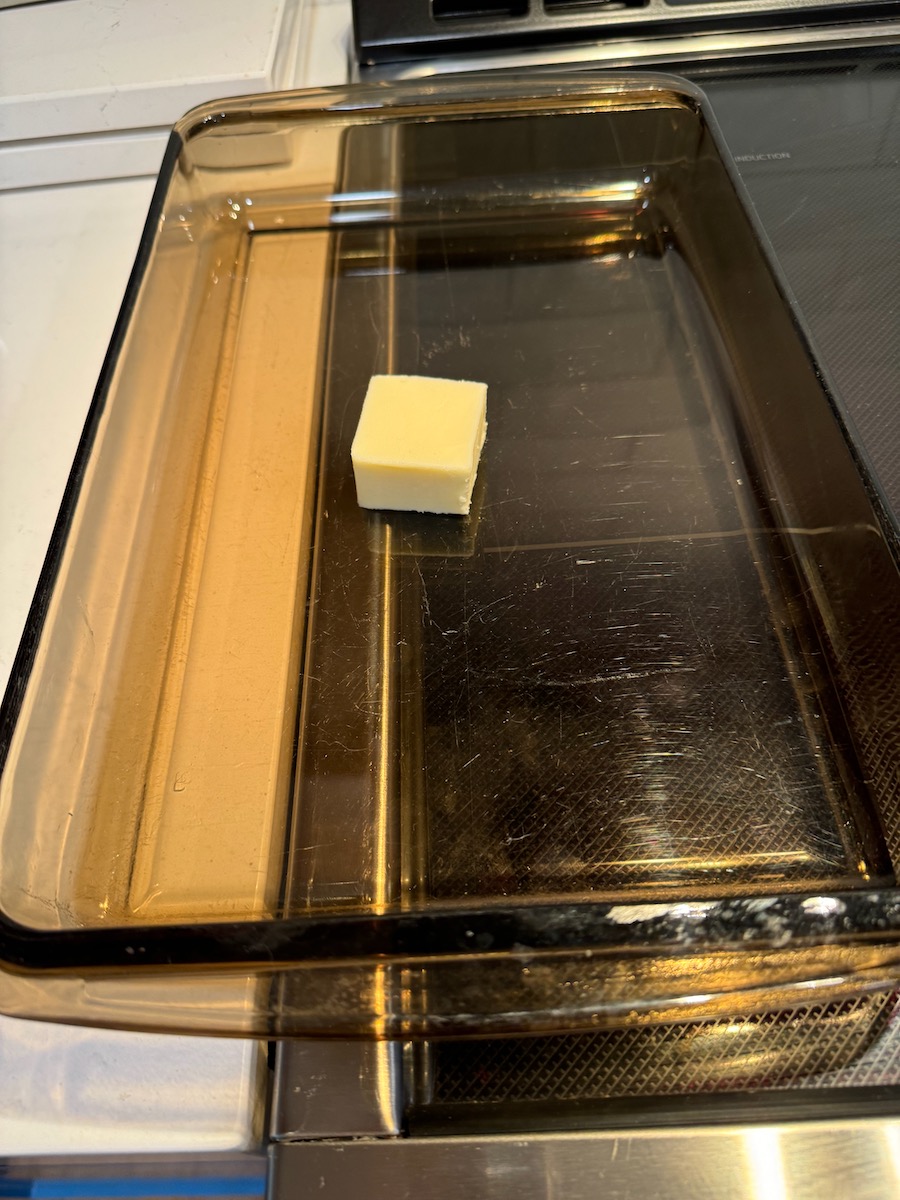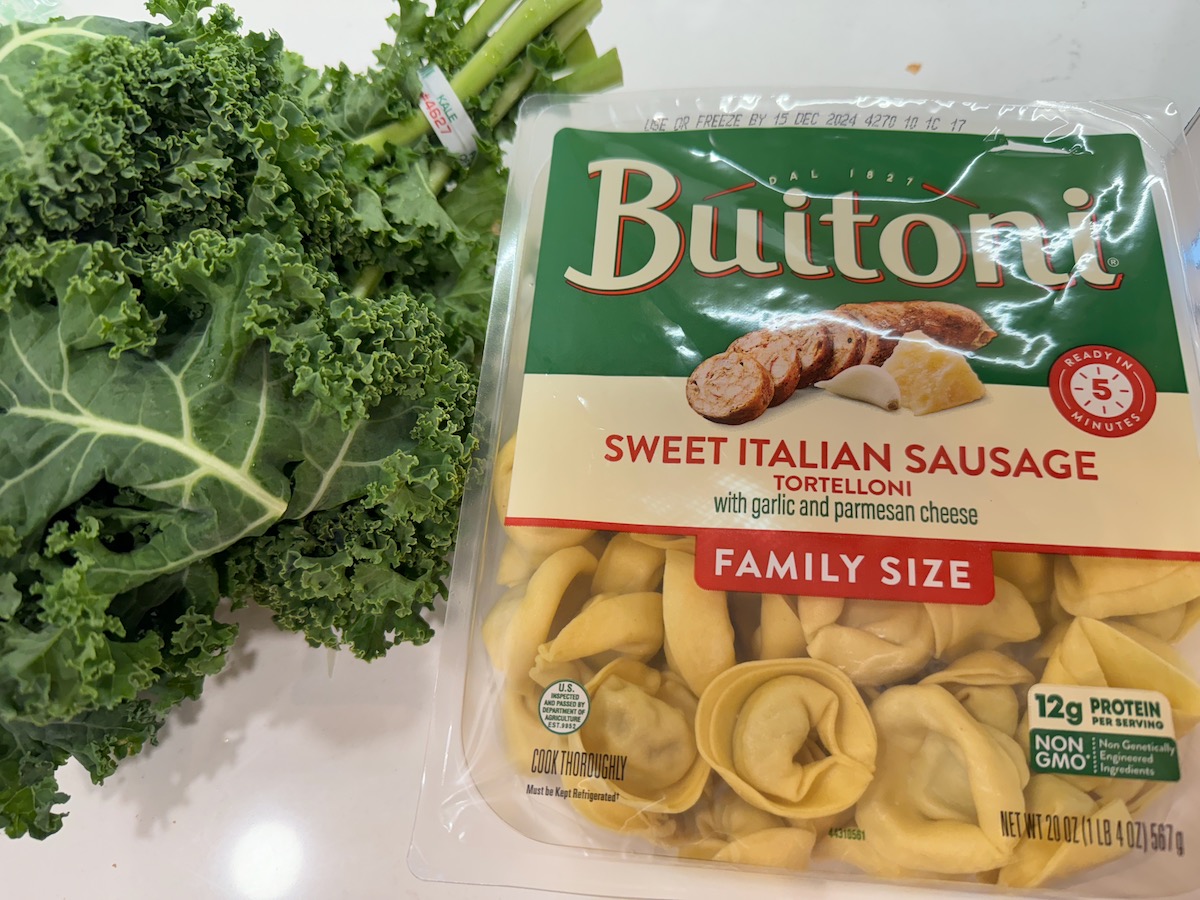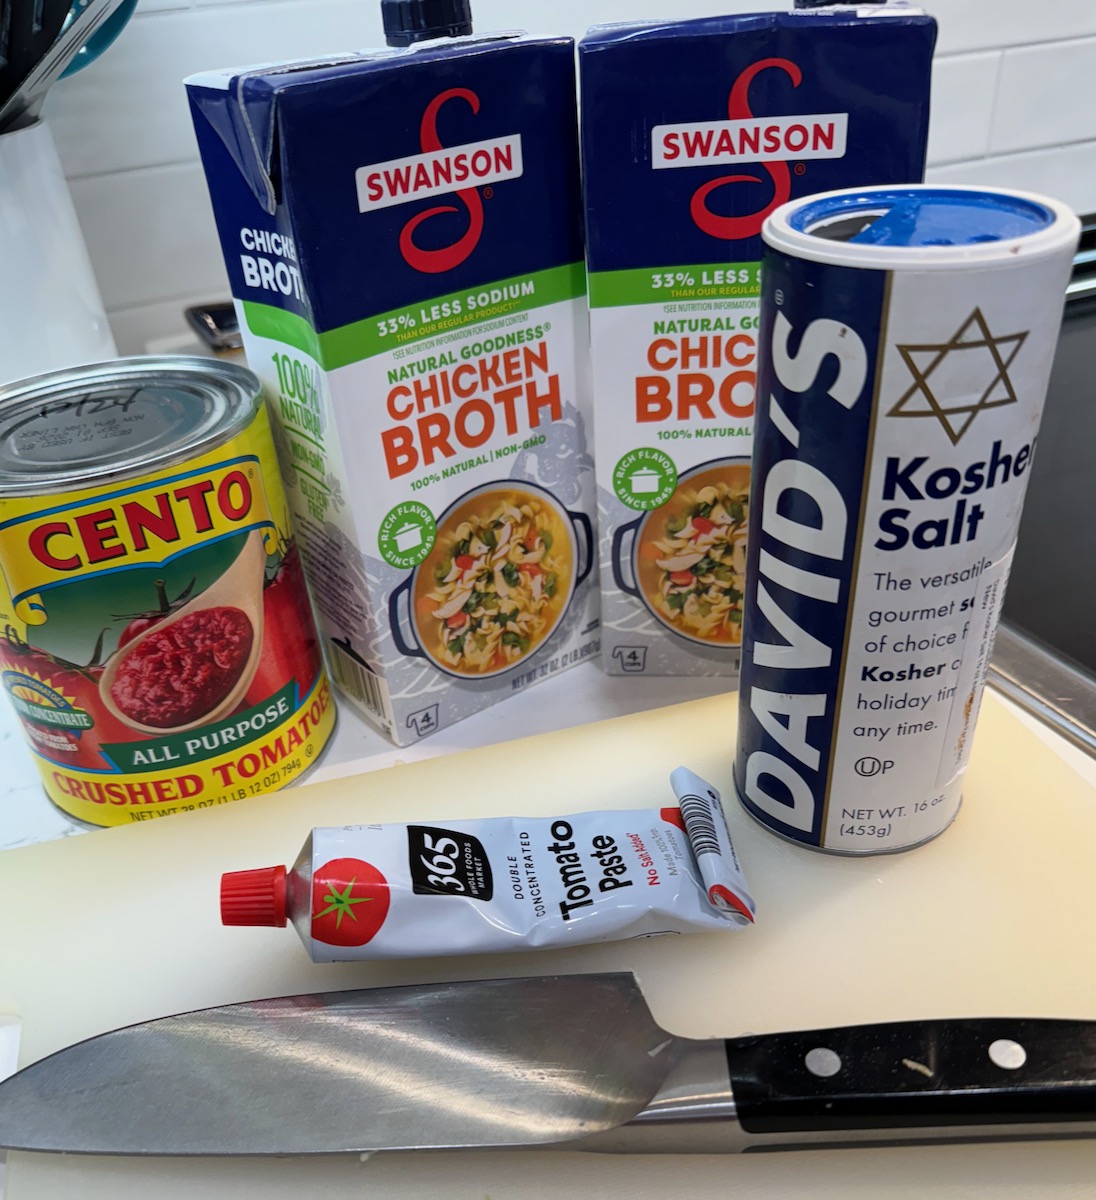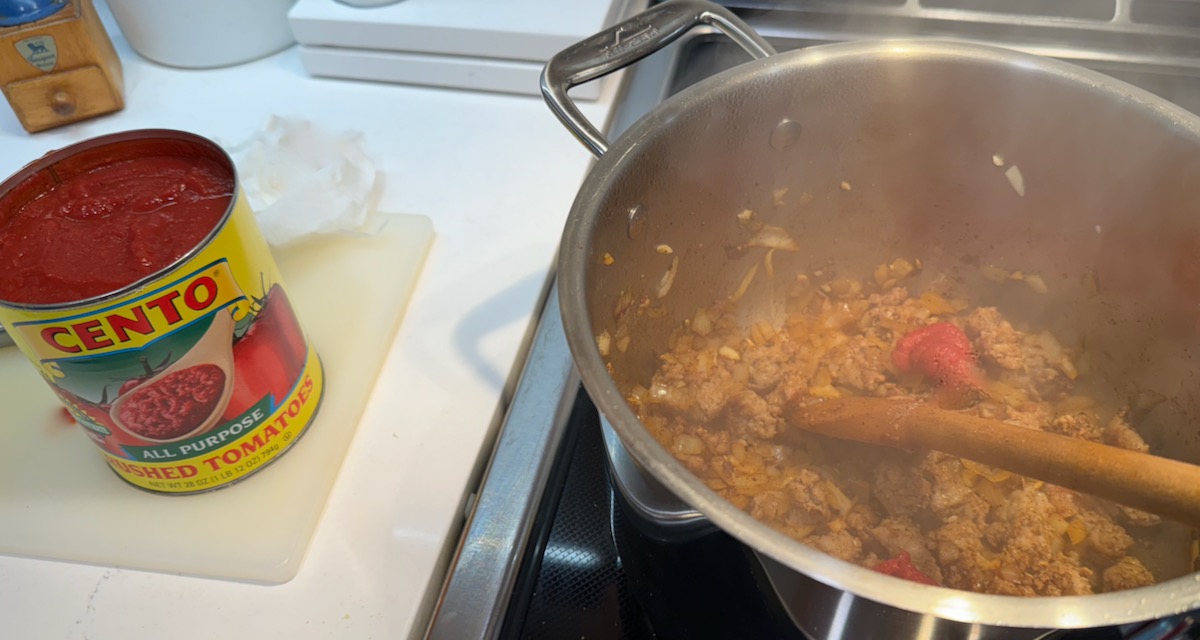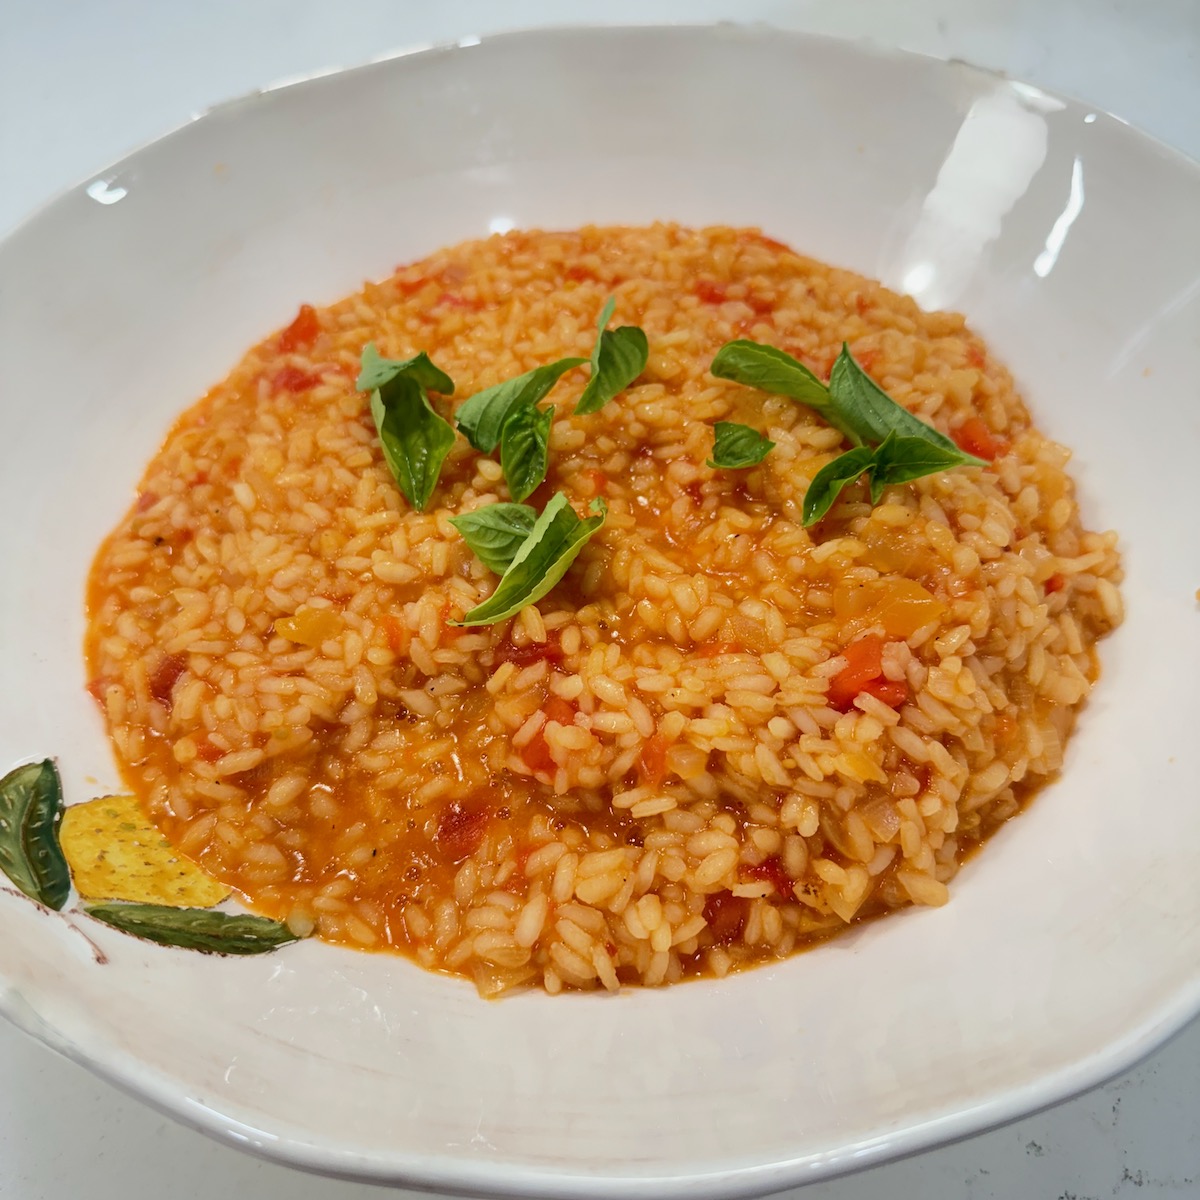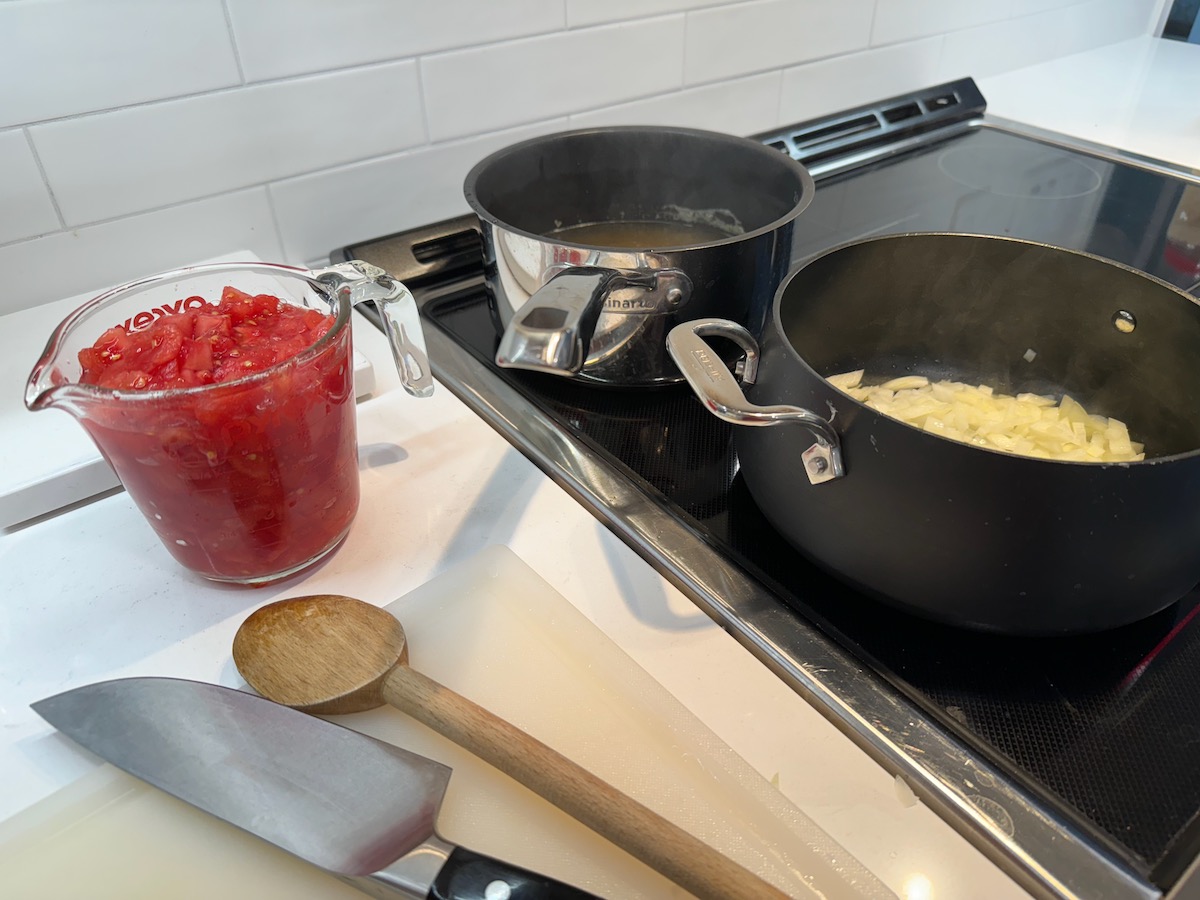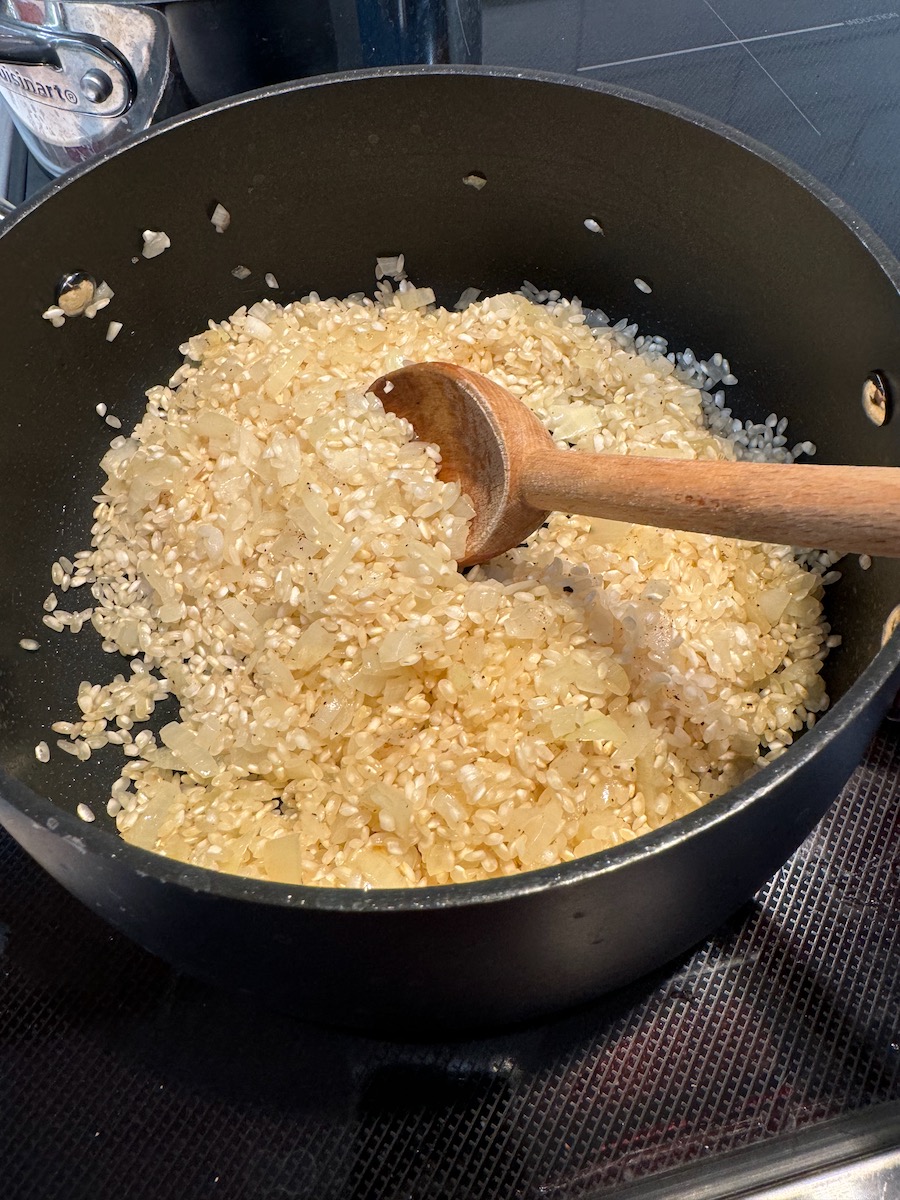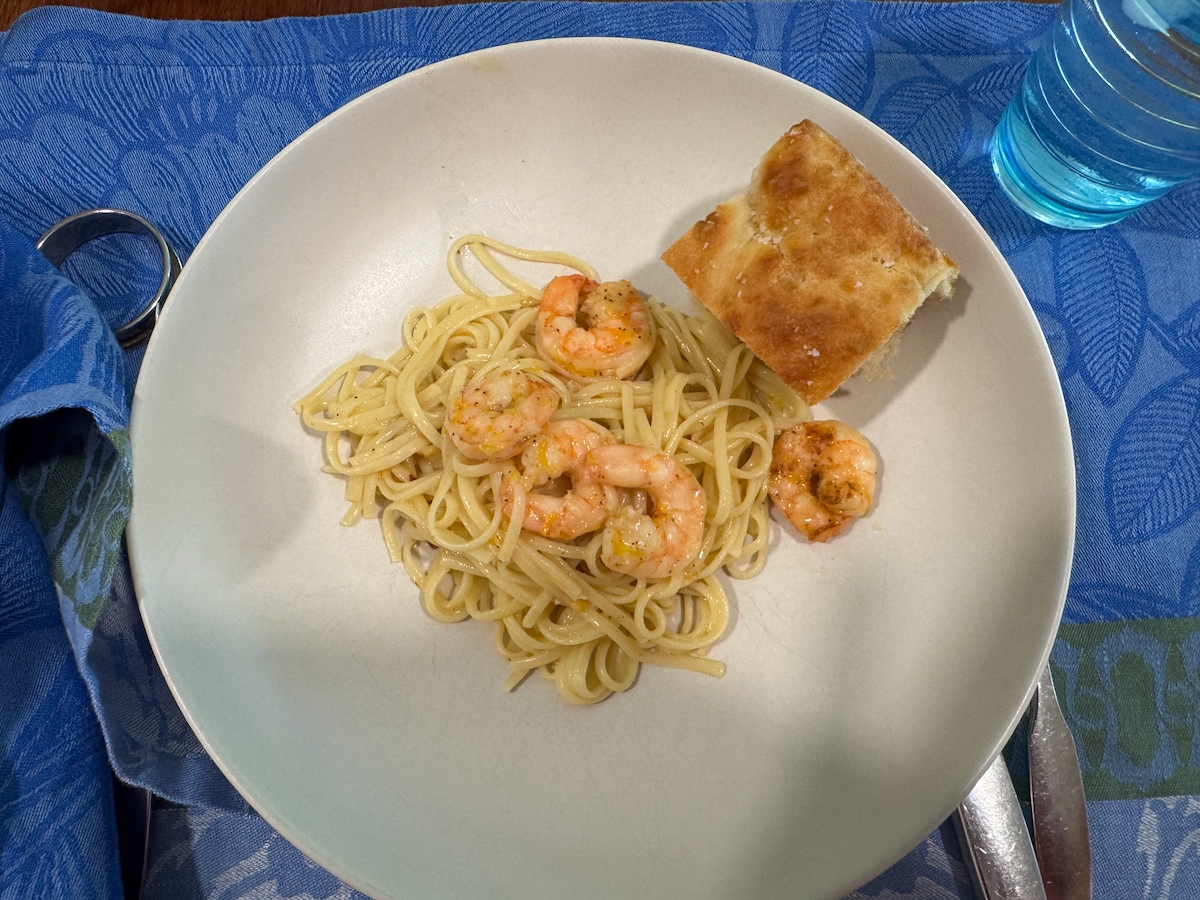
Originally published in the New York Times, it was a perfect dish to take care of too many tomatoes, and an overabundance of arborio packages in the cupboard. My changes are incorporated below.
Ingredients
Extra-virgin olive oil 1 large onion, diced (about 1½ cups) Salt and pepper 1½ cups arborio rice Pinch of red-pepper flakes 2 garlic cloves (I left them whole) ½ cup apple juice Large splash of rice wine vinegar 2 cups diced ripe red tomatoes (about 5-6 medium) 3 cups boiling chicken broth ½ cup grated pecorino or Parmesan, plus more for serving 4 medium tomatoes, in different colors, sliced Snipped basil, for garnish
Preparation
Pour 3 tablespoons olive oil in a saucepan over medium-high heat, then add the chopped onion, generously seasoning with salt. Add a few grinds of pepper, and cook until softened, about 5 minutes.
Add the rice and cook, stirring, until the onions are barely brown, about 2 minutes. Add red-pepper flakes, garlic, white wine and diced tomatoes, and cook until most of the liquid has evaporated, about 5 minutes more.
Pour in 2 cups boiling broth and adjust the heat to a brisk simmer. Cook for 5 to 6 minutes, stirring well with a wooden spoon every minute or so.
When the liquid is absorbed, add remaining 1 cup broth and continue to cook for another 5 minutes, until the rice is cooked, but the grains are still firm. Taste and adjust the seasoning, adding another splash of water if necessary to loosen the mixture. Turn off the heat, stir in the pecorino and 2 more tablespoons olive oil.
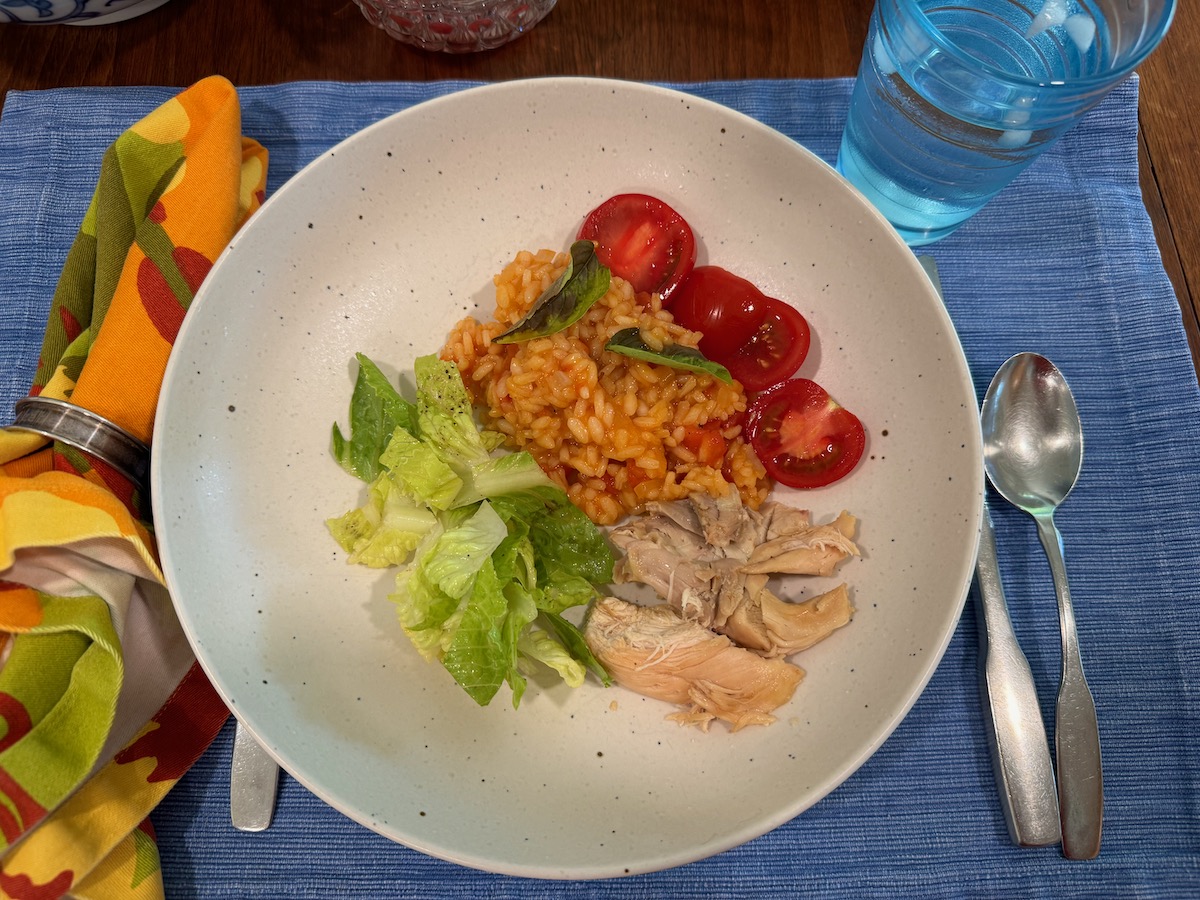
Serve in a low, wide serving bowl. Surround the rice with tomato slices and season them with salt and pepper. Sprinkle with basil.
We served ours with some lightly tossed greens and rotisserie chicken.
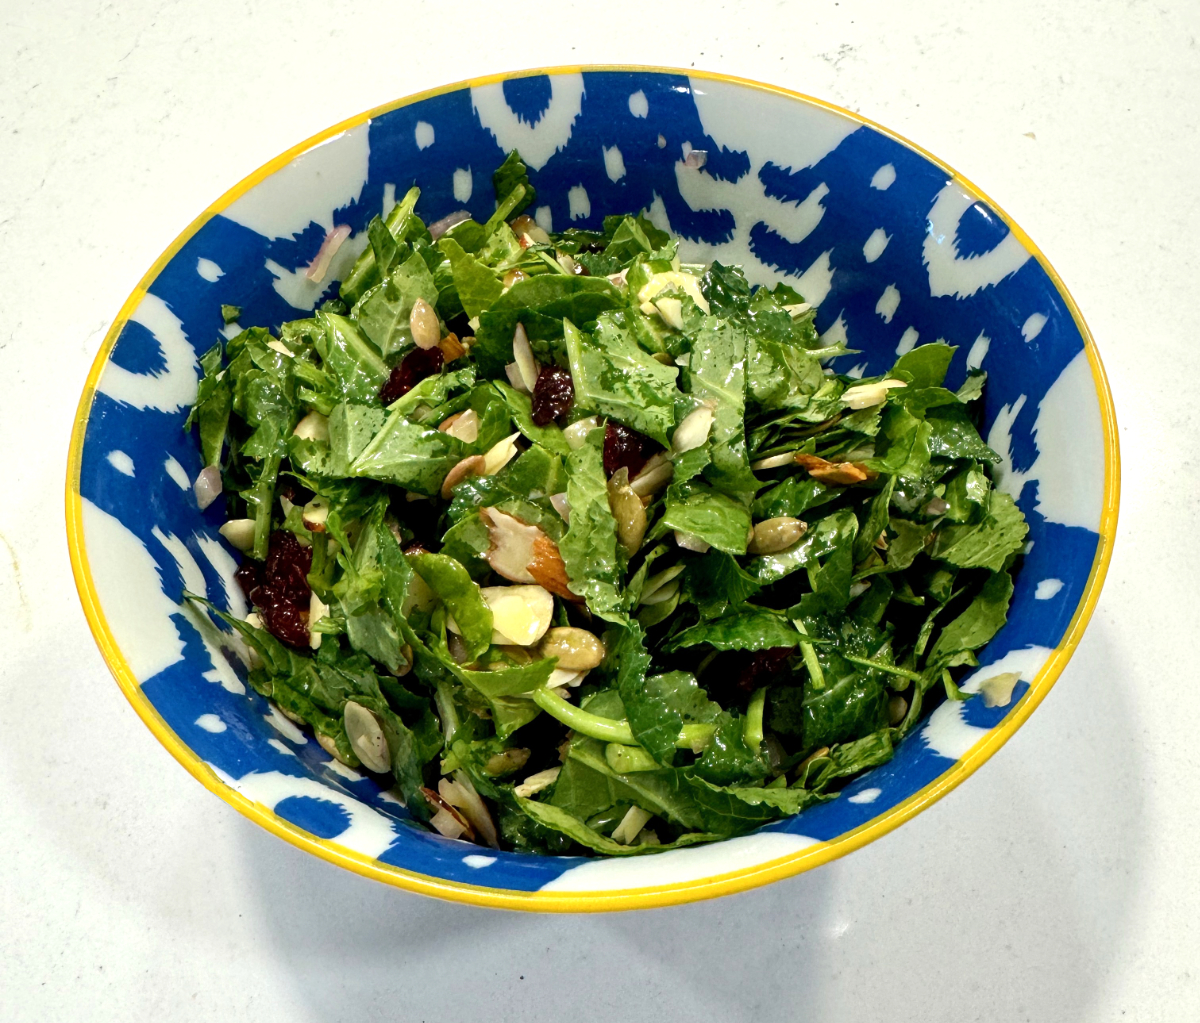
Winding our way across Texas, we fell in love with the H.E.B grocery stores. I’d been there before, but when we were on the road, we’d stop in the morning to pick up a pre-pared lunch to carry with us. One day I picked up “Fresh Kale Cranberry Pepita Salad” from the display case.
I searched for the recipe back in California, as I was trying to recreate that dish. There were several options to choose from, and I’m pretty happy with the one below. There are two odd ingredients: one was orange juice concentrate. In the old days you’d find it in the freezer section in a can; no more. So I squeezed a couple of oranges, and cooked it down to where it was getting to the jammy stage: still liquid, but quite thick. Don’t let it burn! The other is crystalized ginger. You’ll find a photo of what I used, below.
Ingredients:
1 Bunch of Kale
1/3 Cup Pepitas (Pumpkin seeds)
1/2 Cup Slivered Almonds
1/2 Cup Dried cranberries
Sesame Orange Dressing
3 Tbsp Rice or Rice Wine Vinegar
2 Tbsp Oil (Canola or Olive)
1 1/2 Tbsp Crystallized Ginger Diced
1 Tbsp Orange Juice Concentrate
1 small shallot, finely diced
1/2 Tbsp Sesame Oil
Salt, Pepper and Sweetener of Choice to taste.
Instructions:
Mix all of the dressing ingredients together and let sit while the remaining components are prepped.
[Optional] Begin toasting your slivered almonds in a saute pan on medium. Keep an eye on them and toss occasionally until most are starting to brown, abut 8 minutes. Be careful not to burn them.
If you have a head of kale, rinse the kale and partly de-stem and chop the leaves into thin strips. –OR– Just buy a carton of baby kale from the grocery store. I used a little more than half of the kale, and yes, chop the leaves into thin strips.
In a large mixing bowl, massage half of the dressing into chopped kale for about 3-5 minutes. This will allow the dressing to thoroughly coat and soften the kale a bit. Add more, a tablespoon at a time, if needed. Freeze remaining dressing for the next round.
Mix toasted almond slivers, dried cherries and pepitas into dressed kale. Taste and if needed, add more salt and pepper.
I was mystified by “ginger purée” and didn’t have that, so just upped the crystalized ginger a bit. I also didn’t refrigerate it, because we were hungry and just wanted to eat.
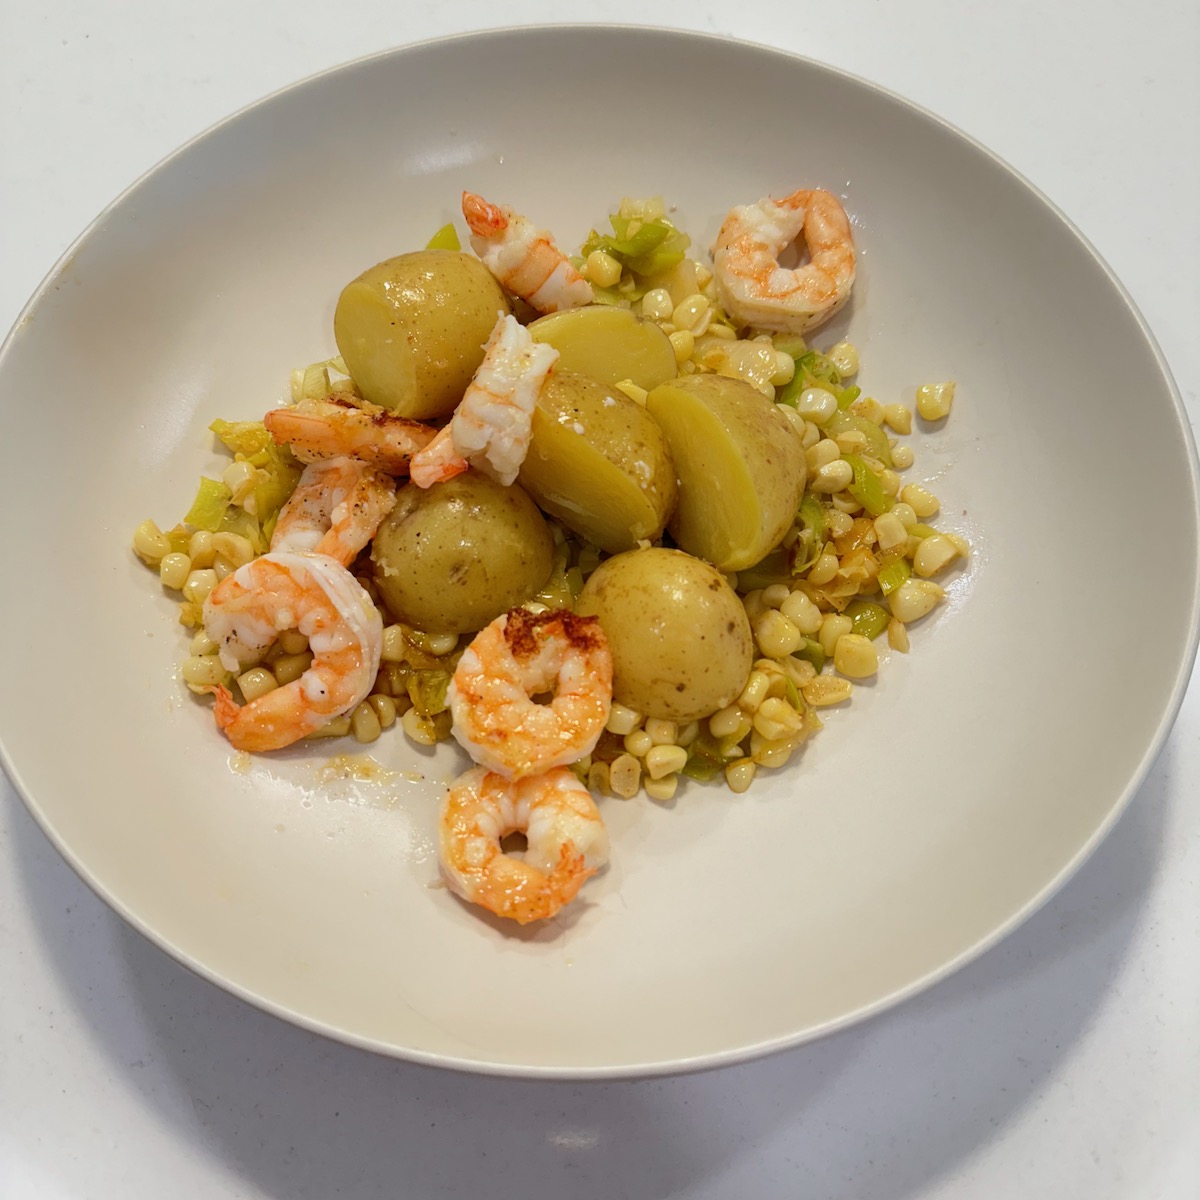
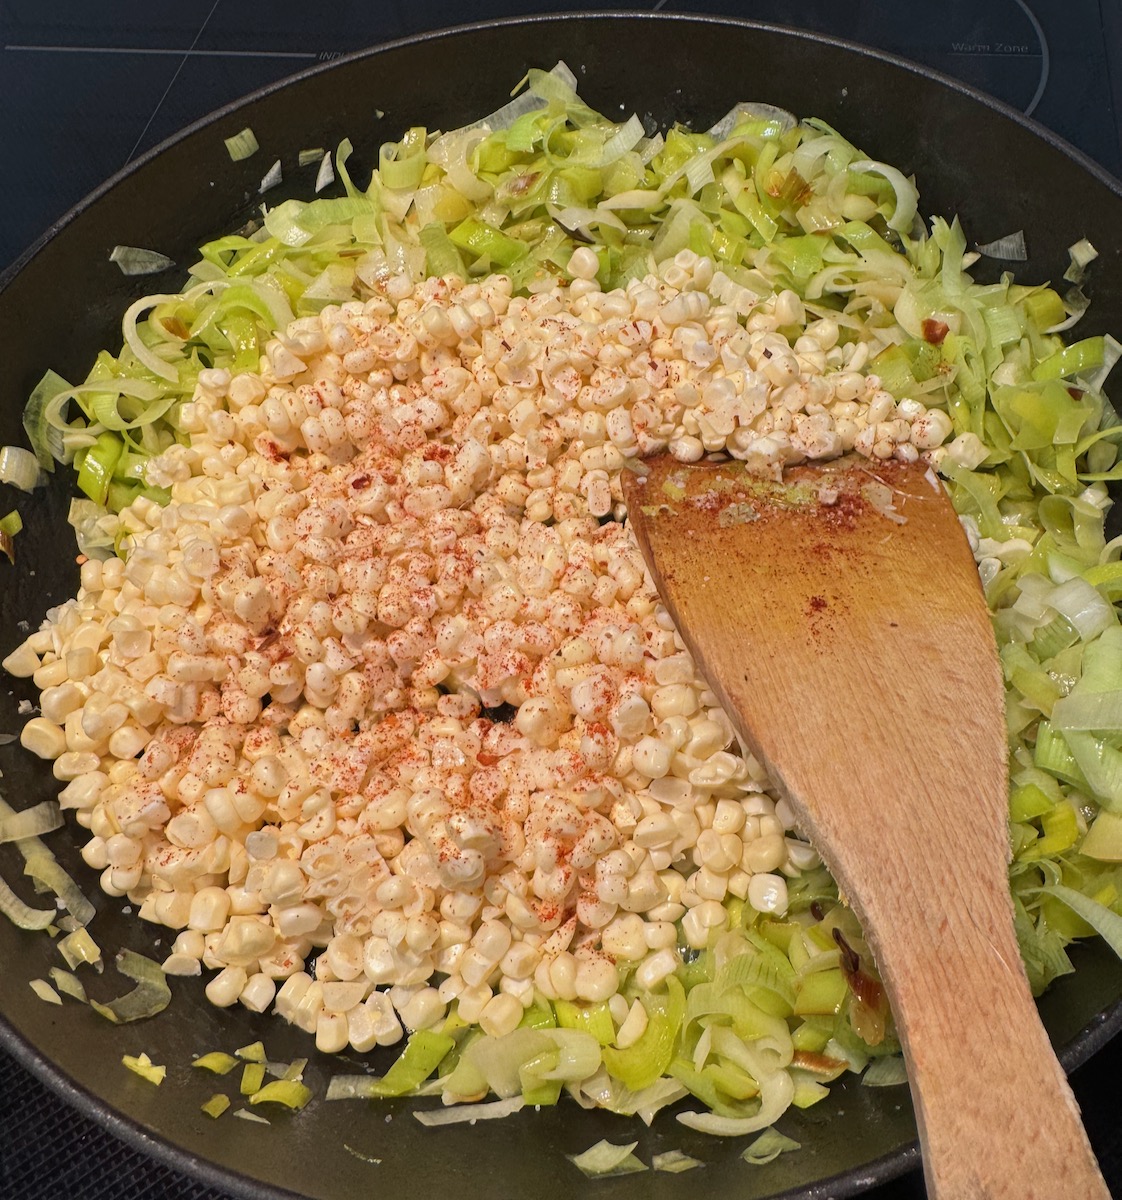
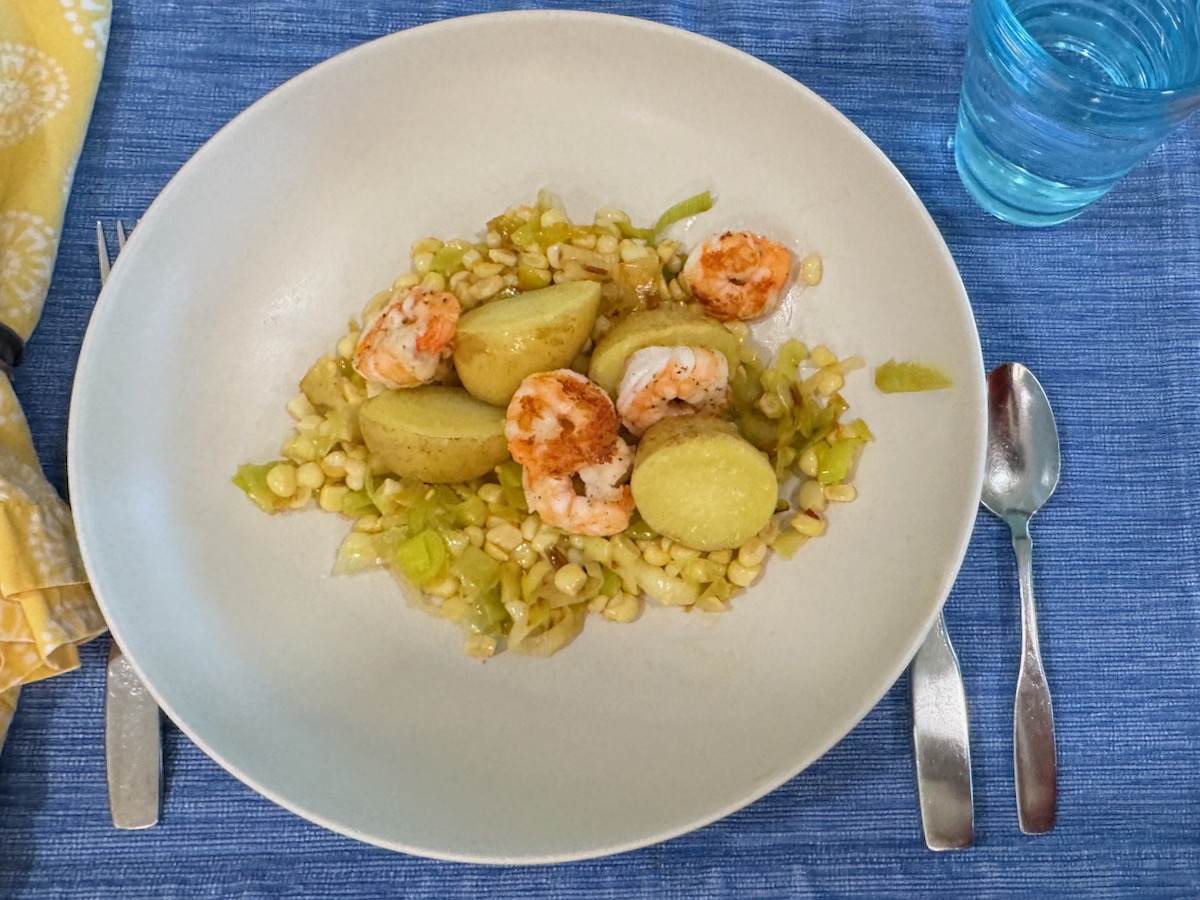
I was hunting for a recipe that contained everything in the title, but the search kept delivering the New England shrimp-potato-corn boil stuff. No, I wasn’t interested in that. I wanted a dish that featured those, but with no “boil.” So, here it is.
3 leeks 2 cloves garlic, minced 1 lb. small white new potatoes, scrubbed and larger ones cut in half 4 fresh ears of corn, kernels cut off the cobs 20-25 shrimp, shells and tails removed, decent size 5 Tablespoons butter, divided swirls of olive oil shake of smoked paprika salt and pepper
Cut the root ends of the leeks, then lay on your cutting board. Slice in half lengthwise, leaving the greens at the top intact, if possible. Under running water, separate the layers to wash out the dirt. Pat dry. Slice into 1/8″ slices, removing the outer layers as you go up the leek, but stopping before the dark green.
Place 2 Tablespoons butter in a large skillet, and a swirl of olive oil. Place the leeks in the pan, and over medium heat, cook about 3-4 minutes. Add the garlic. Turn the heat to low and stir occasionally for another 3-5 minutes.
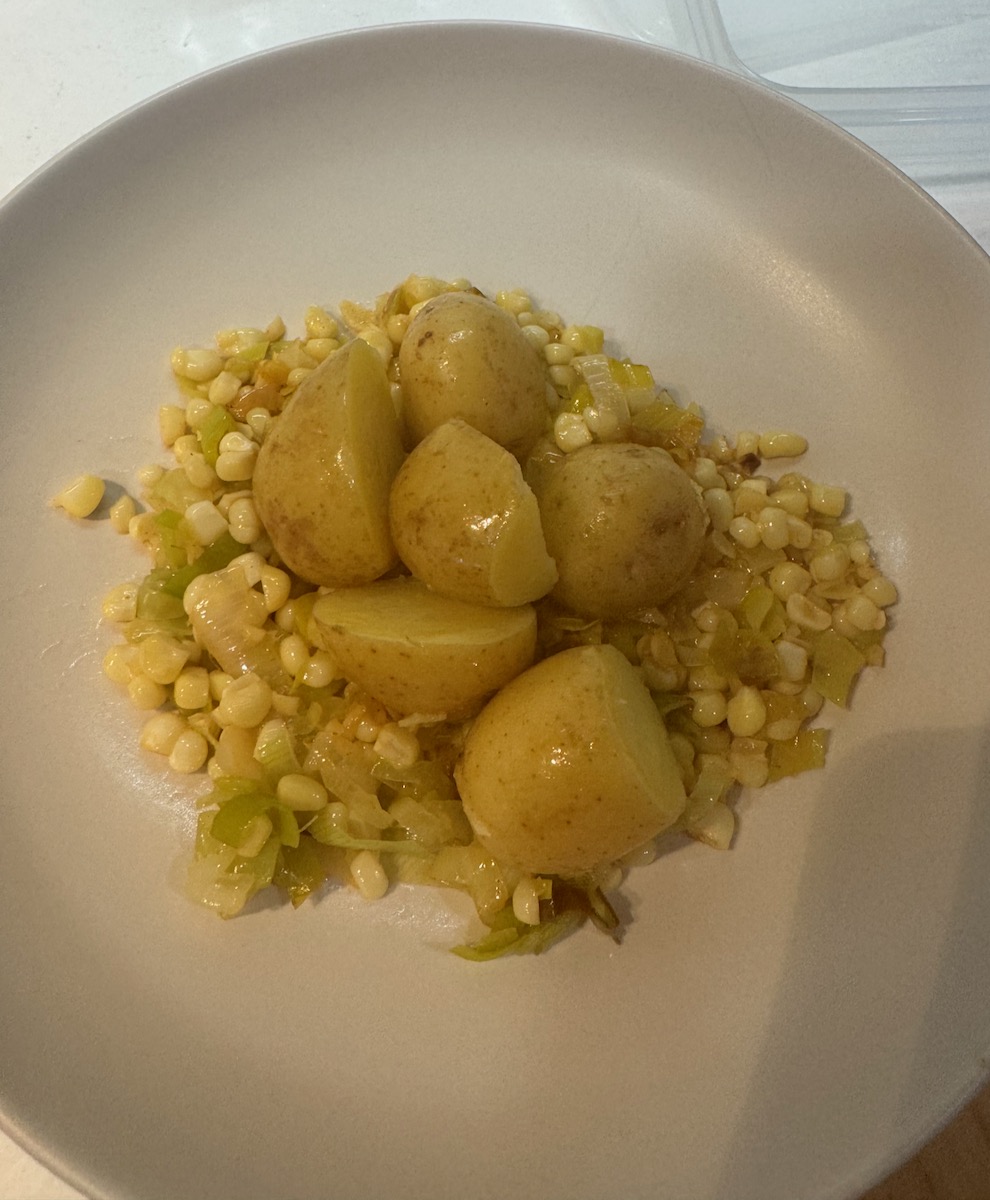
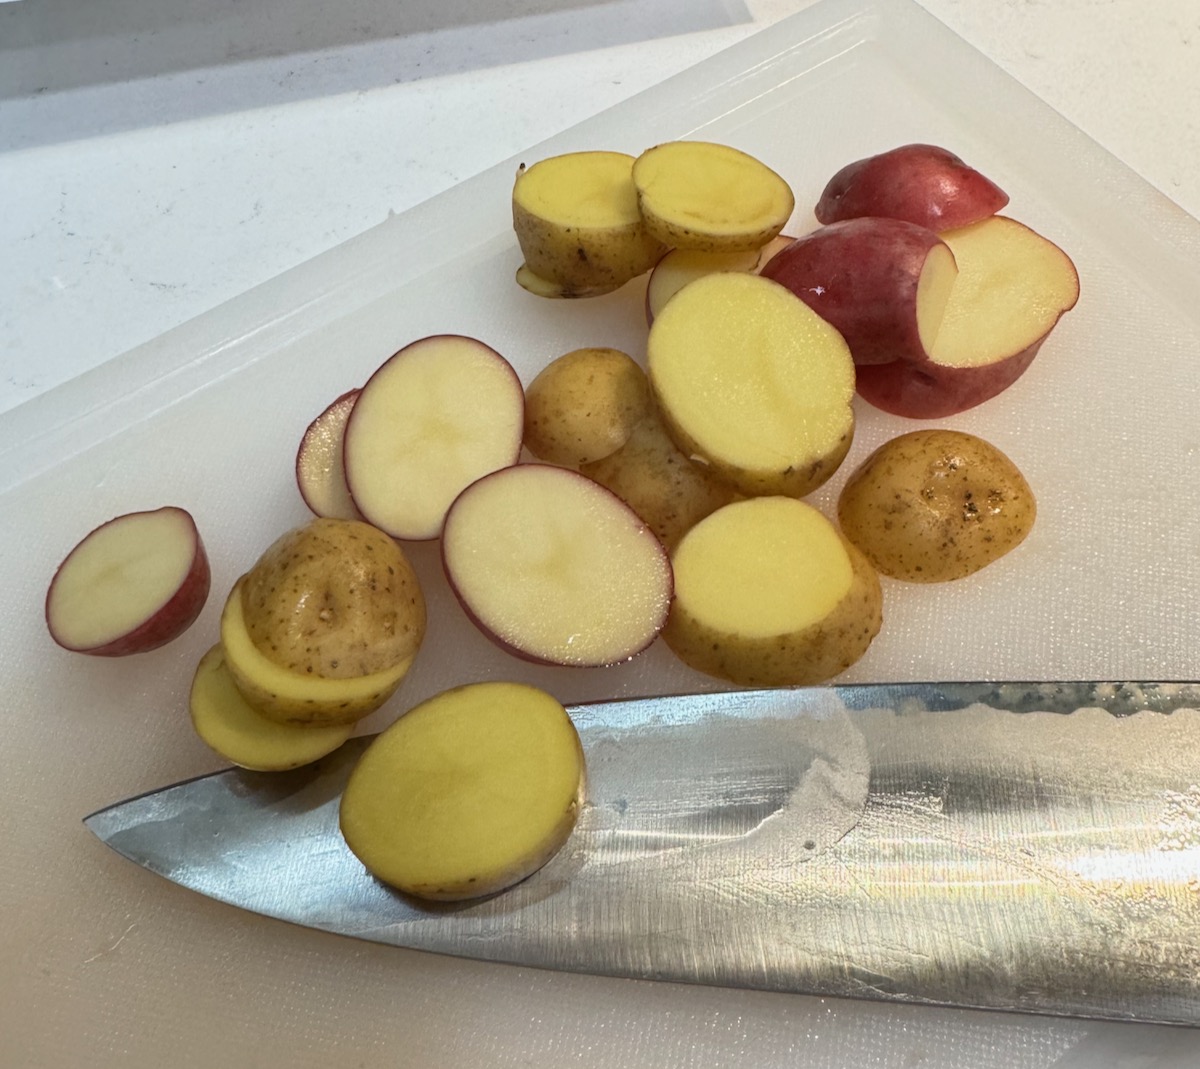
Meanwhile, scrub the potatoes and slice the larger ones in half, so they all end up about the size of a golf ball. Cook in boiling, salted water until nearly tender; drain. Place back on the unit and shake to dry them, then add 1 Tablespoon butter, tossing to coat. Lightly add salt and pepper. Set aside.
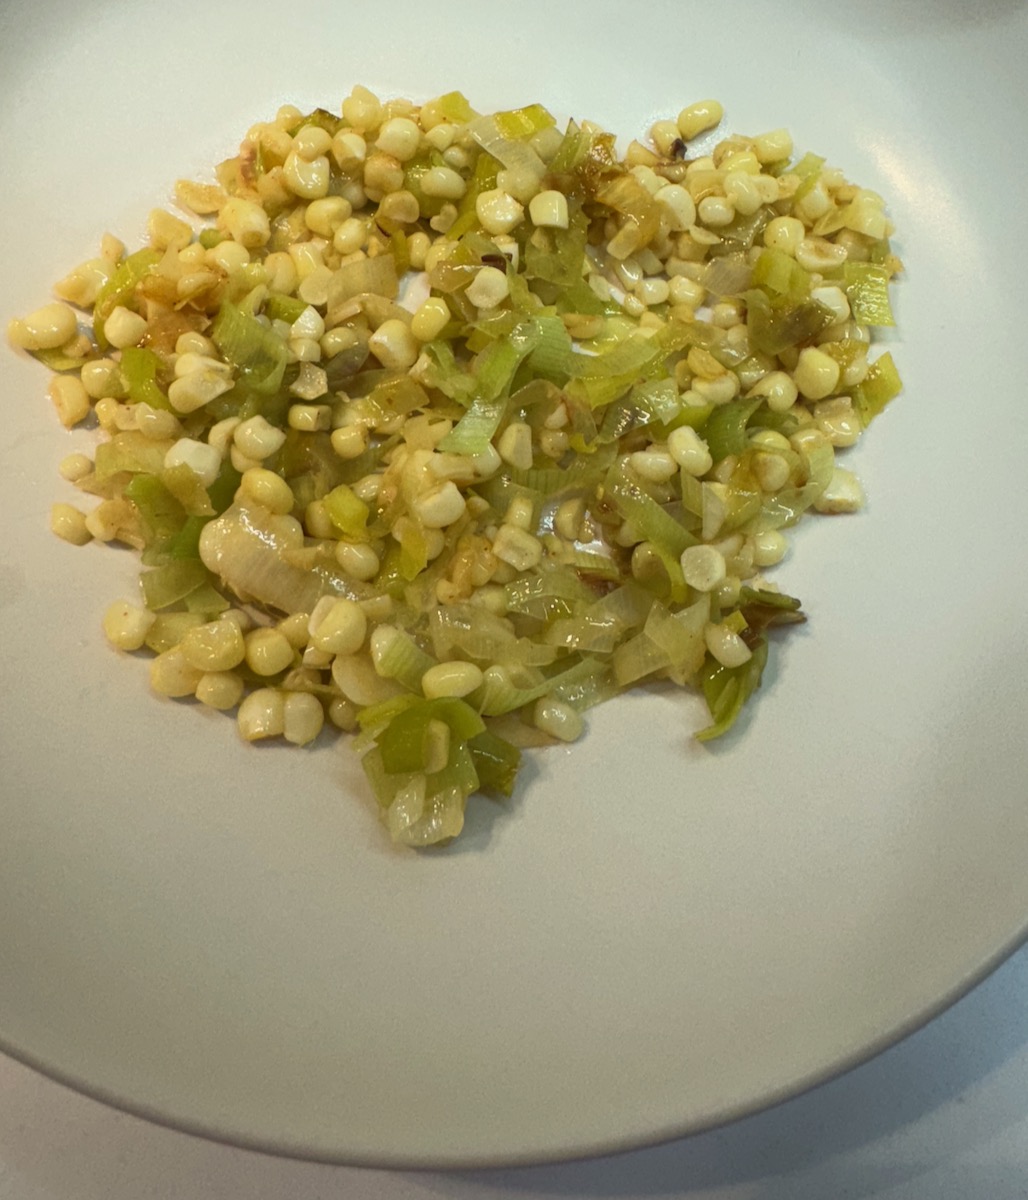
Back to the leeks: push them to the sides of the pan. Slide 1 Tablespoon butter into pan. After the butter melts, add the kernels of corn to the pan, tossing them with the butter. Sprinkle with salt, and a wave of smoked paprika. Toss, then incorporate the leeks and garlic. Let cook at low heat until kernels are cooked, but still have a some texture.
Meanwhile (again), melt 1 Tablespoon butter in a skillet, and add a swirl of olive oil. Place the shrimp around the pan in one layer; add salt and pepper. Flip shrimp over when you see white around the edges. Turn the heat up to give a slight coating to the shrimp, evaporating any moisture, but don’t burn them.
To serve, place a layer of the corn/leek mixture into a low, flat bowl or plate, then a few potatoes, and then top with shrimp.
If you are really fancy, finely chop some parsley and use that to garnish the dish.
I like the first corn chowder version on here, but I also like this second one; it’s a bit more brothy and the corn really stands out. I added a drizzle of cream to the above, but it was unnecessary. Just go with the recipe.
The only unusual ingredient here is Better Than Bullion, a type of flavoring base. I sometimes use it to ramp up the flavor, especially if I’ve used water as part of the equation (which I do).
Ingredients
8 small ears of fresh corn, or 4-6 large ears 4 cups chicken broth 4 cups water 2 teaspoons Better Than Bullion Roast Chicken flavor 2 4-ounce packages of Trader Joe’s pancetta 1 large white onion, finely diced 2 large carrots (or 4 small ones), finely diced 1 lb. Yukon or equivalent potatoes, cut into 1/4″ slices (I used the small creamer potatoes, and was fine with that) 2 teaspoons salt — or to taste several grinds of black pepper medium pinch of red pepper flakes chopped chives, for garnish
Instructions
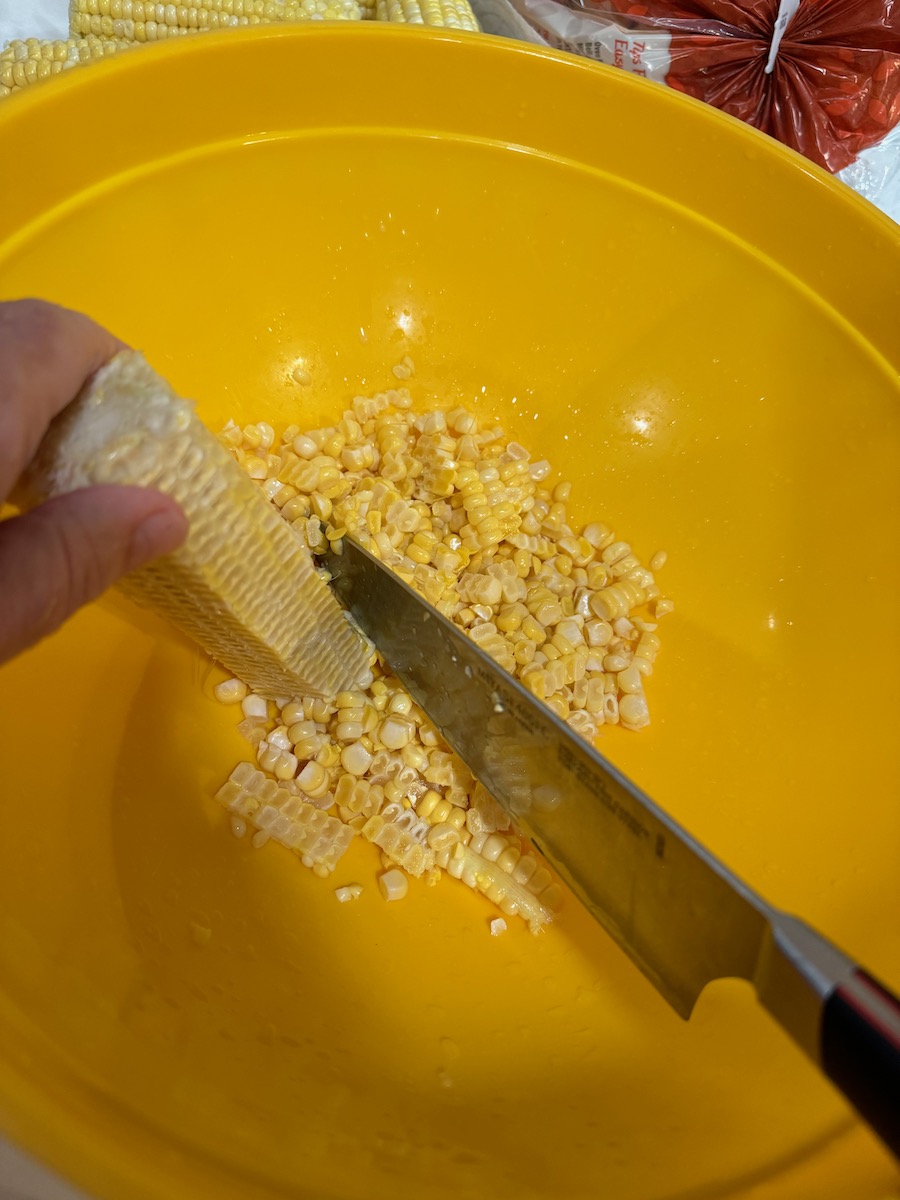
One by one, place an ear of corn in a large bowl, and cut off kernels. Reserve kernels.
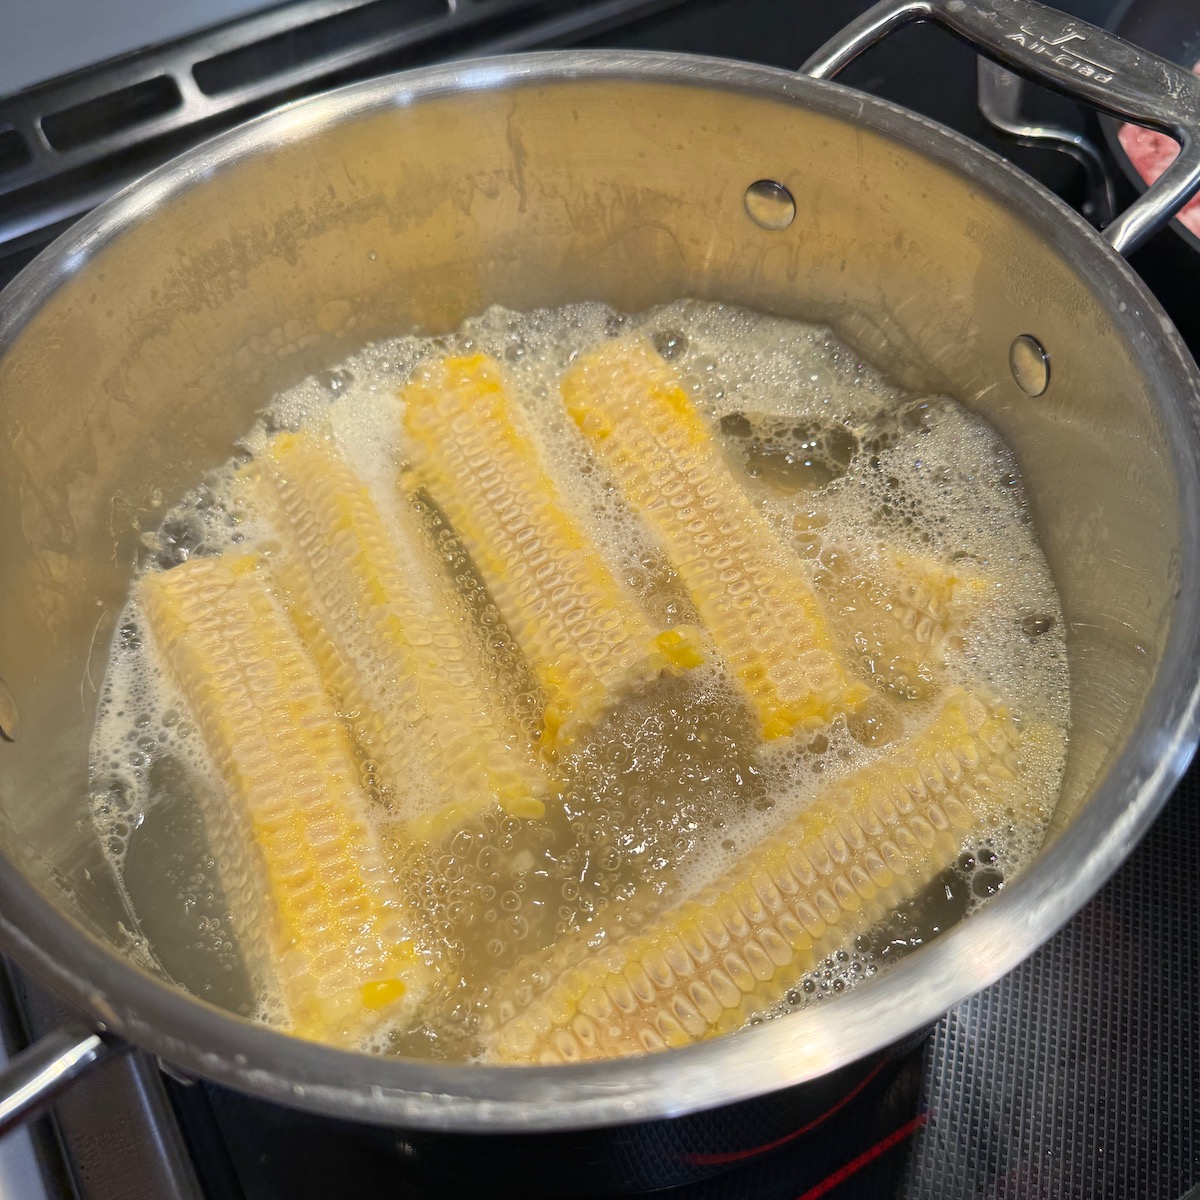
Place the chicken broth in a large pot, and add the corn cobs. Add water until the cobs are almost submerged; don’t use more than 4 cups of water. Bring to a boil and cook uncovered for about 20 minutes, while making the rest of the chowder.
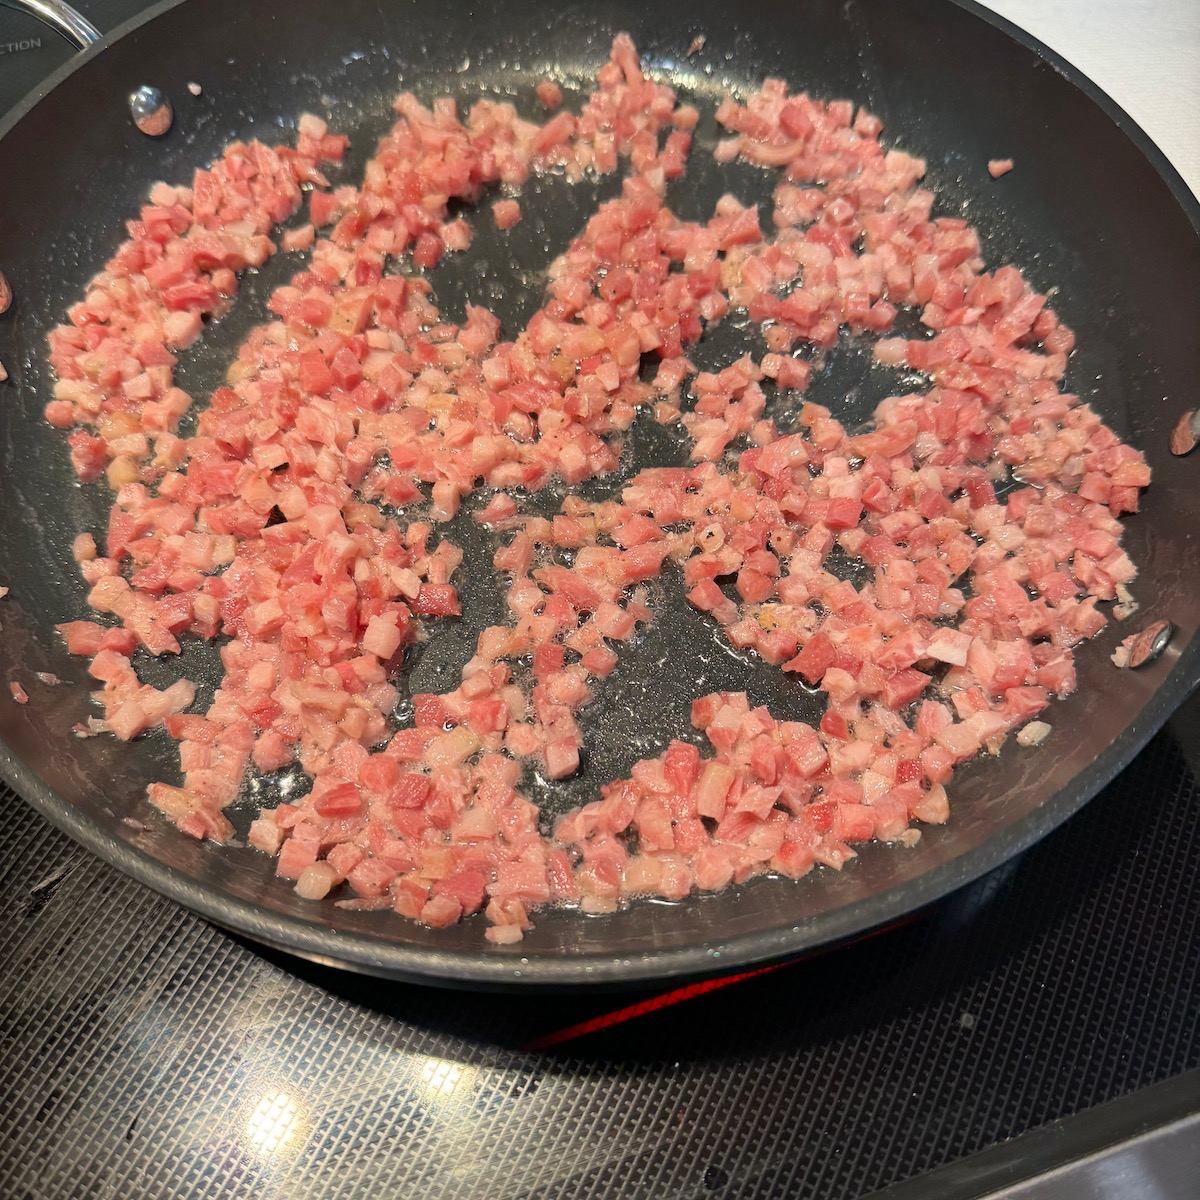
In a large saucepan, brown the pancetta until crispy, but not burned. Using a slotted spoon, remove pancetta to a bowl lined with a paper towel, and set aside for later.
To the pancetta fat, add the diced vegetables, stirring occasionally until they are soft, about 8 minutes over medium-low heat.
Now…back to the corn cobs. Using tongs, lift the cobs out of the large pot into a bowl, and then pour the broth/water through a strainer into a large clean bowl. Don’t throw away the cobs just yet.
Wipe out the large pot, and scrape the diced vegetables into the pot. Add the reserved corn kernels, sliced potatoes, corn broth/water, 2 teaspoons of Better Than Bullion Roast Chicken flavor, pinch of red pepper flakes, and the salt and pepper.
Stir well, and let simmer until the potatoes are tender (about 12 minutes). Meanwhile, go back to your cobs, and [if desired] scrape down the edges to extract the bits of the corn kernels that remain. Add to soup.
When potatoes are tender, and using a potato masher, crush the potatoes a few times to break them down and to thicken the soup slightly. (If the soup gets too thick, you can add more water or broth if needed.)
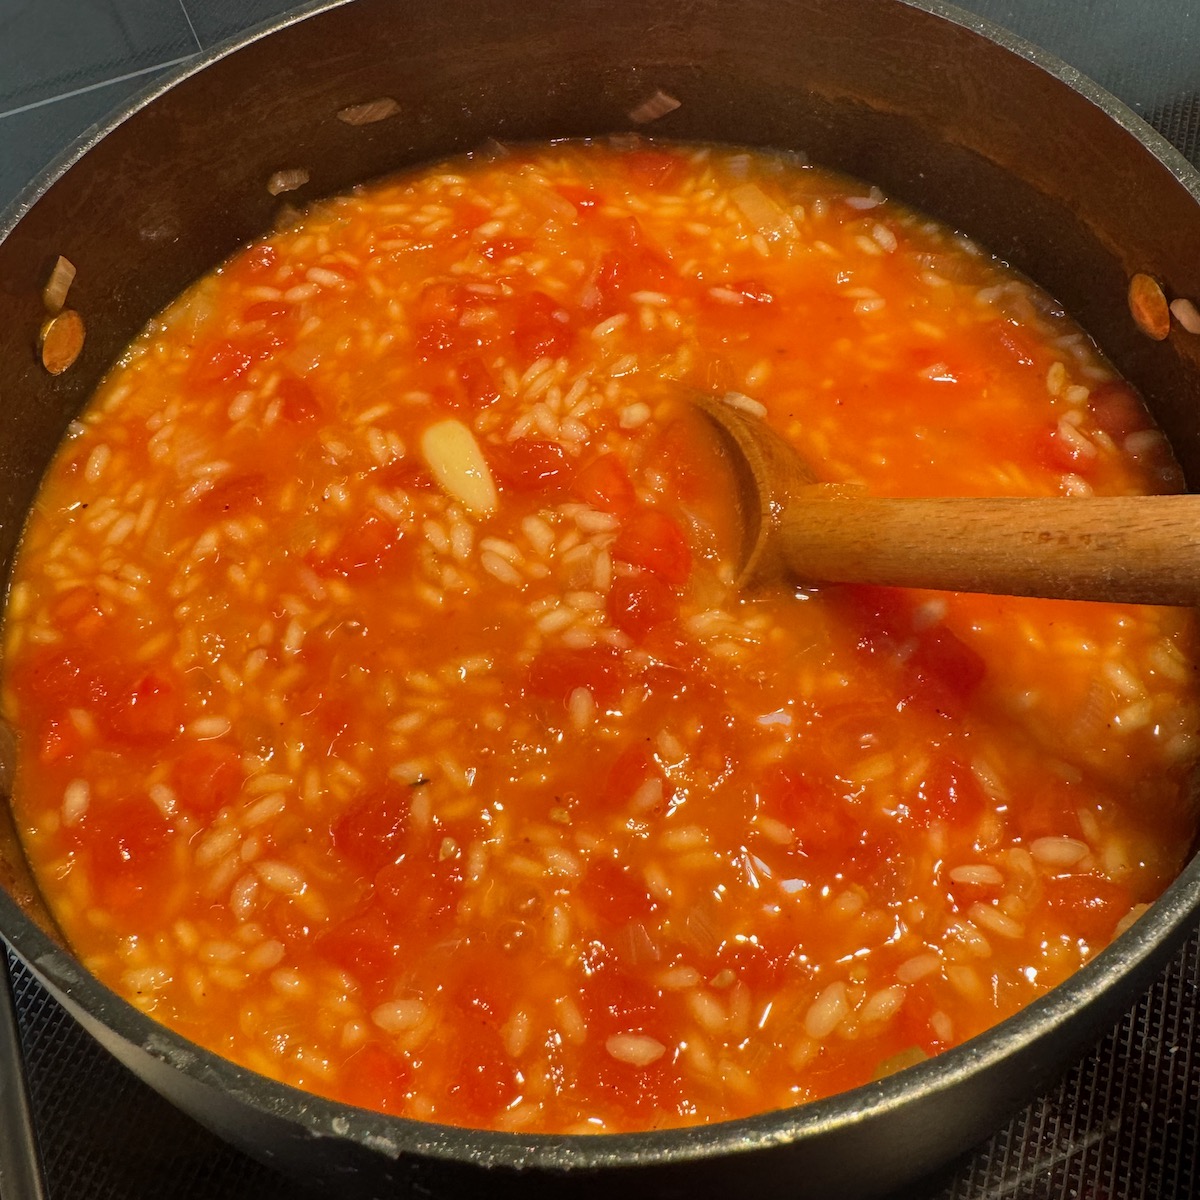
Season to taste, then add in the pancetta. Let simmer for 1-2 minutes.
Serve in wide bowls, topped with the chopped chives and ground black pepper. My focaccia also goes well with this soup. This recipe makes a bunch — probably 8-10 servings — enough to share with a friend!
First, the photos that inspired my search for a decent focaccia (unhappy as I was with the version that used to be on here).
We spent some time recently in Bologna, and most all the focaccia bread we ate was light, moist and spongey. The mortadella, tender and flavorful, was a perfect filling, and at one place, the maker spread fig jam on the sandwich. Divine!
So I’ve looked at roughly 15 different recipes, and the one that comes closest is the one from Cucina by Elena. She does a great job of explaining everything, and you’ll want to linger on her blog to taste all her other recipes.
But, as usual, I started tinkering with it, and now I have the one I want to make, inspired by, and a derivation of hers (which, in turn, was a derivation of another baker’s). This is how it works in focaccia land.
(our friend, Landon)
The timing is this is simple: Stir up the basic ingredients in the evening. Cover with plastic wrap and let sit all night in the fridge. In the morning, prepare the pan, plop the dough into it, let rise 2-4 hours, depending on the temperature of your kitchen. You’ll be eating focaccia by lunch. Which I recommend.
625 grams all-purpose flour (approx 5 cups) 1 scant tablespoon sugar 1 package, or 2 1/4 teaspoons regular dry yeast 1 Tablespoon kosher salt 2 1/3 cups warm water (105- 110 degrees Fahrenheit; no hotter or you will kill the yeast) 6 tablespoons good-quality olive oil a couple of pinches of flaky salt, about 3/4 teaspoon, for the top after baking
Method
In a medium sized bowl (blue one, shown above), measure out 625 grams of flour, using a scale (approximately 5 cups). Set aside.
In a larger bowl (silver), add 1 scant tablespoon table sugar (12 grams), the 2 1/3 cups of water and 2 1/4 teaspoons yeast (1 package or 7 grams). Give it a small stir. Then let yeast/water/sugar mixture take time to proof. The brew should bubble up, and look cloudy, as in the bowl on the left.
When ready, add 1 Tablespoon kosher salt (if using table salt, no…just don’t) to the water/yeast mixture, then all of the flour. Mix until all the water is incorporated. If needed, add another tablespoon or two of water. Don’t overmix, but make sure there are no dry spots.
In a separate large bowl, pour in about 4 tablespoons good-quality olive oil. I just swirl in four circles of olive oil, that look close to a tablespoon Scrape in your focaccia dough, turning to coat all sides. (This bowl needs to be at least double the size of your dough.)
Cover with plastic wrap and put into refrigerator for at least 8 hours, preferably overnight. When you take out the dough, it looks lively and wet. This is a high hydration bread dough (about 77%); you want that. One focaccia maker that I read uses a folding technique in the early stages of her bread. I skipped that: I’m all about easy.
In the morning (or many hours later), and using real butter, grease a metal 9 x 13 pan on the bottom and sides. (I peel back the paper on a stick of butter and use that to stroke the pan.) Then add about a tablespoon or two of good-quality olive oil to the pan and brush on the sides and bottom. (Set brush aside for use at the end.)
Ease dough into prepared pan, and kind of poke and stretch it to fit, but not worrying if it doesn’t. Let rise, uncovered, for 2-4 hours. [I took mine out at 8 a.m. and by 11:00 a.m. it was ready to bake.] It will have nearly doubled in size, and the dough will fill the pan and corners. You might see some bubbles, too.
Preheat oven to 450 degrees Farenheit. Pour a little olive oil onto clean fingers, and coat with the oil. Now with all fingers in action, poke the dough, leaving small divots. Cover surface evenly with pokes.
10. Bake for 15 minutes. Check. If not brown enough, bake 1-2 minutes more.
11. Pull from oven, and using the brush from an earlier step, brush olive oil over the surface. Sprinkle with flaky salt. After five minutes, loosen focaccia with a spatula, and transfer to rack for cooling.
12. Cut into 16 pieces (larger) or 20-25 (smaller).
This freezes very well: place in heavy-duty plastic zipper bag. To rejuvenate, we let sit out for a few minutes (or microwave *very* briefly) then cut in half and toast in a table-top oven for 2-3 minutes, or until warm.
Last Notes: It takes me about 6 minutes to mix it up at the beginning. Add in the 10 minutes the next morning, and you’ll find this is very easy. Just let it sleep overnight in the fridge.
These photos were taken from the very first batch I made, where it said to sprinkle the salt over the top before baking. They turned really dark so I changed the recipe to put the salt on afterwards.
I also cheat a little on the mixing: After getting the water incorporated into the dough, I scrape the dough into the small (blue) bowl where the flour was. Then I pour the 4 Tablespoons of oil into the large (silver) mixing bowl, dump the dough back into that, and turn to coat the bread with oil. This way, I only use two bowls for mixing. It doesn’t matter if there are bits on the bowl from the mixing. No stress.
The Second Best Sandwich in the World uses the focaccia bread, spread with a little fig jam (not fig butter), then thinly sliced turkey. A good-tasting tomato will put it over the top.
The Very Best Sandwich in the World, is made as above, but with high quality mortadella, and is eaten in Italy. (See the top of the post.)
Inspired by a recipe from the New York Times, it’s easy to make the rice in a rice cooker, cook the aromatics and corn together, adding the shrimp at the end. Some say to cut down on the amount of rice, so you’ve been warned. (Or up the amount of vegetables and corn?)
Rinse 1 1/2 cups jasmine rice until water runs clear. Drain well then place in rice cooker. Add 1 can (14 oz) low salt chicken broth and 1 can (14 oz) coconut milk. Stir, then set up to cook the rice.
Rinse 14 ounces shrimp (tails and shells off), cut in half and set aside.
Cut the kernels off 4 small ears of corn. I do this by standing it in a large bowl, letting the kernels be caught by the bowl. Set aside.
In a large flat pan, heat 4 tablespoons olive oil. Add 1 small yellow onion, chopped along with 1 finely chopped Thai red pepper (they are mild) OR 1 jalapeño, making sure to remove seeds and membranes. (Red pepper flakes can be substituted; add near the end)
Sauté over medium-low heat for 3-4 minutes, then add 2 grated garlic cloves. Stir.
Add corn, continue to cook on medium-low heat, tossing the corn with the aromatics. Add the shrimp, tossing, but not overcooking. Correct the seasoning by adding:
salt and pepper
splash of fish sauce
2 Tablespoons lime juice
lime zest, if you have it
1 teaspoon sugar
After tossing together, taste. Add more of whatever seasoning you think is missing: salt or tangy.
Because the ratio of rice to the vegetable mixture may vary, I’d spoon the cooked rice into a serving bowl, then add the vegetables over the top.
Sauté in 4 Tbls EVOO strips of: 1 red bell pepper 2 fennel bulbs 10 baby shallots 2 grated garlic cloves, added later 2 carrots (thin strips)
Cook 1 cup farro in 2 1/2 cups water, drain.
Pile into large bowl: 1 can chickpeas, drained Farro Vegetables
Toss/Stir. Season with S&P, red wine vinegar, balsamic vinegar. Serve with pitted olives, sliced in half (Kalamata and Castelvetrano), a dollop of really good hummus, and capers.
Done in 30 mins and soooo good. Inspired by justinesnacks—but I had fennel, carrots and shallots that needed to be used.
Taken from the classic Sunset Cookbook of Breads, I’ve used this recipe for nearly my entire life.
1/2 cup butter, melted 1 cup sugar 2 eggs 1 cup mashed bananas (about 3 medium bananas) 1 cup whole wheat flour 1/2 teaspoon salt 1 teaspoon soda 1 cup all-purpose flour 1/3 cup hot water 1/2 cup chopped walnuts
In large mixing bowl, place melted butter and sugar. Using paddle beater, mix until blended and no sugar crystals are apparent. Add eggs, one at a time, mixing until blended. Add mashed bananas.
In separate bowl, or measuring cup, measure the whole-wheat flour, salt and soda, stirring to combine. Add to banana mixture, blending well. Don’t overmix, though.
Add the 1/3 cup hot water, mixing well.
Add in remaining flour, until just barely blended, then add chopped nuts.
Pour into greased 9″ loaf pan, then adorn the top with three walnut halves. Bake for 325 for 1 hour 10 minutes, testing to check for doneness with toothpick. Turn out onto cooling rack, and don’t cut until nearly completely cool, if you can wait that long (about an hour).
Intrigued by the ingredient list in this New York Times recipe (miso?), I wanted to try it. Roasting the pecans is the first step, and I resolve to come back to this and just roast some for snacking. My first hurdle: not enough banana (I measured mine).
In the notes someone had mentioned that his grandmother baked her bananas in order to get enough for a recipe. So while the oven was preheating, I took a mostly unripe banana, placed it on some parchment paper and put it in the oven. I took it out after 10 minutes, but it could have used another ten, I think. It was hot to the touch, and most all of the banana was soft enough for mushing, which I did.
After the nuts were roasted, I just lifted over the parchment paper to the cutting board, and chopped on that. E-Z Cleen-Up!
Another commenter lined their pan with a length of parchment paper, oiling it before putting down and then a light brush of oil on the bottom after it was set in. They said it was helpful to have “handles” to get the bread out, so all the chopped pecans on the top didn’t fall off. Other Ingredients: I used fine sea salt, and organic mellow white miso (mild); I’m showing this as some mentioned that their bread was salty. Ours wasn’t. I also added more pecans, subbed in some whole wheat flour.
Last changes: I added more nuts; scoop off 1/2 cup for the top, and the rest (plus salt) go into the loaf. I also cut back on the banana. This makes one loaf.
Ingredients ½ teaspoon vegetable oil, plus more for pan 1 1/2 cups pecans 1 teaspoon fine sea or table salt 1/2 cup whole-wheat flour 1 1/2 cups white flour 1 teaspoon ground cinnamon ½ teaspoon ground nutmeg ½ teaspoon baking soda ½ teaspoon baking powder ½ cup butter, at room temperature 1 cup packed brown sugar 2 large eggs, lightly beaten 3 tablespoons milk 2 tablespoons white miso (measure exactly) 1 tablespoon honey 1 teaspoon vanilla extract 3-4 very ripe bananas, mashed (1 1/2 cups) If you are slightly below the measure, add a bit of water to bring it to 1 1/2 cups.
Preparation
Heat oven to 350 degrees. Lightly oil a 9- or 10-inch loaf tin, then line the base with length of parchment paper, letting the edges extend over the sides of pan to serve as handles.
Toss pecans on a parchment-lined baking sheet with salt and oil. Bake until fragrant, 7 to 10 minutes. When cool, chop coarsely and reserve one-half cup for the top.
While the pecans cool, whisk together flour, cinnamon, nutmeg, baking soda and baking powder in a medium bowl.
In a large bowl, beat butter and sugar using an electric mixer until creamy, 3 to 4 minutes. Beat in eggs, milk, miso, honey and vanilla extract until well-combined. Gradually beat in dry ingredients until just combined.
Using a spatula, stir bananas into the batter to combine evenly. Add the remaining one cup of the pecans (and any salt on the pan) to the batter and mix to combine evenly throughout. Add batter to the loaf pan, smoothing when complete. Sprinkle the remaining pecans evenly on top.
Bake until a wooden skewer inserted in several areas around the center comes out clean, 1 hour to 1 hour 10 minutes. Tent with foil if it starts to darken too much on top before the middle is baked through. Check often after 1 hour; time to cook will be variable.
Let bread sit in tin for 10 minutes before removing. Lift out by using the parchment “handles,” and set on a rack to cool for 60 minutes before slicing.
Last thoughts: We found this bread to be rather dense the first time around, so made the changes I suggested. I think I still prefer my regular banana bread, but am thinking about how to combine those salty chopped pecans into my standard recipe.