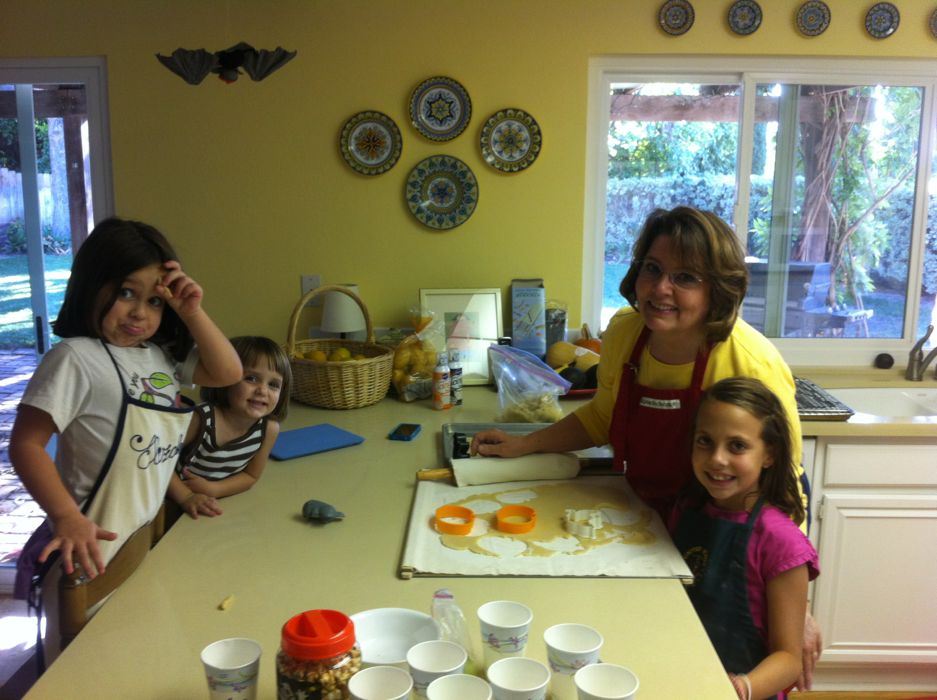
This recipe is for plain old sugar cookies. The kind that you roll out and cut with shapes, while your granddaughters (and you) try to sneak the dough. I first made this recipe about 40 years ago while in high school, when we had to bake giant football-shaped cookies for the football players, a fund-raiser hosted by Girls for Gunn. I was in leadership that year, so took over my mother’s kitchen making 8″ cookie footballs, decorating them with icing, cutting cardboard to fit and stretching plastic wrap over them to deliver on the morning of Homecoming. I have made it multiples of times since, first with my own children and now with my grandchildren.
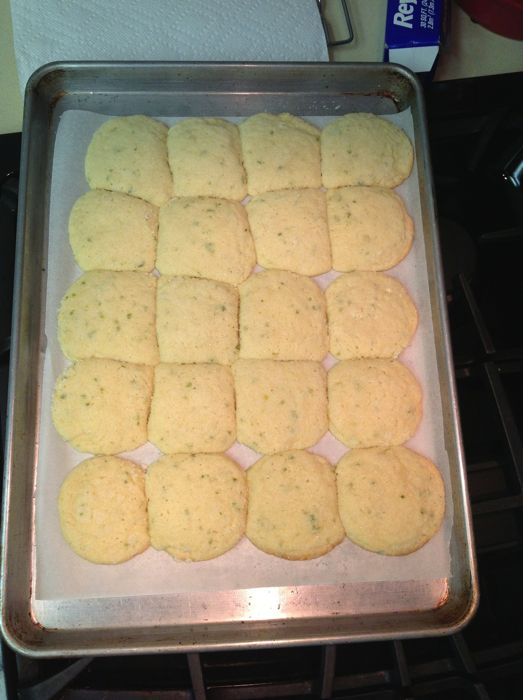
You can make it ahead and store it in the refridgerator; it may need a few minutes to warm up a bit before you can roll and shape them. These cookies are good with a shake of sugar over them just before putting them into the oven, or, if you leave them plain, decorated with frosting and sparkles/candycorn/M&Ms, or what have you. These granddaughters were fascinated by the physics of placing candy corn on the uncooked cookies, then watching the corn melt into strange and unusual formations while in the oven.
Elizabeth Eastmond’s Sugar Cookies
3 cups sifted (or stirred) flour
1 cup sugar
1 and 1/2 teaspoons baking powder
1/2 teaspoon salt
1 cup soft butter (don’t use margarine)
1 egg, slightly beaten
3 Tablespoons cream
1 teaspoon vanilla extract
400° F oven Yield: approximately 72 cookies
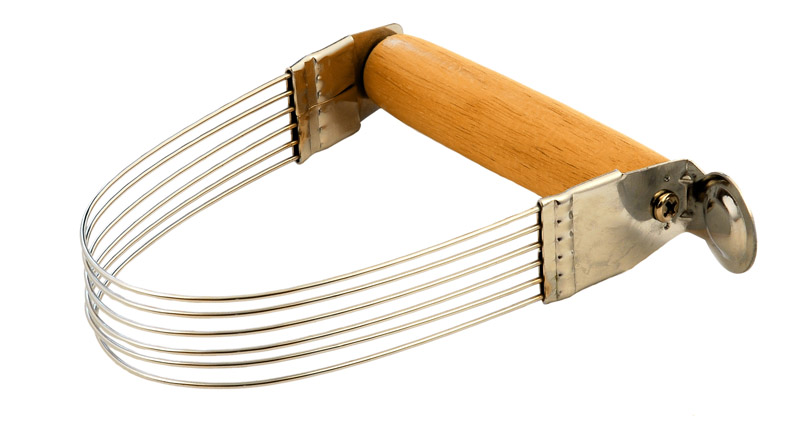
Sift flour, sugar baking powder, salt into mixing bowl. Using electric mixer (or pastry blender) cut in butter until particles are fine. Add egg, cream and vanilla extract. Blend thoroughly. Gather dough into ball. Chill, if desired, for easier handling.
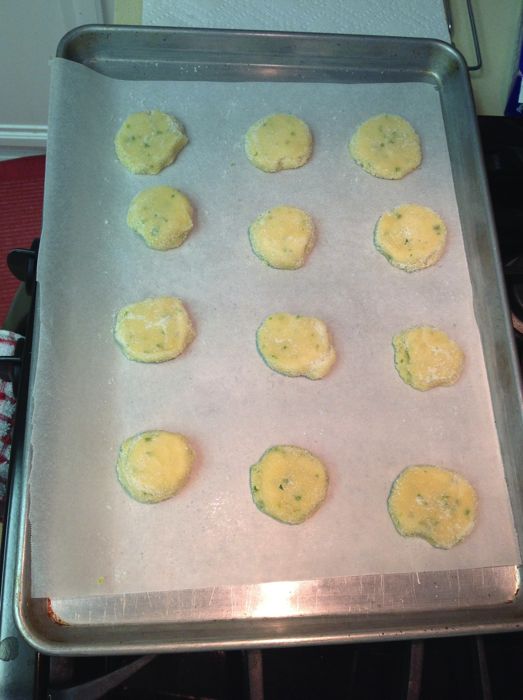
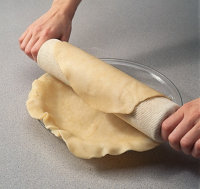
Roll out on floured surface 1/2 at a time to a thickness of 1/8 to 1/4 inch. (The thinner the cookie, the crispier. The thicker the cookies, the softer they will be.) Cut into desired shapes; place on ungreased cookie sheet. {If you don’t plan to frost them, sprinkle them with granulated sugar before baking.} Bake 400°F for 5-8 minutes or until golden.