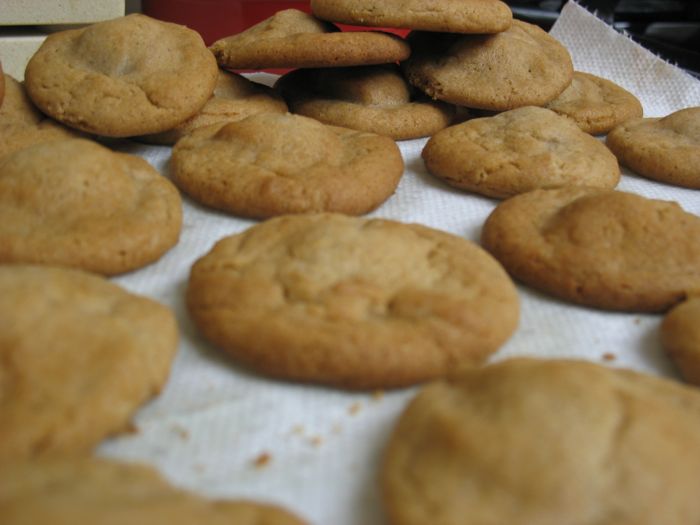
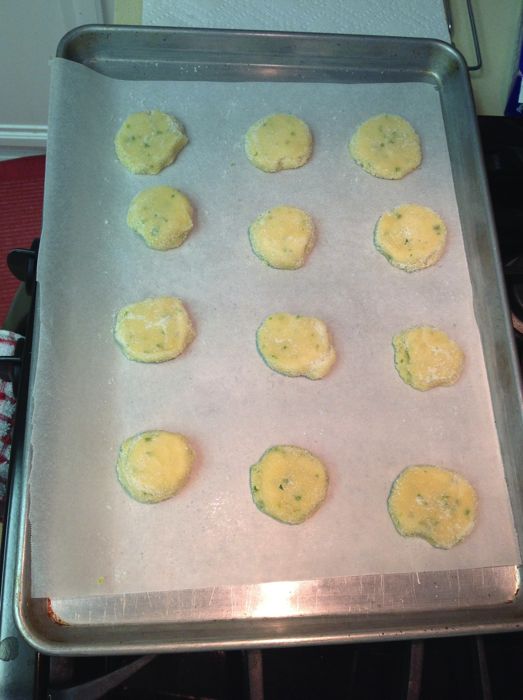
I had planned to make biscotti for the church ladies this week, then remembered that they all sort of nibbled around the corners of that cookie, not wanting to make it sound crunchy, even though outside of their happy mouths no one can hear the crunching, so thought I’d try and find a Valentine Cookie that was quieter. I found this while searching and proceeded to make them up as directed. Except I tripled them–Kids, Don’t Try This At Home! Just make them in a single batch and you and your mixer will be much happier.
I also noticed in the comments that many substituted out the peppermint extract for almond extract. I think that would be a better choice, as I found the peppermint in full strength to impart an almost bitter taste to the cookie.
I also have an ancient sugar cookie recipe that mixes the ingredients a little differently: cut the butter/cream cheese into the flour, add the eggs/liquids, and go from there. I am thinking that would have been a lot easier than the mess I made in the kitchen today.
Ingredients:
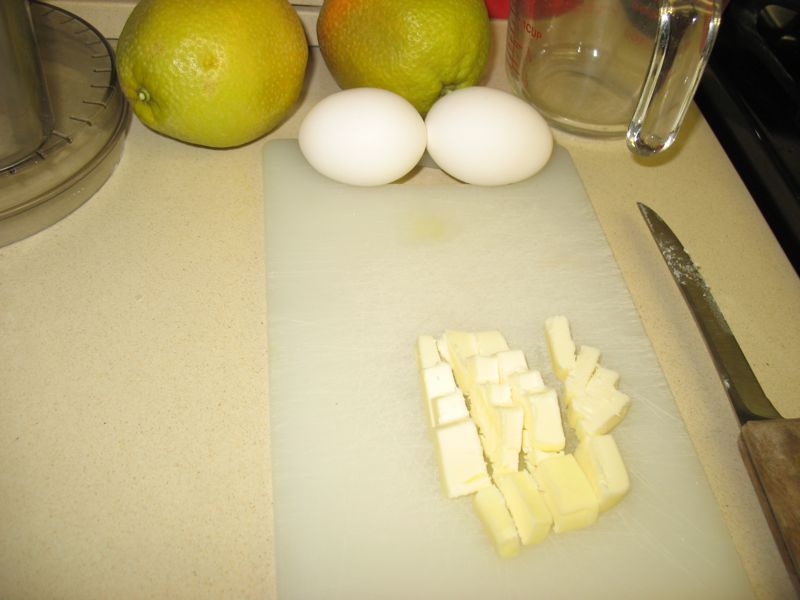
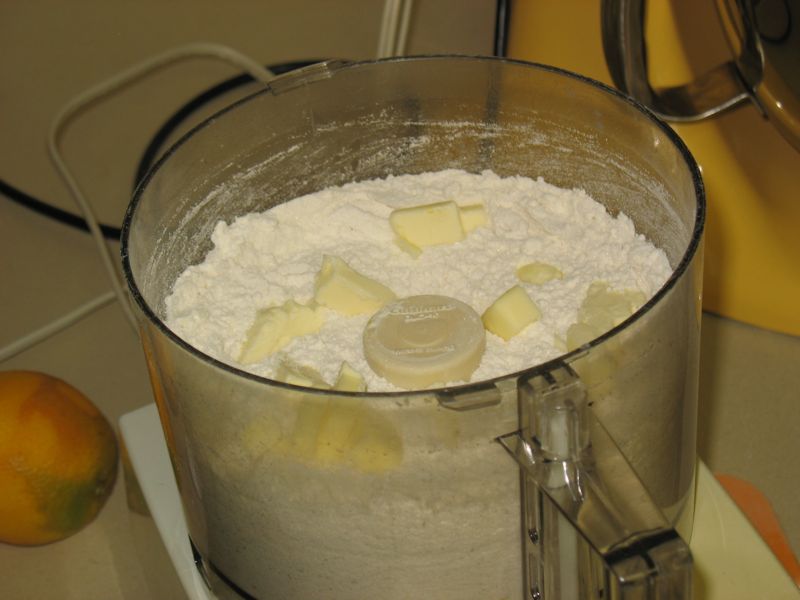
1 cup butter, softened
1 (3-ounce) package cream cheese, softened
3/4 cup sugar
1 egg
1 teaspoon peppermint extract
3 cups all-purpose flour
Glaze
1 (12-ounce) package (2 cups) real semi-sweet chocolate chips
2 tablespoons shortening
Directions
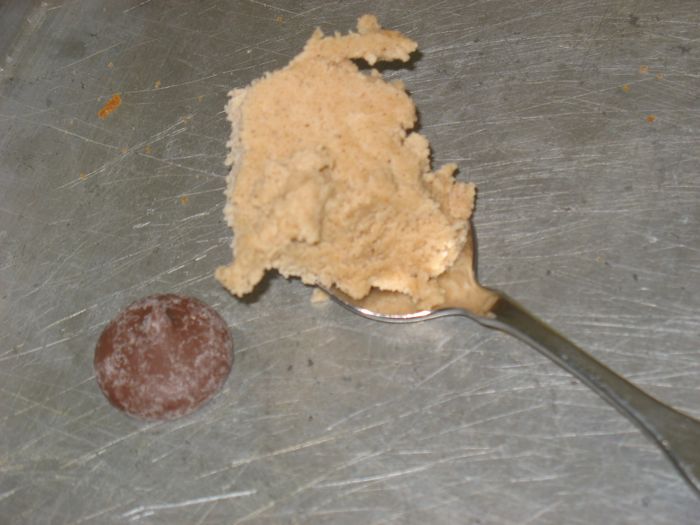
Combine all cookie ingredients except flour in large bowl. Beat at medium speed, scraping bowl often, until creamy. Add flour; beat at low speed until well mixed. Divide dough in half; wrap each half in plastic food wrap. Refrigerate 2 hours or overnight until chilled.
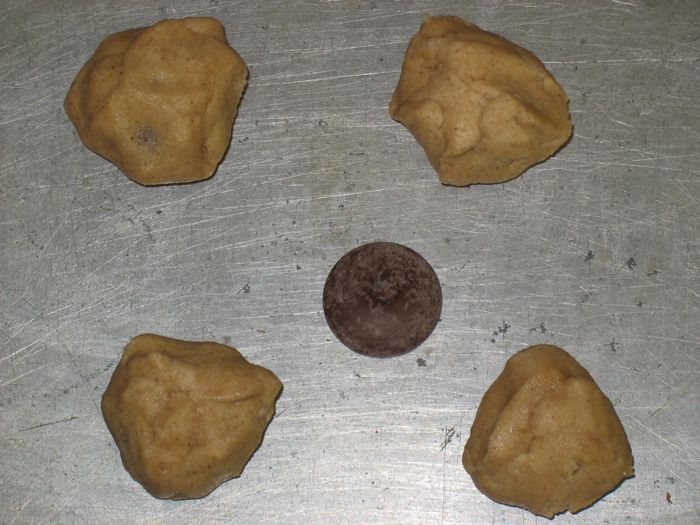
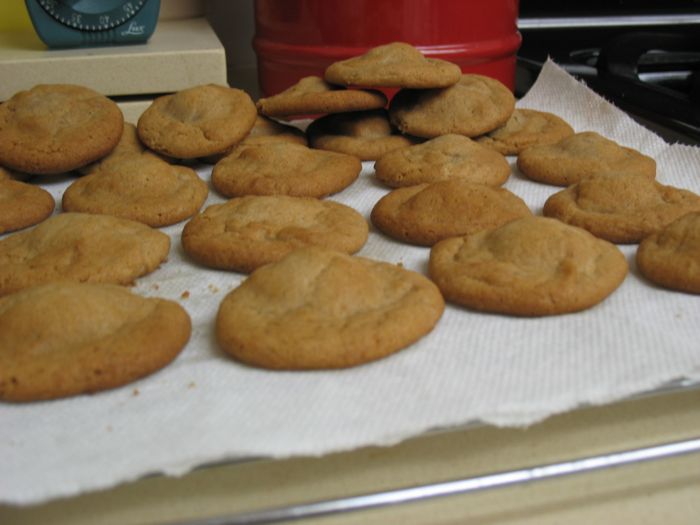
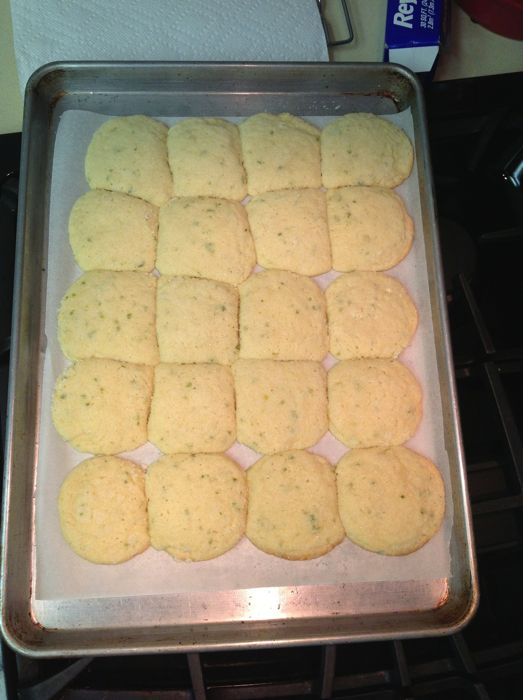
Heat oven to 375°F. Roll out dough, one-half at a time (keeping remaining dough refrigerated), on lightly floured surface to 1/4-inch thickness. Cut out cookies with 2 1/2-inch heart-shaped cutter. Place 1 inch apart onto ungreased cookie sheets. Bake 7-10 minutes or until edges are very lightly browned. Remove from cookie sheets to wire cooling rack; cool completely.
Melt chocolate and shortening in 1-quart saucepan over low heat, stirring occasionally, 4-6 minutes or until melted. Dip half of each heart into chocolate. Place onto waxed paper-lined cookie sheets; refrigerate until chocolate is firm. Store refrigerated.