Roasted Root Vegetables
from the kitchen of Wendy Crockett
12 – 13 cups red potatoes chunks (4 lbs.)
6 cups sliced carrots (2 lbs.)
8 cups chopped onions (4 medium – about 2 lbs.)
2 ½ tsp. salt
1 ½ tsp. ground black pepper
2 tsp. dried thyme
2 tsp. dried oregano leaves
2 tsp. dried marjoram leaves
2/3 cup olive oil
2 Tbsp. melted butter
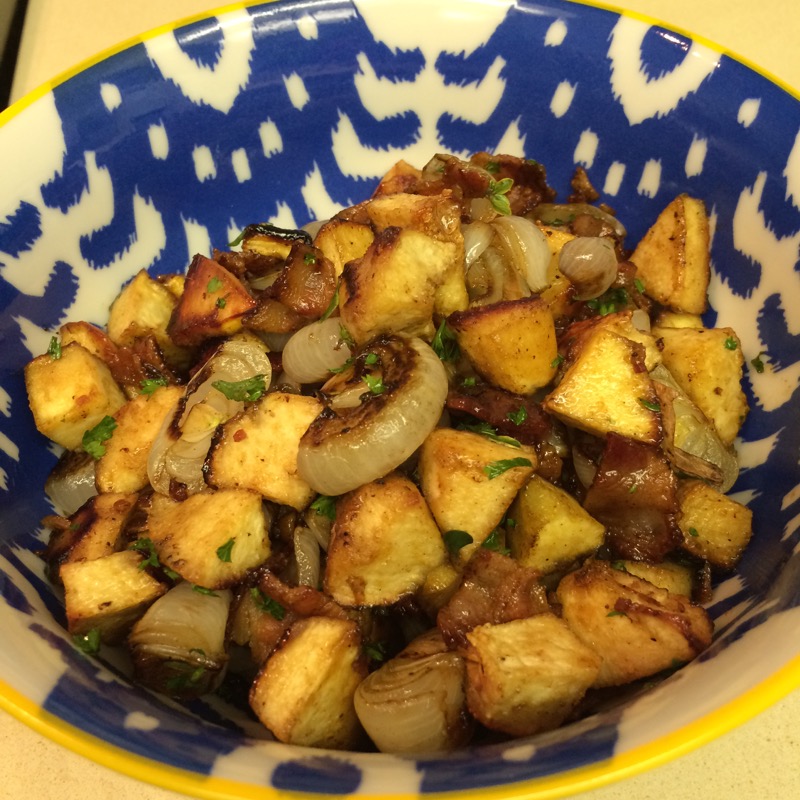
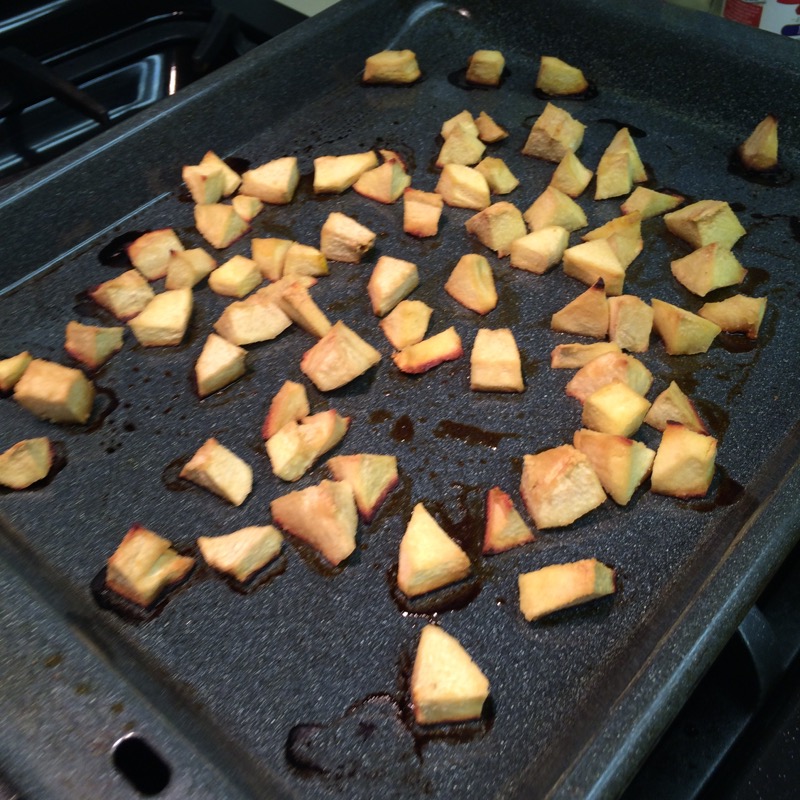
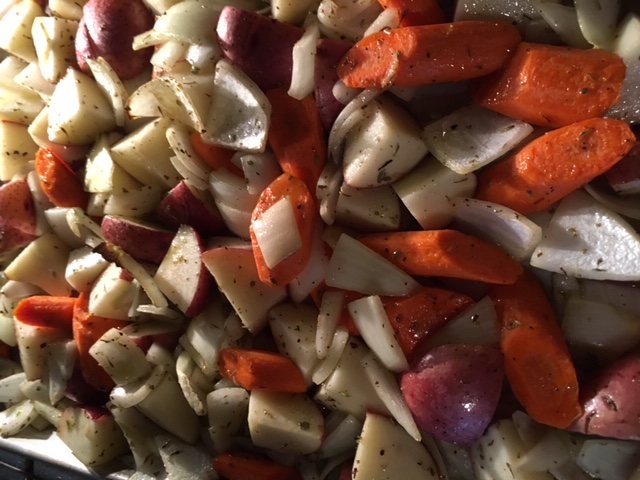
Cut up the vegetables (and photo, above):
- Scrub potatoes. Leave skins on but cut off any bad spots. Slice each potato in half lengthwise. Slice each half lengthwise again and slice once crossways. (If a potato is unusually large or small, adjust cuts accordingly.) In other words, you’ll end up with 8 chunks per average size potato.
- Peel carrots. Trim small end on the diagonal. Cut each carrot on the diagonal about 1 1/2” long and about ¾” wide. (Do not include the top end.)
- Peel onions. Cut each in half lengthwise. Cut each half lengthwise two or three times so that the cuts are about 1” apart. Cut these pieces across into about 1” pieces. Don’t worry. These will all cook down.
Place all of the vegetables in a large bowl and toss together along with melted butter, olive oil and seasonings.
Meanwhile, place two large rimmed baking sheets in oven and preheat to 450F. When oven is ready, remove baking sheets and spread half of vegetable mixture onto each one. (NOTE: If the vegetables are too crowded, they will steam, not roast. Please give them room.)
Use a pancake turner or wide spatula to turn vegetables over and mix around about every 15 minutes for about an hour until nicely browned. Switch the top pan to the lower rack and the bottom pan to the lower rack about midway to promote even browning. Some of the onion pieces may get quite dark. Don’t worry about. It adds flavor and an earthy look.
Cover the pans with foil or combine the batches into one container to deliver to the church kitchen by 5:45 p.m.. From there we will combine all of the contributions into roaster ovens to keep warm. Please take your own pans to your car to take home to wash.
Thank you!